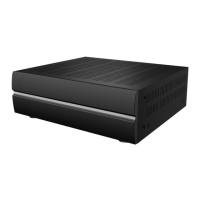
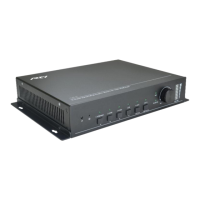
Audio Matrix Switch
AD-16x
30
CHAPTER 3 | INSTALLATION AND OPERATION
WEB INTERFACE - NETWORK CONFIGURATION PAGE
Upon logging into the web interface the Network Conguration page will be
displayed. You can also reach this page by clicking the “Network” tab at the
bottom of the web interface.
IP ADDRESS CONFIGURATION
IMPORTANT NOTES:
• Setting a static IP address is NOT necessary and is discouraged. The
RTI two-way driver uses the UPNP name of the AD-16x to nd it on the
network so a static IP is unnecessary.
• Setting a static IP address and clicking “Update Settings” will cause the
web interface to no longer be displayed in your web browser. Enter the
new static IP address into your web browser address bar to access the web
interface again.
To set the static IP address:
1. Select Address Type (set to DHCP by default): click this button and select
“Static IP” from the drop down list.
2. Enter Static IP Address: Enter the static IP address.
3. Enter Subnet Mask: Enter the network subnet used by the AD-16x and RTI
XP processor.
4. Enter Default Gateway: Enter the IP address of the network gateway.
5. Click on the “Update Settings” button to save these settings.
NOTE: To manually reset the AD-16x to DHCP
If the wrong IP address scheme is used during the static IP setup process, the
AD-16x will not be accessible via the network. If this happens, the AD-16x web
interface will not be available to make corrections and control via IP will not be
possible.
To correct this, the AD-16x will need to be manually set back to DHCP using an
RS-232 string so that it may rejoin the network, and allow the web interface to
be used again.
Steps to reset IP Address Type to DHCP:
1. Connect a serial cable between your RTI control processor (or PC) and the
AD-16x. (See “RS-232 CONTROL OF AD-16x” for cable requirements).
2. Send this RS-232 string followed by a carriage return: ^rti dhcp
• NOTE: There is a space between the “i” and the “d”.
• The string with carriage return using Integration Designer is: ^rti dhcp\r
3. Follow the steps in the “ACCESSING THE WEB INTERFACE” section to gain
access to the web interface again.
NETWORK IDENTIFICATION
This section allows you to change the name of the device as it shows up on the
network and list of UPNP devices.
1. Unit Name: Enter a new AD-16x name
2. Click on the “Update Settings” button to save these settings.