Audio Distribution System
AD-8x
18
CHAPTER 3 | INSTALLATION AND OPERATION
POWER
The included AC power cord must be inserted into the AC input receptacle on
the AD-8x. When the AC power cord is connected to a power source, press the
Power button to turn the AD-8x on and off.
IMPORTANT NOTICE
This product is shipped from RTI with AC voltage set to 115 Volts. The voltage
switch will have to be changed for certain international locations. Dealers
should take the following critical step.
•SettheredvoltageswitchonthebottomoftheAD-8xtothe
proper voltage for your location (115V/230V)
•Theredvoltageswitchshouldbeleftinthe115Voltpositionif
used within the United States.
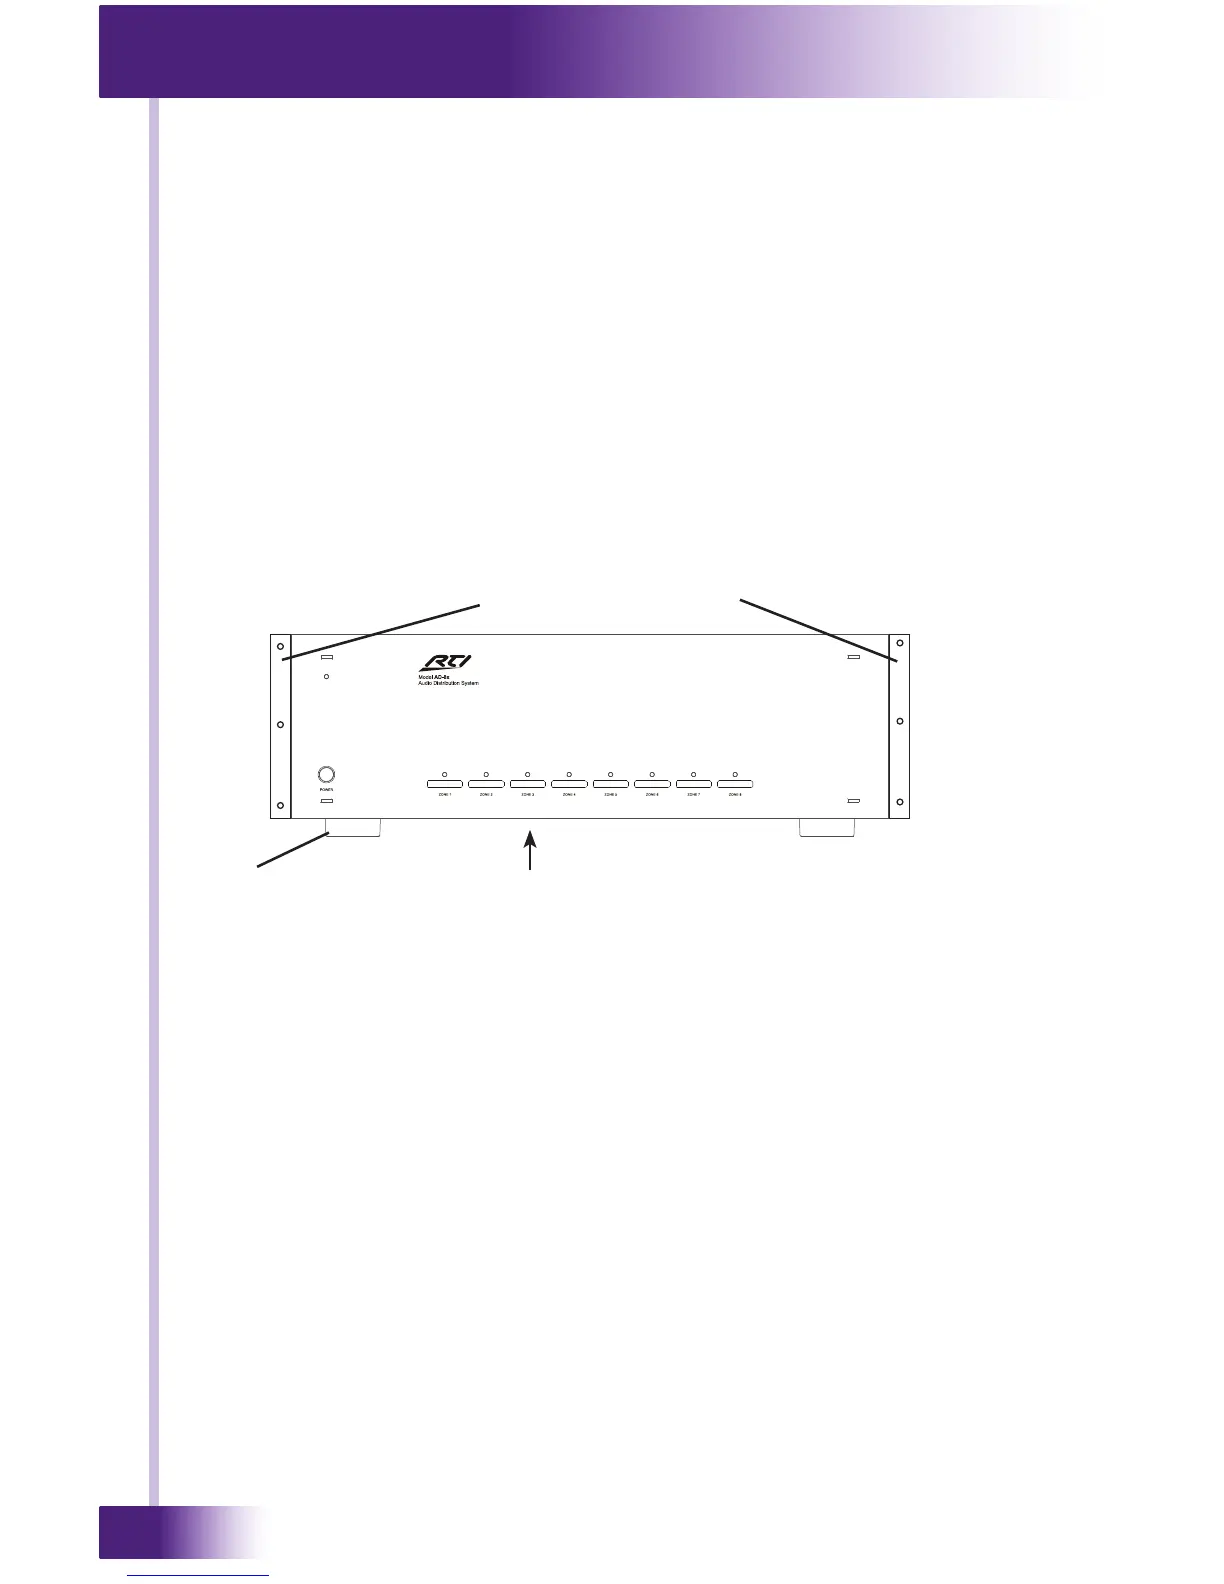
FREE STANDING INSTALLATION
The AD-8x ships with four removable feet that allow the AD-8x to be placed on
a at surface. To maintain proper ventilation and cooling, do not install the AD-
8x on a at surface without the feet.
RACK MOUNT INSTALLATION
The AD-8x can be mounted in a component rack using the included rack
mounting ears. Align the rack mounting ears with the screw holes located on
the sides of the AD-8x near the front. Fasten the rack ears to the AD-8x using
three screws (supplied). Remove feet before mounting in a rack.
NOTE: To maintain proper ventilation, it is recommended that you leave a rack
space above and below the AD-8x.
Foot
Rack Mounting Ears
115/230 Volt Switch
(Located on the underside of the AD-8x)