13
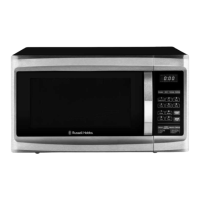
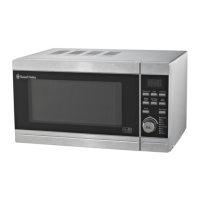
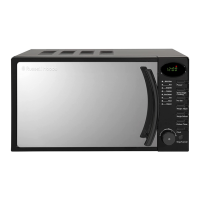
CONTROL PANEL & FEATURES
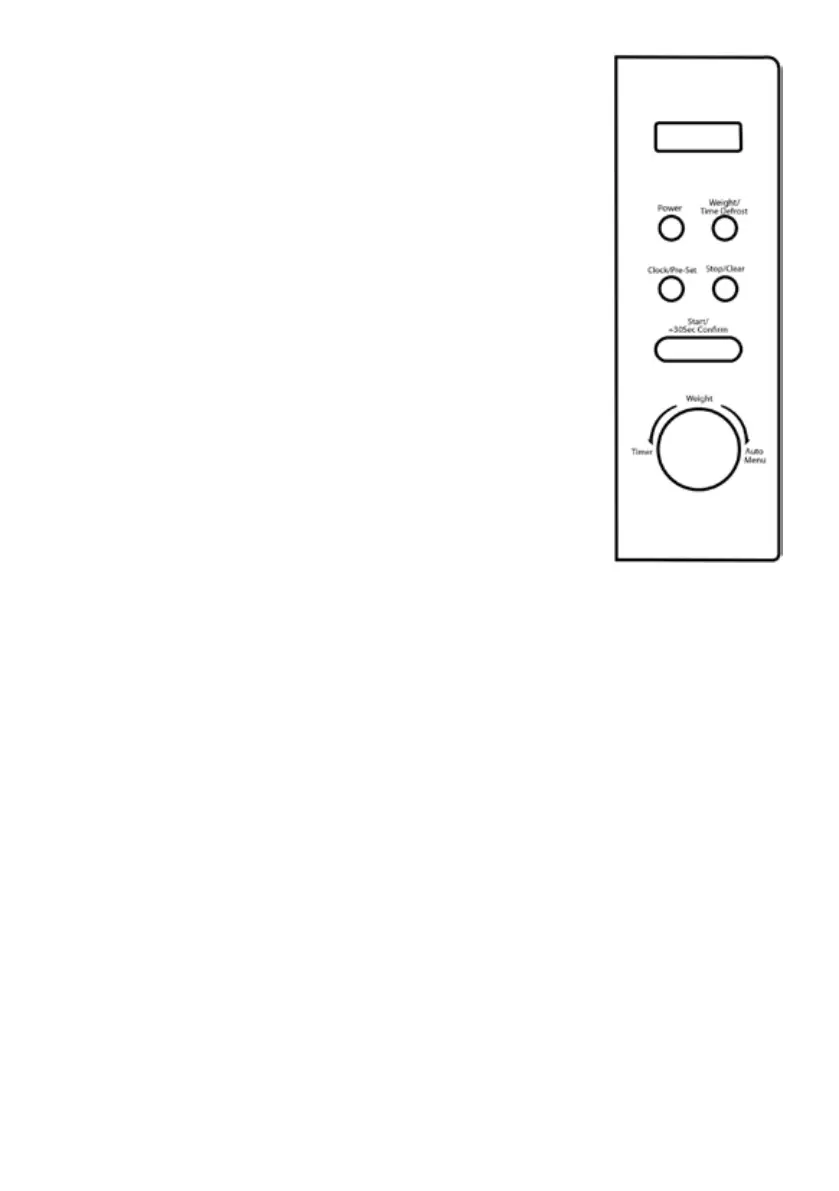
Screen Display
Cooking time, power, action indicators, and clock time are displayed.
Power
Press this button a number of times to set a cooking power level.
Weight/Time Defrost
Press this button to input weight or time for defrosting.
Clock/Pre-Set
Press this button to set the clock and use the pre-set function.
Stop/Clear
Press once to stop the cooking process and press twice to clear the
settings.
Start/+30Sec/Confirm
Press this button to start the cooking process and conrm when
programming.
Timer/Weight/Auto Menu
Turn to select food you want to cook from the auto menu, select
weight or to select time for normal microwave power cooking.
Conrm using the Start button.
HOW TO USE THE MICROWAVE
Setting the clock (24 hour)
For example, if you want to set the time to 08:30 (am:)
1. Press the Clock/Pre Set button. The display will show ‘0:00’.
2. Turn the Timer/Weight/Auto Menu dial clockwise until the hour display shows 8 :’. Press
the Clock/Pre Set button to conrm.
3. The display will show ‘8:00’ and the minutes will ash.
4. Set the minutes by turning the Timer/Weight/Auto Menu dial clockwise until the display
shows ‘08:30‘. Press the Clock/Pre Set button to conrm.
The clock is now set and the colon will continue to ash
Note: If the clock is not set, the clock will not function when powered. During the
process of clock setting, if you press ‘Stop/Clear’ button, the oven will go back to the
previous status.
MICROWAVE COOKING
Once you have correctly installed the unit, turned on the power and set the clock, you are
ready to start cooking.
Your microwave has 5 power levels, the lowest at 10%, then 30%, 50%, 80%, up to 100% (or
full power.)
Most recipes are cooked on full power this should be indicated on the packaging of
microwavable food.
 Loading...