CHARGING STATION
The charging station can be wall or floor mounted. For floor mounting, the leg and the foot
must be assembled together. For wall mounting, only the leg is required.
Note: The charging station must be located within approximately 1.8 metres of a wall power
outlet.
FLOOR MOUNTING
• Assemble the charging station by pushing the leg down into the foot until it locks into place.
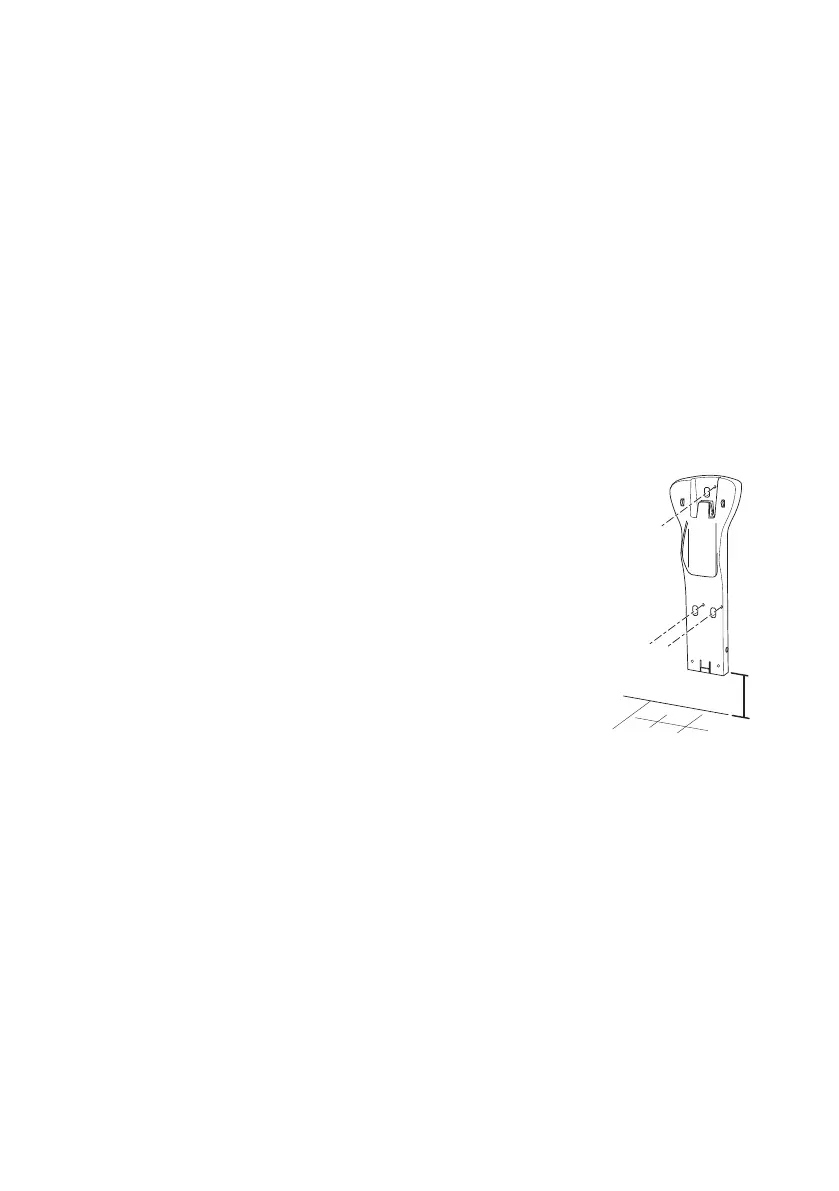
WALL MOUNTING
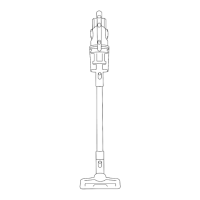
• Use the leg without the foot attached. Position the charging station leg in the desired location,
leaving a minimum distance of 80mm between the bottom of the leg and the surface below to
allow room for the motorised oor tool to rest correctly. Mark the hole positions on the wall
using the charging station leg as a template.
• Fit screws (not supplied) to the marked locations leaving the screw heads protruding
2 - 3mm from the wall.
• Fit the charging station leg onto the screws in the wall.
CONNECTING THE AC ADAPTOR/CHARGER
• Connect the small plug into the power input socket on the side of the
charging station leg. Plug the AC adaptor/charger into the wall power
outlet.
Switch on the wall power outlet.
FITTING THE MOTORISED FLOOR TOOL TO THE UPRIGHT FRAME
• Position the bottom end of the upright frame into the hole in the top of
the motorised oor tool, being sure to correctly align the power pins
on the oor tool with the holes on the frame. Press down until the oor
tool locks into place.
• If it is necessary to remove the oor tool at any time, press the release
button inwards and slide the upright frame out of the oor tool.
FITTING THE HANDHELD VACUUM INTO THE UPRIGHT FRAME
• Ensure the crevice tool on the handheld vacuum is in the retracted position.
• Hold the handle of the handheld vacuum and position the crevice tool down into the
lower opening of the upright frame.
• Press the top of the handheld vacuum back into the upright frame and ensure it locks
into place.
CHARGING
• Place the stick vacuum assembly on the charging station (NOTE: Always make sure that the
vacuum is turned off). The charging light will ash to indicate the vacuum has made contact
with the charging station and is charging.
• Allow 14 - 16 hours to fully charge the batteries before rst use.
• When the vacuum battery is totally depleted, approximately 10 - 12 hours of charging is
required for the battery to fully recharge. The charging light will ash whilst charging and glow
steadily once charged.
• In order to ensure that it is always ready for use, the vacuum should be left on the charger
when not being used. The adaptor may become warm during charging - this is normal.
80mm
FLOOR
WALL

 Loading...