2. Introduction
Congratulations on your recent purchase of the Russound CA6.4 multi-room controller. This six-zone, four-source, multi-room controller
is the heart of an affordable whole-house audio distribution system. Six high-current, stereo, power amplifiers are built into the
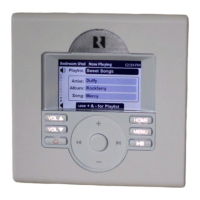
Russound CA6.4 allowing simple connections to each speaker in the system. Each zone is operated by an intuitive, easy-to-use keypad
that controls all the functions of the CA6.4. The keypads also have a built-in infrared receiver that allows remote control for your source
equipment to be routed through the CA6.4.
The Russound CA6.4 is built with pride. Fidelity, Reliability and Quality is the primary objective. Russound products are guaranteed to
provide years of enjoyment. The CA6.4 is UL listed and CSA approved for your protection and peace of mind. Please take a moment to
fill out the warranty card and return it to Russound.
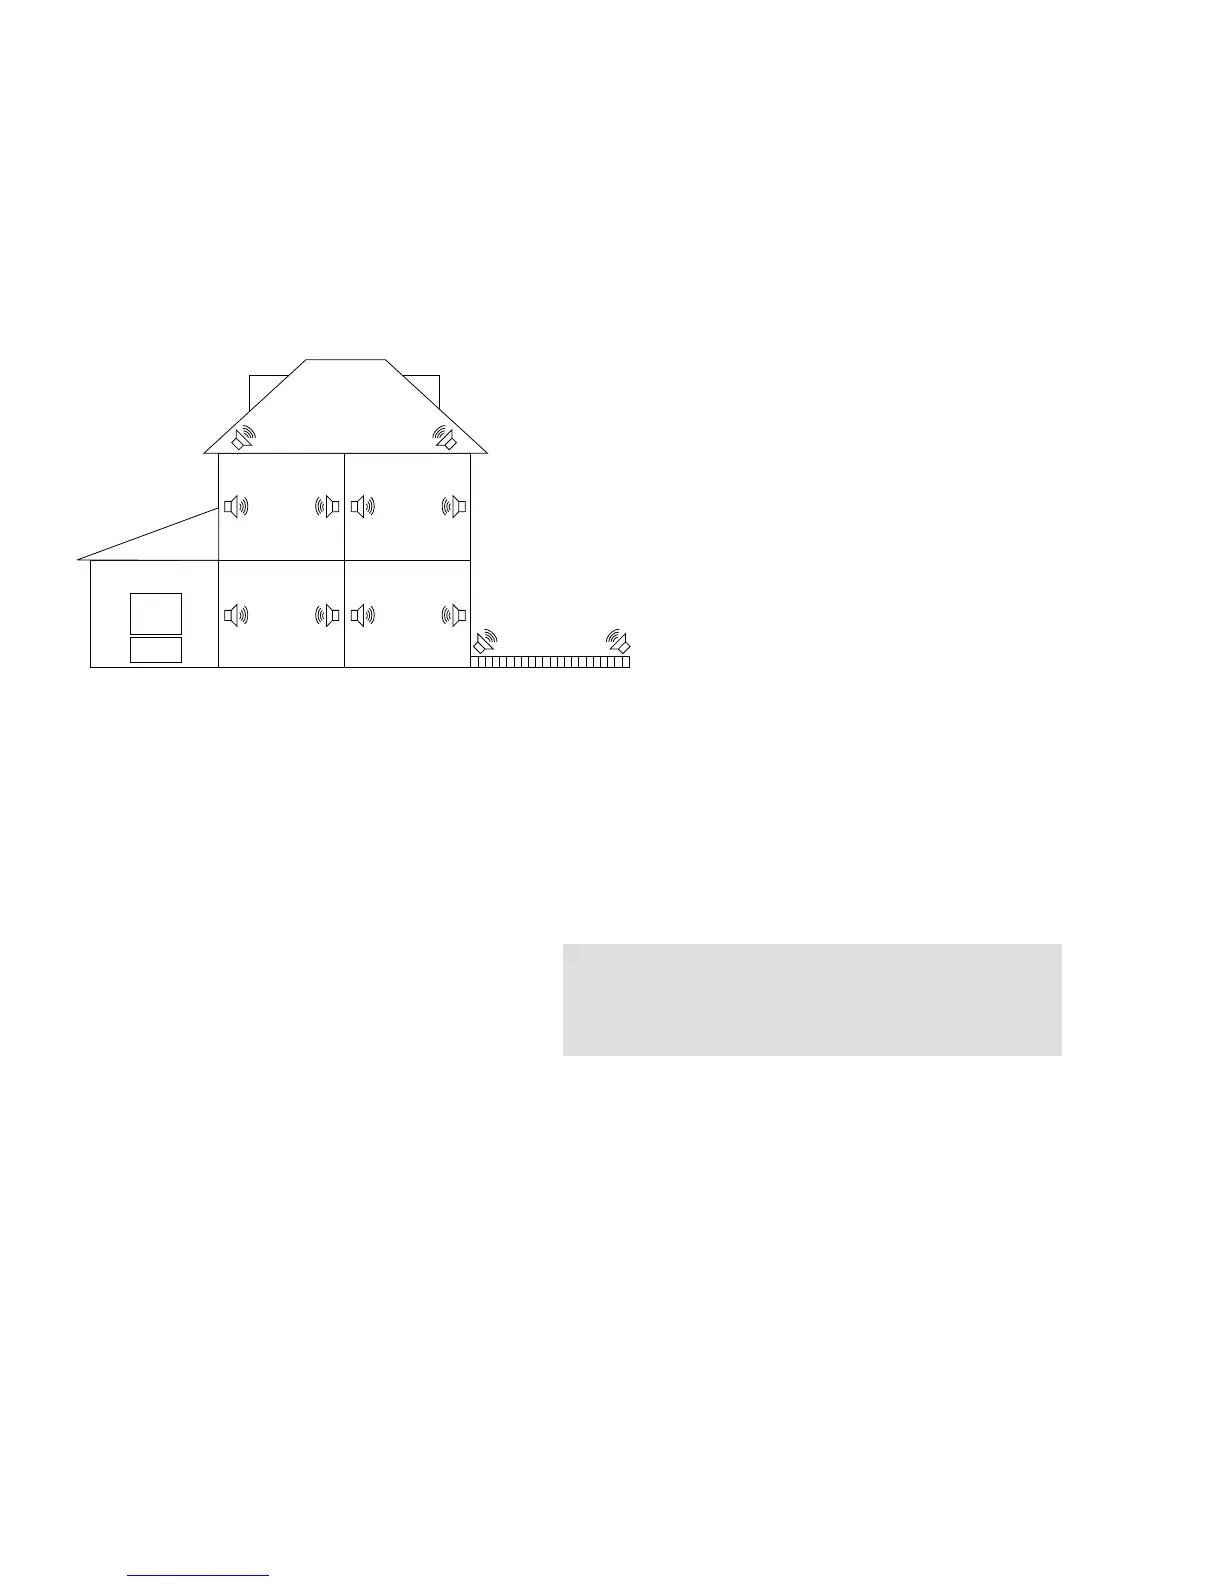
3. Possible System Configurations
3
4. Unpacking and Warranty Card
• Carefully unpack the CA6.4 and keep the original carton and
packing materials for future moving, shipment or long-term
storage. After opening the box, please check for any visible
signs of damage that were not apparent from the outside of the
box. If you do encounter what appears to be concealed dam-
age, please consult your Russound dealer before proceeding
to further unpack or install the unit.
• Make sure to save your sales receipt. Your receipt is extremely
important to establish the duration of your limited Warranty,
and for insurance purposes.
• Warranty Card – The serial number appears on the rear panel
of this unit near the power cord. Copy the serial number onto
your warranty card and mail it back to Russound / FMP, Inc. 5
Forbes Road, Newmarket, New Hampshire, 03857, USA. Be
sure to retain a copy and keep it in a safe place.
5. Getting Started
The following information will indicate some tools and materials necessary for a complete installation of the CA6.4:
• 4 twisted pair communication wire (commonly referred to as CAT 5). This wire will be used to connect the keypads in each zone to
the CA6.4 controller. 16 Gauge minimum, 2 conductor CL3 rated wire. (Russound AW162CL3) This wire is used for direct connec-
tion between the CA6.4 and your speakers.
• A small jewelers flat-head screwdriver.
• A medium sized flat-head screwdriver.
• Wire strippers and cutters.
• Electric drill and a 1/2" x 6 "drill bit.
• A steel-wire fish tape.
• A keyhole saw.
• Electrical junction boxes (6).
• A stud finder.
• A screwdriver (cordless recommended)
• Misc. hand tools, nails & screws.
• Cable staples.
If you have problems or you are not absolutely comfortable with what you are doing, consult a professional carpenter, electrician, or
system installer.
6. Basic Planning and Layout Considerations
• Where will the speakers be located?
• Where will the keypads be located?
• How will the wiring be routed to each
location?
• Where is the source equipment located?
• Where is the CA6.4 controller going
to be located?
Speaker Wire Length Gauge of Speaker Wire
10-100 feet . . . . . . . . . . . . . . . . . . . . . . . . . . . . . .16 AWG
100-150 feet . . . . . . . . . . . . . . . . . . . . . . . . . . . . .14 AWG
Over 150 feet . . . . . . . . . . . . . . . . . . . . . . . . . . . .12 AWG
Connection Tips
• Disconnect all power cords before connecting to the CA6.4.
• Verify that all connections and polarity are correct.
• Keep all power cords away from all signal cables to prevent noise or humming.
• Choose reliable signal cables / patch cords.
• Label all wires with room location at both ends of the wire.
• Take your time!!! Don't panic about the number of wires;
simply connect one at a time.