10 11
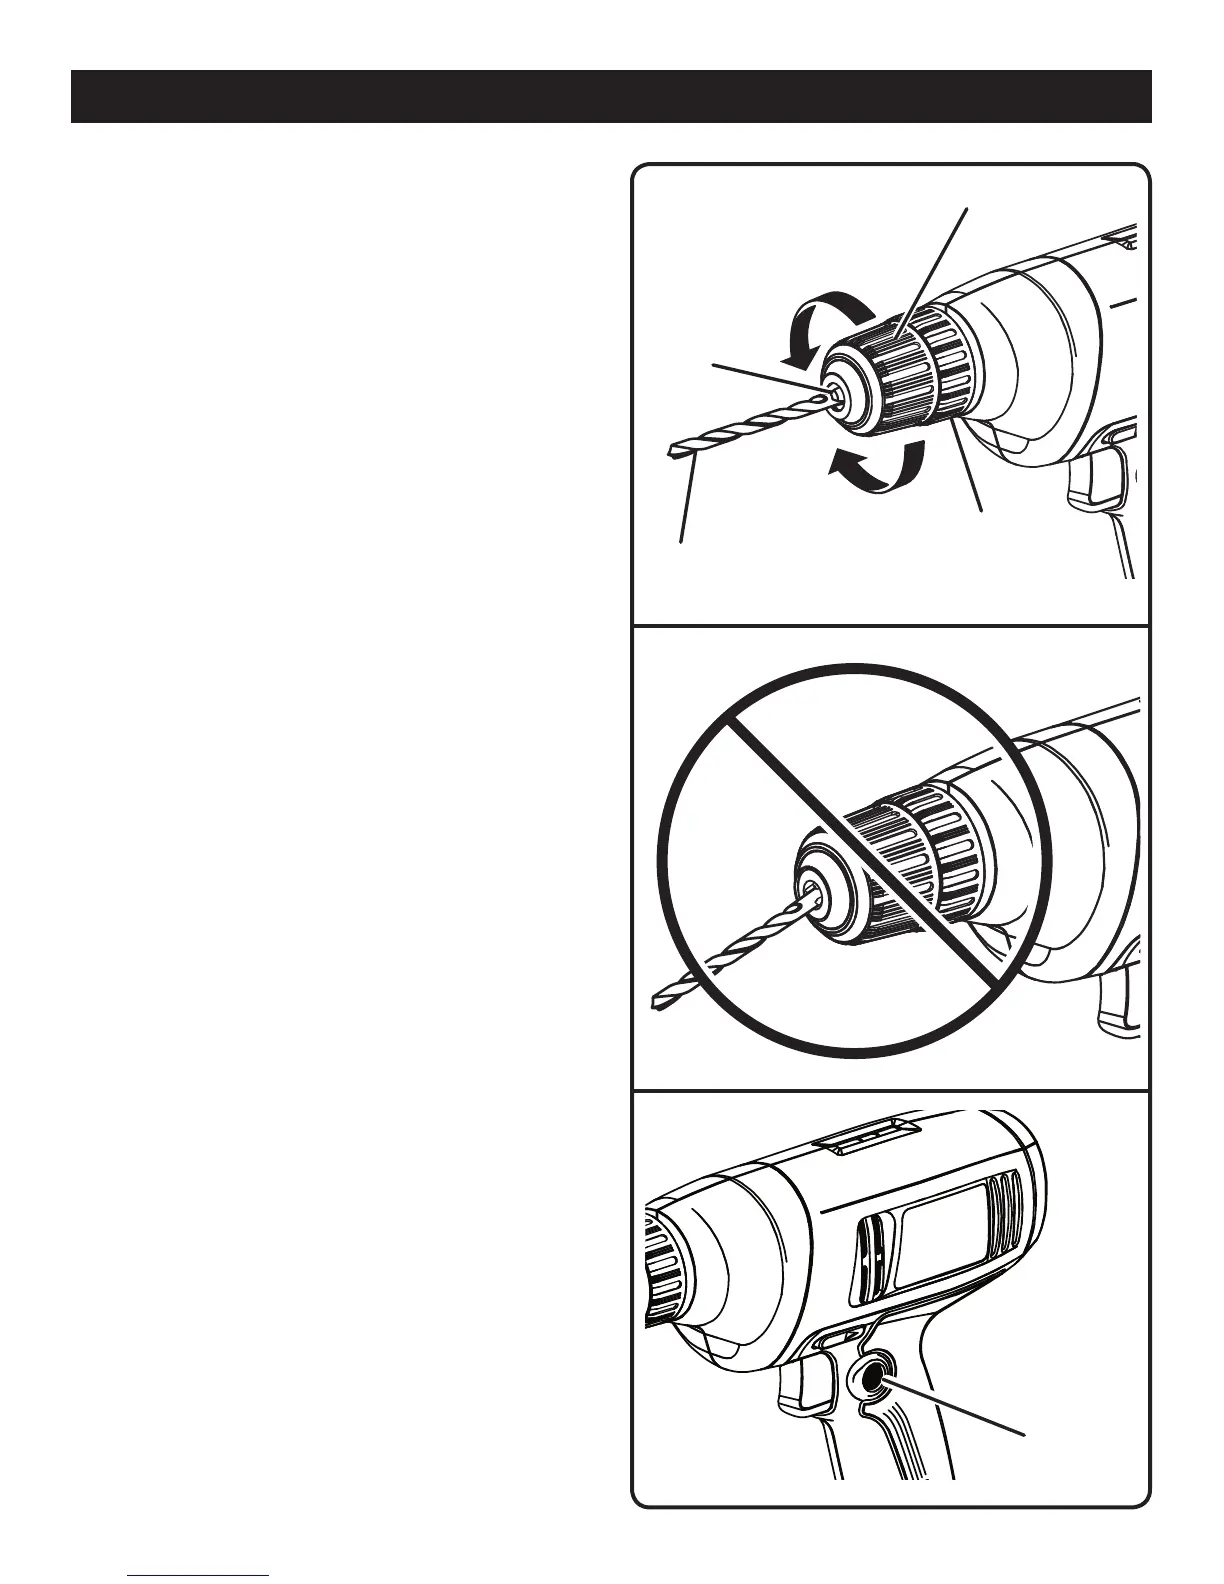
UNLOCK
(RELEASE)
DRILL BIT
CHUCK
JAWS
CHUCK BODY
LOCK
(TIGHTEN)
Fig. 3
RIGHT
CHUCK
COLLAR
OPERATION
Fig. 4
WRONG
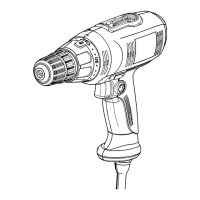
REMOVING BITS
See Figure 3.
n Unplug the drill.
n Rotate the chuck sleeve clockwise to open the chuck
jaws.
NOTE: Rotate the chuck body in the direction of the ar-
row marked UNLOCK to loosen the chuck jaws. Do not
use a wrench to tighten or loosen the chuck jaws.
n Remove the drill bit.
LOCK-ON BUTTON
See Figure 5.
This drill is equipped with a lock-on feature, which is con-
venient for continuous drilling for extended periods of time.
To lock-on:
n Depress the switch trigger.
n Push in and hold the lock-on button, located on the side
of the handle.
n Release the switch trigger.
n Release the lock-on button and the drill will continue
running.
n To release the lock, depress and release the switch trig-
ger.
If the lock-on feature is engaged during use and the drill
becomes disconnected from the power supply, disengage
the lock-on feature immediately.
LOCK-ON
BUTTON
Fig. 5