11
OPERATION
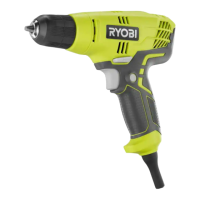
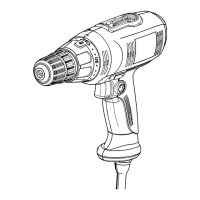
CHUCK REMOVAL
See Figure 10.
Whenever necessary to remove the chuck for
replacement, etc. use the following procedure:
■ Unplug your drill.
WARNING:
Failure to unplug your drill could result in accidental
starting causing serious injury.
■ Rotate torque adjusting ring to the maximum torque
setting.
■ Insert a 8 mm (5/16 in.) or larger hex key into the
chuck of your drill and tighten chuck jaws securely.
■ Tap the hex key sharply with a mallet in a
counterclockwise direction.
See Figure 10.
■ This will loosen the chuck on the spindle.
■ It can now be unscrewed by hand.
See Figure 10.
■ Open chuck jaws and remove hex key
.
HEX KEY
KEYLESS
CHUCK
MALLET
CHUCK
JAWS
TORQUE
ADJUSTING
RING
Fig. 10
24
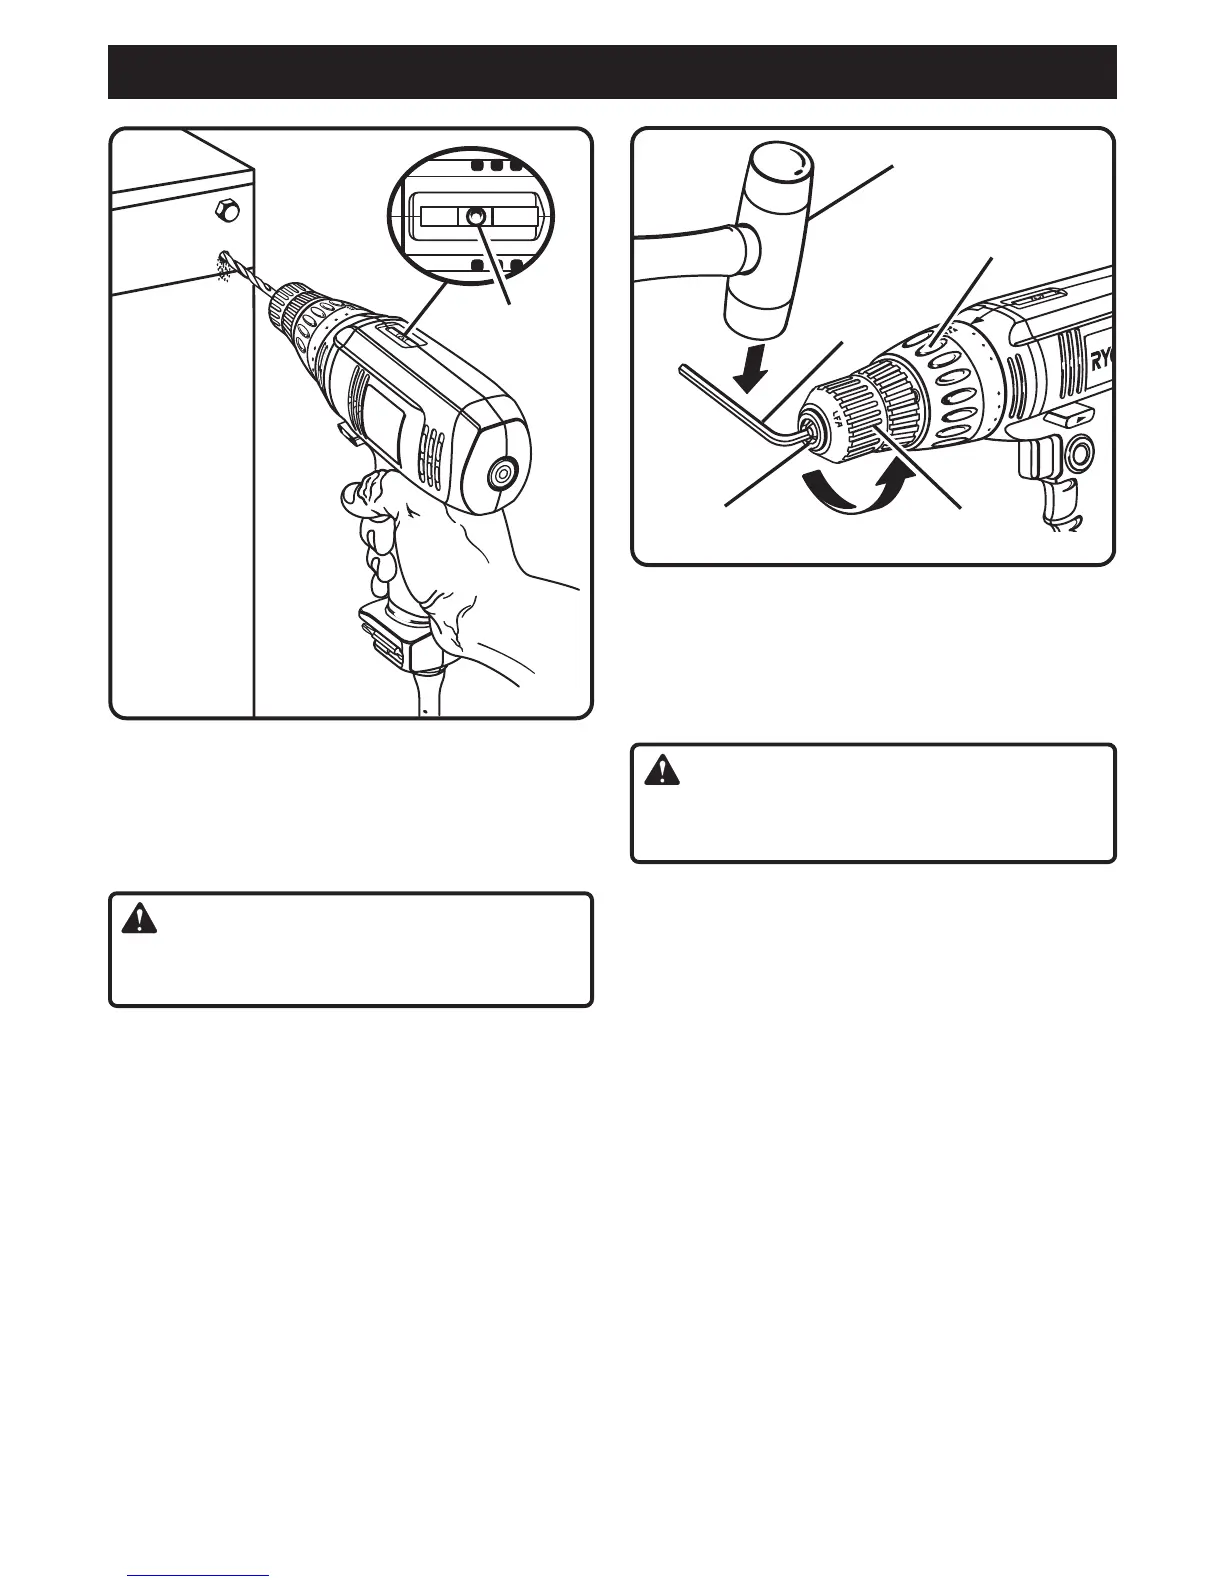
20
LEVEL
Fig. 9
TO RETIGHTEN A LOOSE CHUCK
The chuck may become loose on the spindle and develop
a wobble.
To tighten, follow these steps:
■ Unplug your drill.
WARNING:
Failure to unplug your drill could result in accidental
starting causing serious injury.
■ Open the chuck jaws.
■ Insert hex key into chuck and tighten chuck jaws
securely. Tap hex key sharply with a mallet in a
clockwise direction.
■ This will tighten the chuck on the spindle.
■ Open the chuck jaws and remove the hex key.