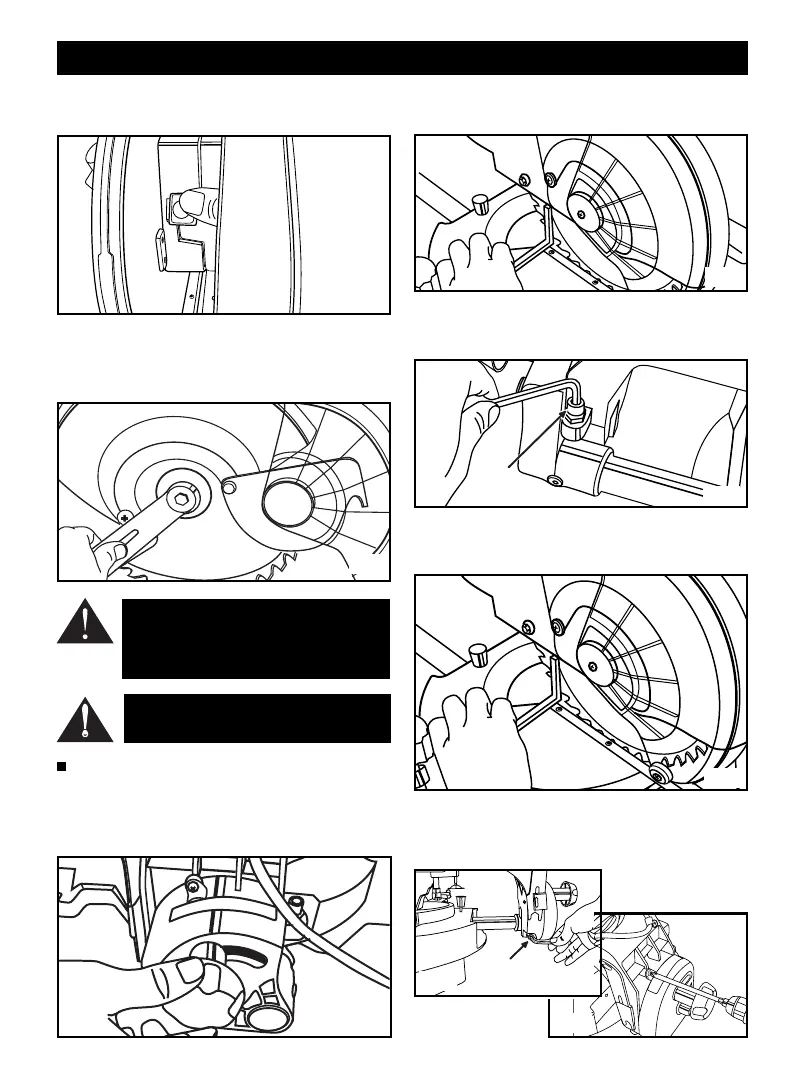
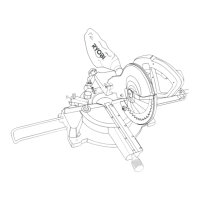
Depress the blade lock button while rotating the blade. The
blade lock button will move into the blade lock posititon. (Fig.
11)
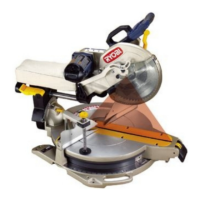
Remove the blade bolt and outer blade flange and replace the
blade. Use wrench to loosen the blade bolt. Please Note - This is
a left hand thread! Reattach the outer blade flange and secure
SQUARING THE BLADE TO THE MITRE TABLE AT 0
0
Pull the saw arm all the way down and engage the lock down
pin to hold the saw arm in the transport position.
Unlock the bevel lock lever and move the saw arm to the 0˚
position and lock the bevel lock lever. (Fig.13)
0˚ Bevel
Positioning Bolt
Lay the set square on the mitre table and against the blade
and if the blade and mitre table do not align adjust as follows.
(Fig. 14)
Unscrew the 0
0
bevel positioning bolt at the right hand side as
shown. (Fig.15)
Correctly align the blade and mitre table using the set square
and lock the bevel lock lever. ( Fig.16)
Reset the 0
0
bevel positioning blot so when the saw arm is
moved to the 0
0
bevel position the bolt bottoms out on the 0
0
bevel positioning bar (Fig 17) and adjust the pointer to the 0
0
position. (Fig. 18)
ADJUSTMENTS
WARNING: If the inner blade washer has been
removed, replace it before placing blade on
spindle. Failure to do so could cause and acci-
dent since blade will not tighten properly.
CAUTION: Always install the blade with the
blade teeth pointing in a downward direction.
Fig.11
Fig.12
Fig.13
Fig.14
Fig.15
Fig.16
Fig.18
0˚ Bevel
Positioning bolt
Fig.17
Page 8
the blade bolt tightly and reattach the lower blade guard. (Fig.12)