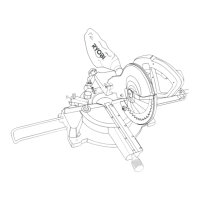
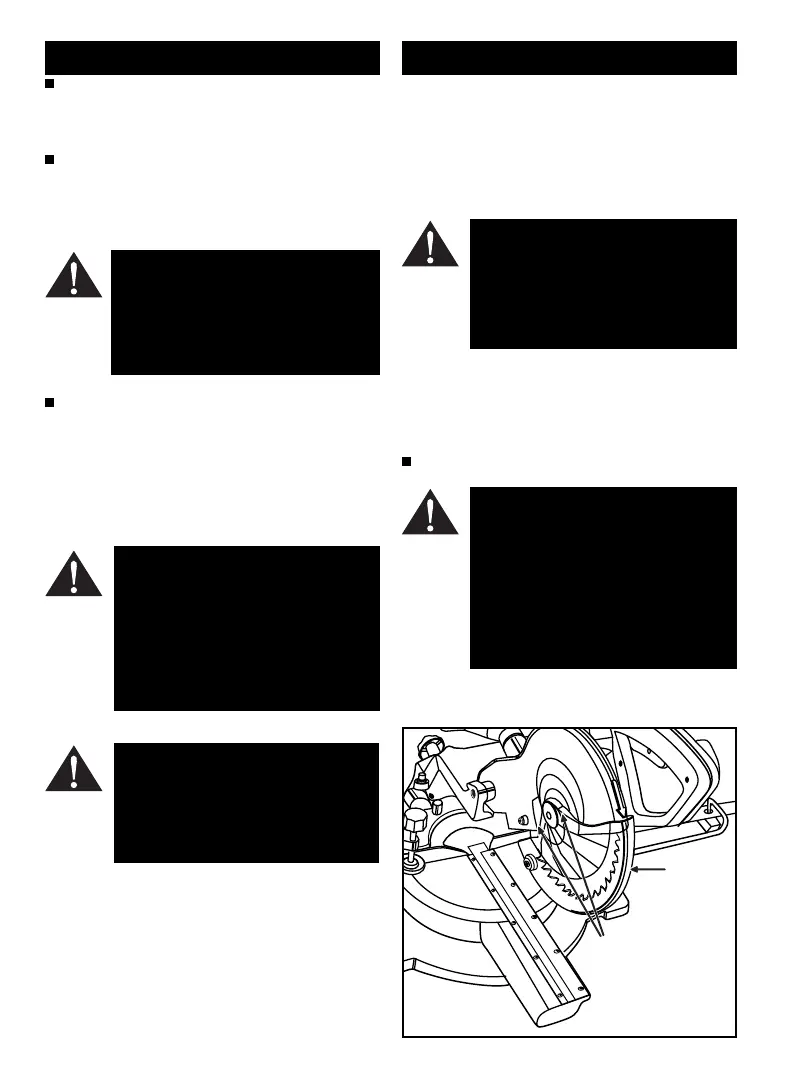
Lower Blade Guard
Arm Screws
Lower
Blade
Guard
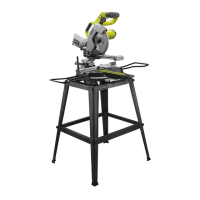
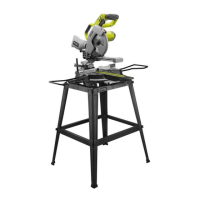
ASSEMBLY
WARNING: Your slide compound mitre saw
has 4 holes for mounting to the workbench. Al-
ways make sure your compound mitre saw is
securely mounted to a workbench or an ap-
proved workstand. Failure to do so could re-
sult in an accident causing serious personal
injury.
WARNING: The operation of any power tool
can result in foreign objects being thrown into
your eyes, which can result in severe eye
damage. Before beginning power tool
operation, always wear safety goggles or safety
glasses with side shields and a full face shield
when needed. We recommend a Wide Vision
Safety Mask for use over eyeglasses or stan-
dard safely glasses with side shields.
WARNING: Do not attempt to modify this tool
or create accessories not recommended for
use with this tool. Any such alteration or modi-
fication is misuse and could result in a hazard-
ous condition leading to possible serious per-
sonal injury.
ADJUSTMENTS
WARNING: To prevent accidental starting that
could cause possible serious personal injury,
assemble all parts to your saw before connect-
ing it to the power supply. The saw should never
be connected to power supply when you are
assembling parts, making adjustments, install-
ing or removeing blades, or when not in use.
DANGER: A 254mm x 1.8mm diameter blade
is the maximum blade capacity of your saw.
Never use a blade that is too thick to allow outer
blade washer to engage with the flats on the
spindle. Larger blades will come in contact with
the blade guards, while thicker blades will pre-
vent the blade screw from securing the blade
on the spindle. Either of these situations will
result in a serious accident and can cause se-
rious personal injury.
Remove the two lower guard arm screws and raise the lower
guard. (Fig.10)
Fig.
10
FENCE
The rear fence on your slide compound mitre saw has been
provided to hold your workpiece securely against when mak-
ing all cuts.
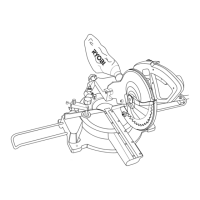
SELF-RETRACTING LOWER BLADE GUARD
The lower blade guard is made of shock-resistant, see-through
plastic that provides protection from each side of the blade. It
retracts over the upper blade guard as the saw is lowered into
the workpiece.
ELECTRICAL CONNECTION
You saw has a precision built electric motor. It should be con-
nected to a power supply that is 240 volts AC, 50-60 Hz,
only (normal household current). Do not operate this tool on
direct current (DC). A substantial voltage drop will cause a loss
of power and the motor will overheat. If your tool does not op-
erate when plugged into an outlet, doutle check the power
supply.
Your compound mitre saw has been adjusted at the factory for
making very accurate cuts. However, some of the components
might have been jarred out of alignment during shipping. Also,
over a period of time, readjustment will probably become nec-
essary due to wear. After unpacking your saw, check the fol-
lowing adjustments before you begin using saw. Make any re-
adjustments that are necessary and periodically check the parts
alignment to make sure that you saw is cutting accurately.
As mentioned previously your saw has been factory assembled
and adjusted. The dust bag, vice, material supports and the
mitre table lock handle are the only parts that have to be
installed.
REPLACING BLADE (Fig 11)
Page 7
 Loading...