Do you have a question about the Safavieh Outdoor Deacon PAT7050A and is the answer not in the manual?
| Brand | Safavieh Outdoor |
|---|---|
| Model | Deacon PAT7050A |
| Category | Outdoor Furnishing |
| Language | English |
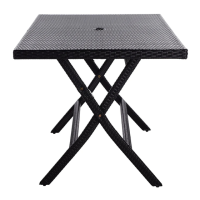
Attach the legs to the table top underside using bolts and washers.
Final confirmation that the table assembly is complete.
Attach leg frames to the cross bar using screws.
Attach seat and back frames to the assembled leg structure using screws.
Attach leg frames to the back and seat frames using bolts.
Tighten bolts to secure the seat frame and leg frames.
Place the seat and back cushions into the assembled chair.
Caution: Ensure the chair is used on a flat, level surface.
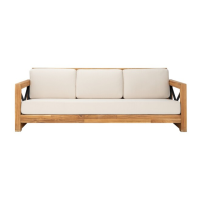
Attach leg frames to the cross bar using screws.
Attach seat and back frames to the assembled leg structure using screws.
Attach leg frames to the back and seat frames using bolts.
Tighten bolts to secure the seat frame and leg frames.
Place the seat and back cushions into the assembled bench.
Caution: Ensure the bench is used on a flat, level surface.