or want to return to the factory settings, please follow steps below.
Distributor: Importer: QL CONTROLS Sp. z o.o., Sp.k.
Rolna 4, 43-262 Kobielice, Poland
www.salus-controls.eu
SALUS Controls plc
Salus House, Dodworth Business Park
Whinby Road, Barnsley S75 3SP, United Kingdom
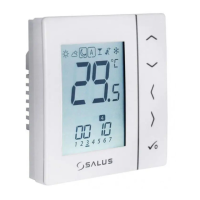
Factory Reset
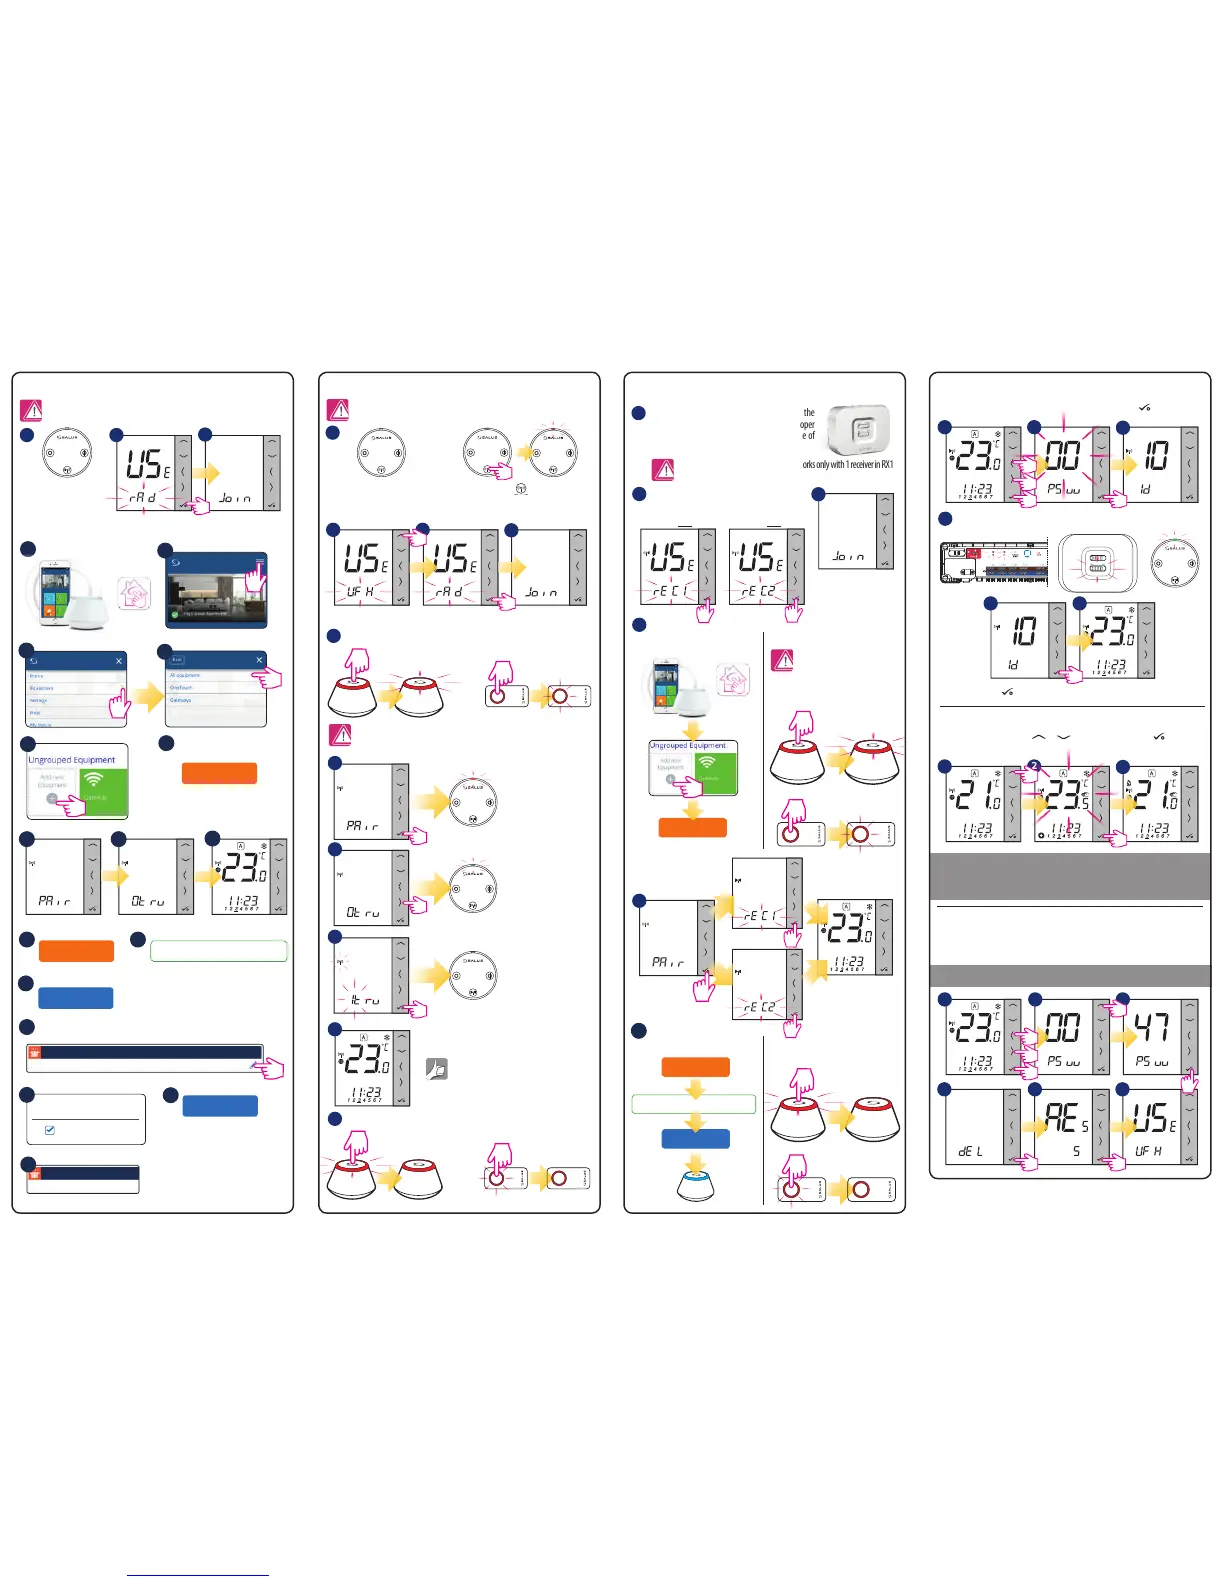
Pairing thermostat with TRV in Offline mode Pairing thermostat with RX10RF boiler receiver
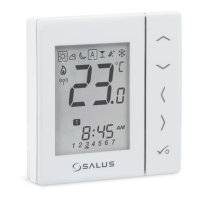
Identification of paired devices
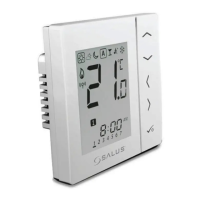
Temperature change
Pairing thermostat with TRV in Online mode
1
1
1
5
6
7
8
9
10
2
3
4
5
6
7
8
9
13
15
16
18
17
19
14
Scan for equipment
Name this equipment
Living room
Connect equipment
Finish
Save
0 TRVs on this thermostat
Select TRV(s) for Living room
TRV-1 Living room
1 TRVs on this thermostat
3
WARNING! Do not use CO10RF coordinator with UGE600 simultaneously.
Thermostat will go to the home screen.
Open the tab with the main parameters of the thermostat, set to work with TRV.
Install the RX10RF boiler receiver according to the
instructions attached to the product. Choose proper
mode configuration with RX1/RX2 switch inside of
RX10RF, then prepare regulator for pairing.
Enter the installer mode, select code “00” and confirm it with button.
To set the temperature, press or , and then confirm it with button.
LED diodes on the devices connected to the thermostat will start to blink.
RX10RF in RX1 mode
Run thermostat in extended configuration
mode and select the device type:
RX10RF in RX2 mode
Device is paired with
coordinator, diode on
the TRV will start to blink
orange.
Press to exit the test menu.
Diode on the TRV will
light up once green
and stop blinking.
TRV has been added.
5 sec
5 sec
5 sec
OR
OR
Hold the button for 10 seconds,
The LED on the head should start
to blink red.
10 sec
Install the TRV on the valve
according to the instructions
attached to the product.
Select the device
type - TRV.
Select the device
type - TRV.
Install the TRV on the valve
according to the instructions
attached to the product.
10 11
12
SALUS
Smart Home
2
1
1
2
4
3
4
3
3
65
3
Open the ZigBee network
Close the ZigBee network.
Scan for equipment
WARNING!
Do not use CO10RF coordinator
with UGE600 simultaneously.
WARNING! In network coordinator can works only with 1 receiver in RX1
mode and 1 receiver in RX2 mode.
Open the ZigBee network
Online Offline
OR
OR
OR
SALUS
Smart Home
5 sec
5 sec
5
Name this equipment
Boiler
Connect equipment
Finish
Close the ZigBee network
OR
6
Online Offline
5 sec
5 sec
5 sec
5 sec
5 sec
3
2
2
4
5 sec
5 sec
5 sec
5 sec
WARNING! You can connect up to 6 heads to one thermostat.
WARNING! You can connect up to 6 heads to one thermostat.
 Loading...