57
7
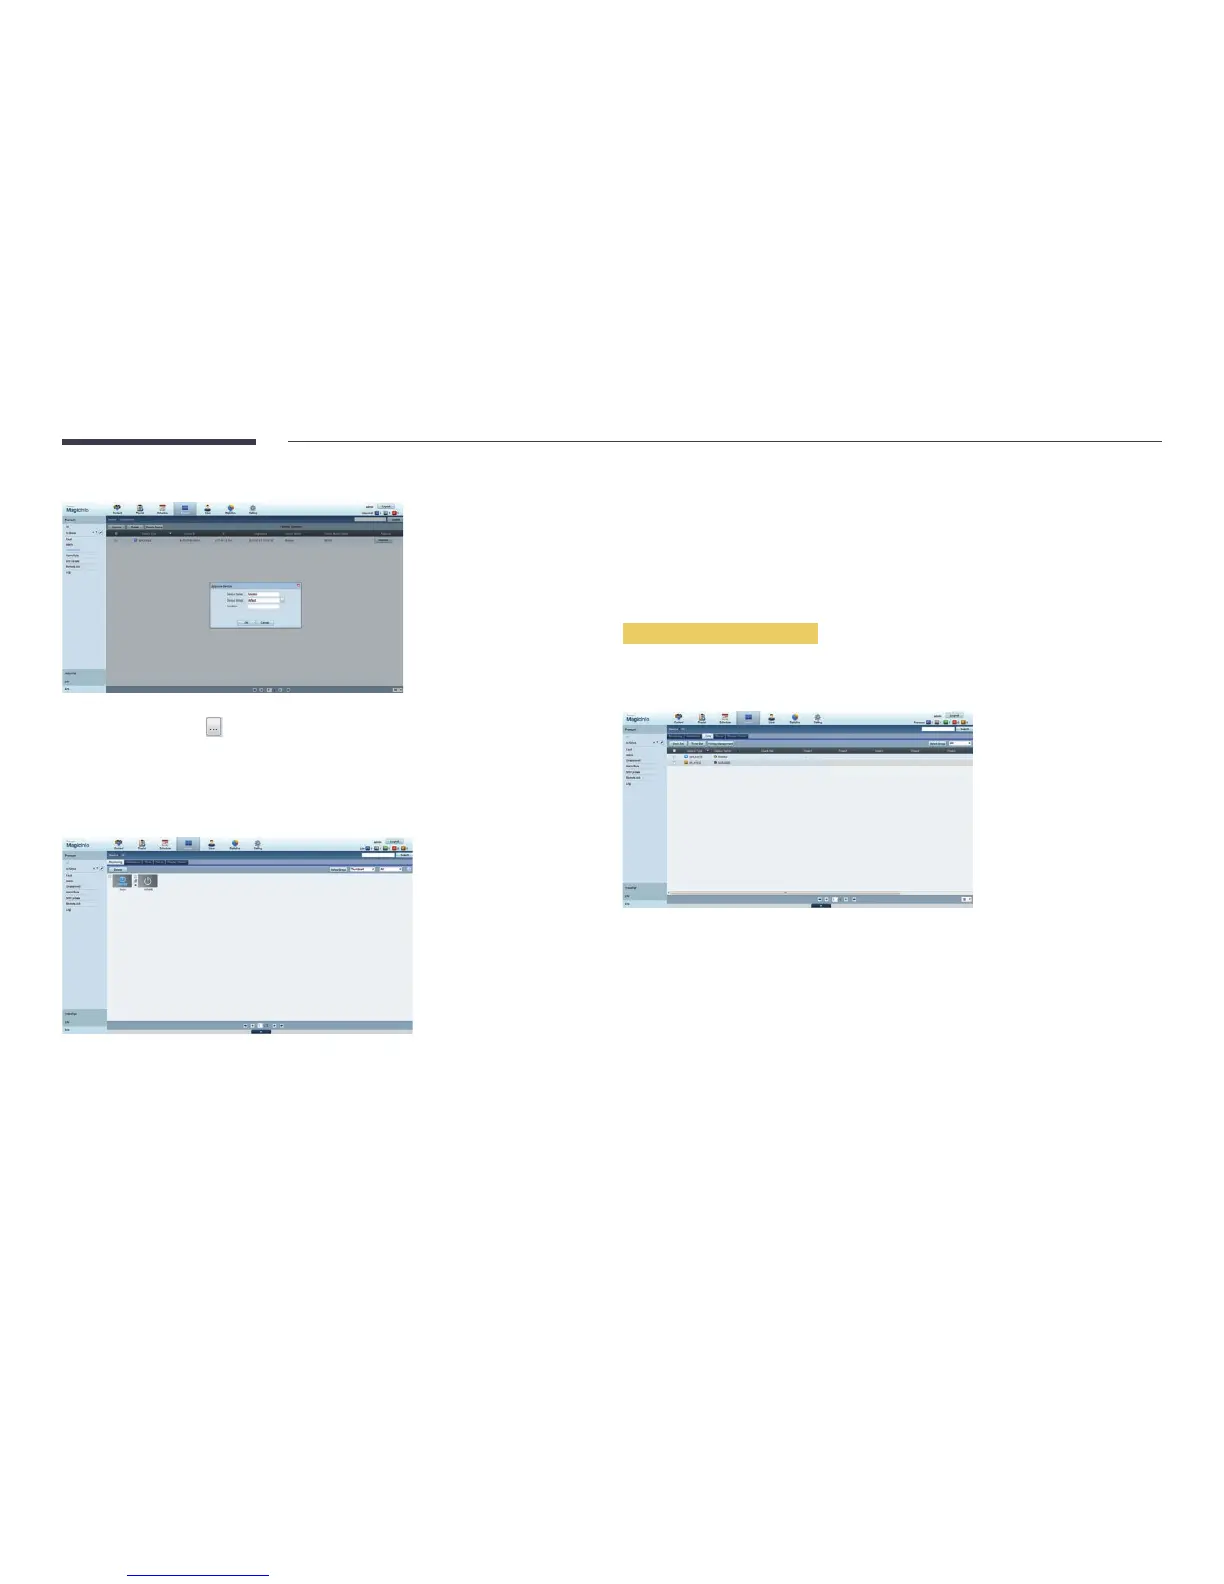
Enter the information required to approve the device.
•
Device Name: Enter the device name.
•
Device Group: Select
to specify the group.
•
Location: Enter the current location of the device.
―
Pressing the INFO button on the remote when a network schedule is running will display the details of
the schedule. Check that the correct device has been selected by viewing the device ID in the details.
8
Select the All menu to check that the device has been registered.
9
When the device is approved by the server, the schedule registered in the selected group will be
downloaded to the device. The schedule will run after it is downloaded.
―
For further details on how to configure a schedule, refer to the <MagicInfo Premium Server user's
manual>.
―
If a device is deleted from the list of devices approved by the server, the device will reboot to reset its
settings.
Setting the current time
A schedule may not run if the time set on the device is different from the server's current time.
1
Go to the tabs Device → Time.
2
Select your device.
3
Select Clock Set, and sync the time with the server.
•
When connecting to the server for the first time, the time on the product is set using the GMT time
of the region where the server is installed.
•
The time on the product can be changed from the server as shown in step 3.
•
Turning the product off and then on again will restore the time setting on the product to the last
time that was set from the server.
―
For further details on how to manage the time (scheduling, holiday management, etc.), refer to the
<MagicInfo Premium Server user's manual>.
 Loading...