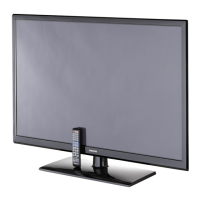
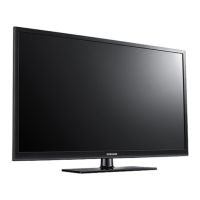
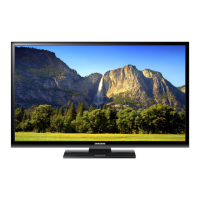
Part Name Description Description Photo
Cover
Rear
① Remove 4 screws. ( )
: M8,L16,ZPC(BLK),SWRCH18A,WP
② Remove 13 screws. ( )
: BH,+,B,M4,L3,ZPC(BLK)
③ Remove 6 screws. ( )
: PH,+,WSP,S,M4,L35,ZPC(BLK)
④ Remove the 2 machine screws. ( )
: BH,+,S,M4,L10,ZPC(BLK)
⑤ Remove the rear cover.
: Please lay the PDP unit face down on a
soft surface when removing the stand.
Disassembly & Reassembly
Samsung Electronics 3-1
3. Disassembly & Reassembly
3-1 Overall Disassembly & Reassembly
3-1-1 Separation of ASSY COVER P-REAR
Notice
- Be sure to separate the power cord before disassembling the unit.
- Discharge the capacitors first when separating PCB's with high capacity capacitors such as SMPS, X Main Board, Y Main
Board, etc. (A spark may be generated by the electric charge, and there is danger of electronic shock.)
- Check that the cables are properly connected referring to the circuit diagram when disassembling or assembling the unit
taking care not to damage the cables.
- Take care not to scratch the Glass Filter in the front.
- Assemble the boards in the reverse order of the disassembly.
- The plasma must be layed down on a flat padded surface for disassembly and reassembly.
<42">
<50">

 Loading...


