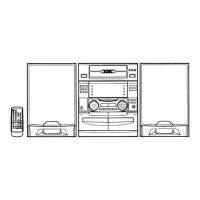
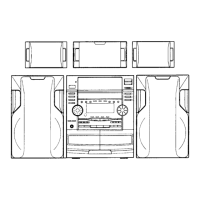
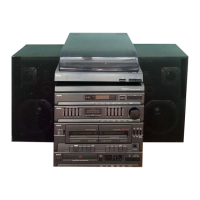
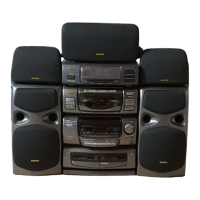
SANYO HT-F450 surround processor
Remove the two jumper pins between the “IW and “OUT” PROCESSOR
sockets.
Connect audio leads (not supplied) from the PROCESSOR OUT sockets
of the HT-F450 surround processor to the “IN” PROCESSOR sockets.
Connect audio leads from the LINE IN sockets of the HT-F450 to tine
“OUT” PROCESSOR sockets.
When not in use, keep the pins in the “IN” and “OUT’ PROCESSOR
sockets.
Refer to the instructions suppfied with the HT-F450 for more details.
For system control operation, connect the system control lead (supplied
with the HT-F450) from the SYSTEM CONTROL socket of the HT-F450
to the SYSTEM CONTROL FOR PROCESSOR socket.
System control operation
The AC power to the connected HT-F450 is turned on and off with the
STANDBY/ON or POWER button on the DC-F300.
IMPORTANT NOTE
In case of playing or recording the audio source from TV, VCR, Laser
di” or others while using wi}h HT-F450 surround processor;
For playing:
1.. For UK: Set the VIDEO/PHONO select switch to VIDEO on the
DC-F300.
2 Select VIDEO/PHONO or VIDEO function on the DC-F300.
t%r recording:
t- Do not connect any non-supplied audio leads to the HT-F450.
2+. Connect audio leads (not supplied) from the audio output sockets
of desired sets (recording source) to the VIDEO/PHONO IN or
VIDEO IN sockets of the DC-F300.
3 For UK Set the VIDEO/PHONO select switch to VIDEO on the
DC-F300.
4. Select ViDEO/PHONO or VIDEO function on the DC-F300.
DO not activate the
SRS (Sound Retrieval System) on the DC-F300
mile using with HT-F450 surround processor.
lf you want to turn the SRS on, select the surround off mode on the
+T-F450.
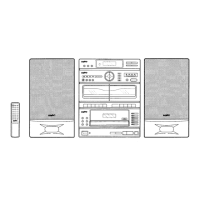
CD player section
9
1. Repeat button (REPEAT)
2. Disc check button (DISC CHECK)
3. Disc select buttons/indicators (DISC l/DISC 2/DISC 3)
4. Disc tray open/close button (OPEN/CLOSE)
5. Play/Pause button ( ➤/11 PLAY/PAUSE)
6. Stop button ( ■ STOP)
8
7
7. Skip/Search buttons (SKIP/SEARCH)
8. Disc trays (inside the door)
9. Edit button (EDIT)
10. Computer recording buttons (COMPUTER REC)
11. Memory button (MEMORY)
(This button can also be used as a tuner memory button.)
5
 Loading...