Step 1
å
Assemble your unit on a carpeted fl oor or on the empty carton to avoid scratching your unit or the fl oor.
å
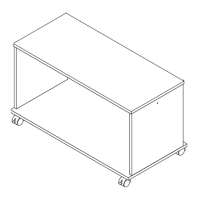
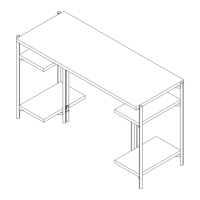
Place the LEGS (A and B) into the BRACES (C) as shown.
å
Fasten the LEGS (A and B) to the BRACES (C). Use eight BLACK 3/8" HEX HEAD SCREWS (2) with the L-WRENCH (3).
å
Then, fasten the TOP (D) to the LEGS (A and B). Use four BLACK 1-3/8" FLAT HEAD SCREWS (1).
å
NOTE: You may want to start each SCREW a few turns before completely tightening any of them.
å
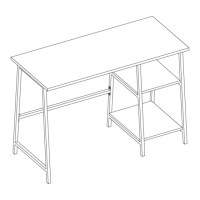
Carefully stand your unit upright.
å
NOTE: Please read the back pages of the instruction
booklet for important safety information.
å
This completes assembly. Clean with a damp cloth.
Wipe dry.
Step 2
Page 3www.sauder.com424273
A
B
C
C
25 lbs.
BLACK 3/8" HEX HEAD SCREW
(8 used in this step)
2
3
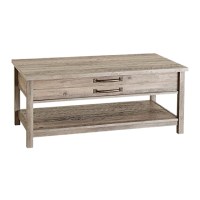
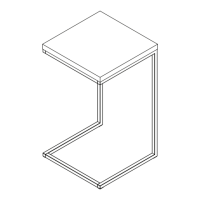
Meet Part (D). This component has
been engineered to be lighter, stronger,
faster… well ok. Not technically faster.
But defi nitely makes for a sturdier Side
Table that’s easier to assemble and
friendlier to the environment.
C
A
B
C
D
BLACK 1-3/8" FLAT HEAD SCREW
(4 used in this step)
1
And to celebrate, why not share your success story
at Walmart.com or