Step 8
å
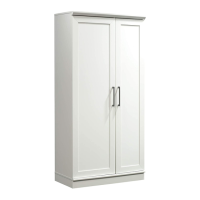
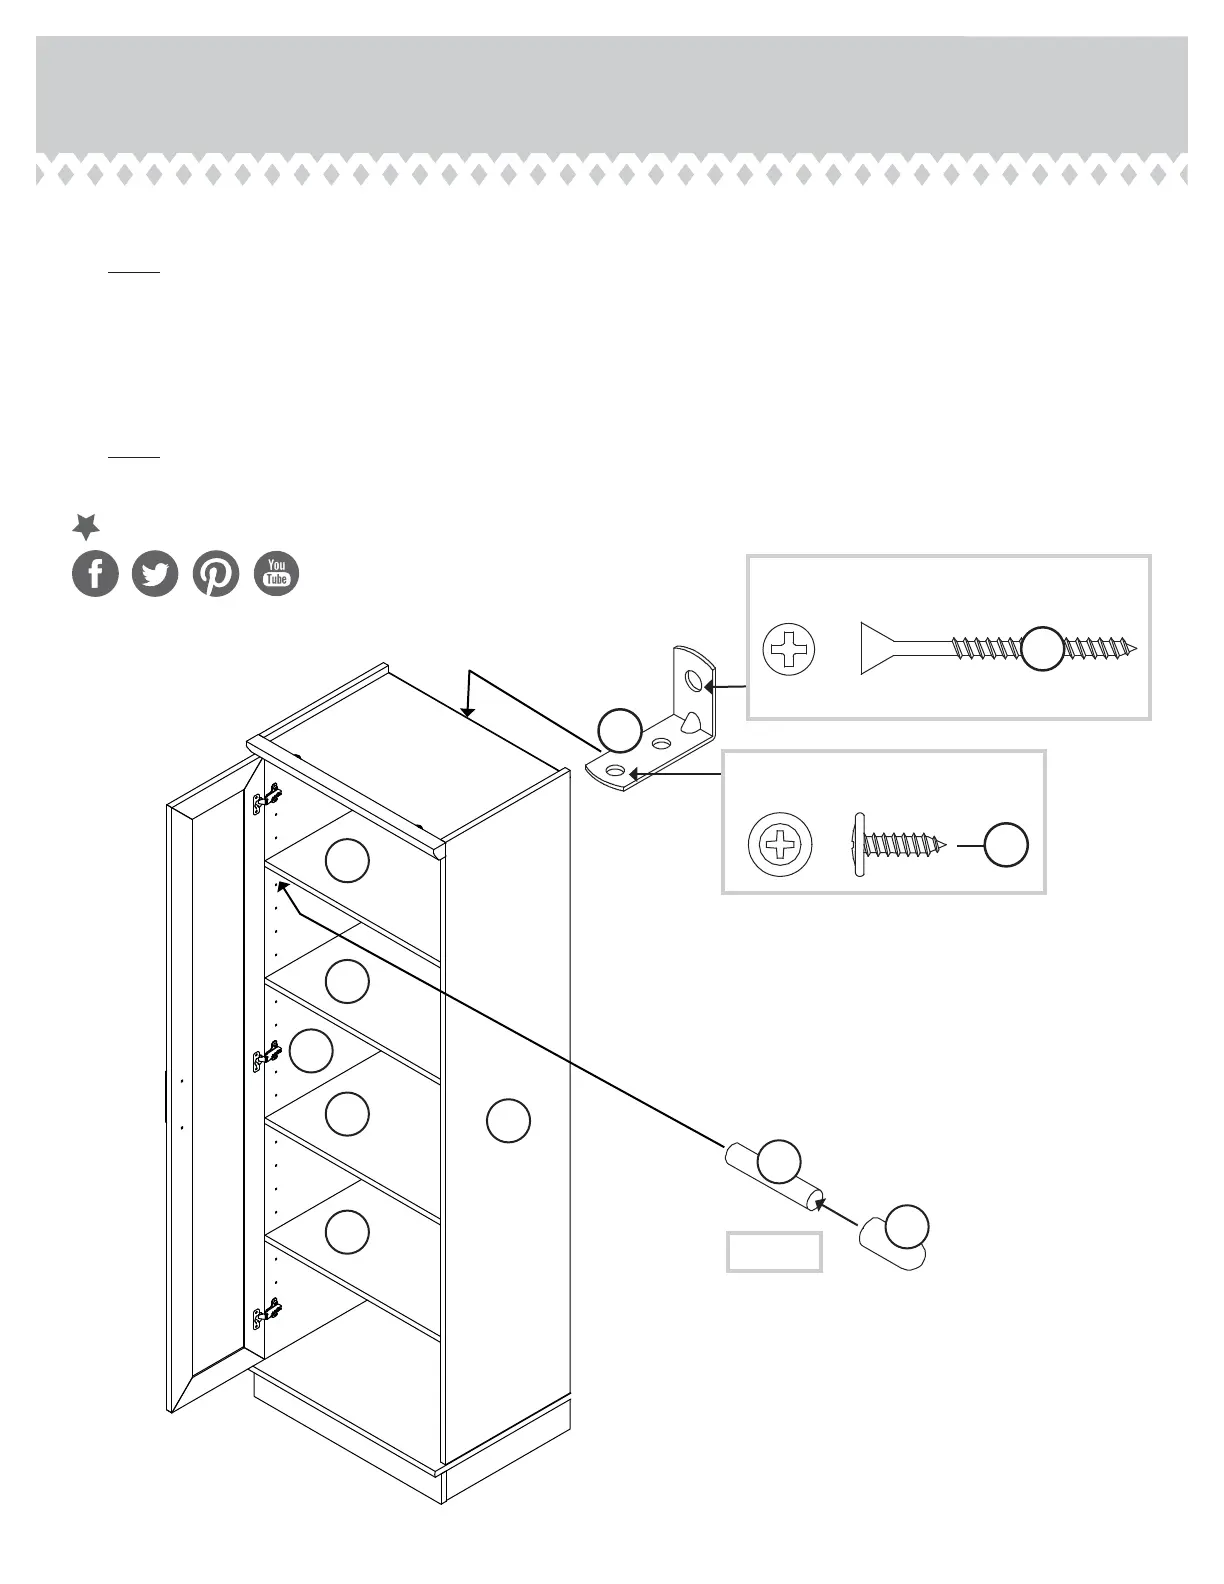
Place your unit into its fi nal position against a wall.
å
NOTE: To raise a corner of the unit, turn the ADJUSTABLE GLIDE counter-clockwise. To lower a corner, turn the
ADJUSTABLE GLIDE clockwise.
å
Fasten the SAFETY BRACKET (O) for added stability. Use a BLACK 9/16" LARGE HEAD SCREW (X) into the top of the
unit and a BLACK 1-7/8" FLAT HEAD SCREW (V) into a stud in your wall.
å
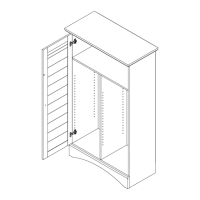
Push the RUBBER SLEEVES (S) over the METAL PINS (Q). Insert the METAL PINS into the hole locations of your choice in
the ENDS (A and B). Set the ADJUSTABLE SHELVES (G) onto the METAL PINS.
å
NOTE: Please read the back pages of the instruction booklet for important safety information.
å
This completes assembly. Clean with your favorite furniture polish or a damp cloth. Wipe dry.
411963 www.sauder.com/servicesPage 12
Q
S
A
B
G
25 lbs.
50 lbs.
No load
O
X
BLACK 9/16" LARGE HEAD SCREW
(1 used into the top of your unit)
BLACK 1-7/8" FLAT HEAD SCREW
(1 used into a stud in your wall)
V
And to celebrate, why not share your success story?
G
25 lbs.
G
25 lbs.
G
25 lbs.
(16 used)