www.scheppach.com / service@scheppach.com / +(49)-08223-4002-99 / +(49)-08223-4002-58
42
|
GB
Attention! Fill only a small amount of grease. Do not
overll.
Change and clean the spark plug Fig. 30-31
Check the spark plug air gap at least once a year or
when the engine starts poorly. The correct gap be-
tween ignition ag and ignition contact is 0.25"/0.63
mm.
• Wait until the engine has cooled down completely.
• Pull the spark plug cap o the spark plug, and
use the supplied spark plug wrench to remove the
spark plug by turning.
• When the electrode is severely worn out or reveals
a strong incrustation, the spark plug must be re-
placed with an equivalent plug.
• A strong incrustation of the spark plug can be
caused by: Amount of oil is too high in the gasoline
mix, poor oil quality, old gasoline mix, or plugged
up air lter.
• Screw the spark plug by hand completely into the
thread. (Avoid jamming it)
• Use the supplied spark plug wrench to tighten the
spark plug.
• When using a torque wrench, the tightening torque
is 1215 Nm.
• Plug the spark plug socket correctly on the plug.
Clean the air lter Fig. 32-35
Soiled air lters reduce the engine power by sup-
plying too little air to the carburetor. Dust and pollen
plug up the pores of the lter made of foamed plastic.
Regular checks are therefore essential.
• Unclip the air lter cover and remove the sponge
lter element.
• To avoid objects falling into the air tank, replace
the air lter cover.
• Wash the lter element in warm soap water, rinse
and allow drying naturally.
Important: Never clean the air lter with petrol or
inammable solvents.
In order not to shorten the service life of the engine,
a damaged air lter must be replaced at once.
m Warning!
Never run the engine without the air lter ele-
ment installed.
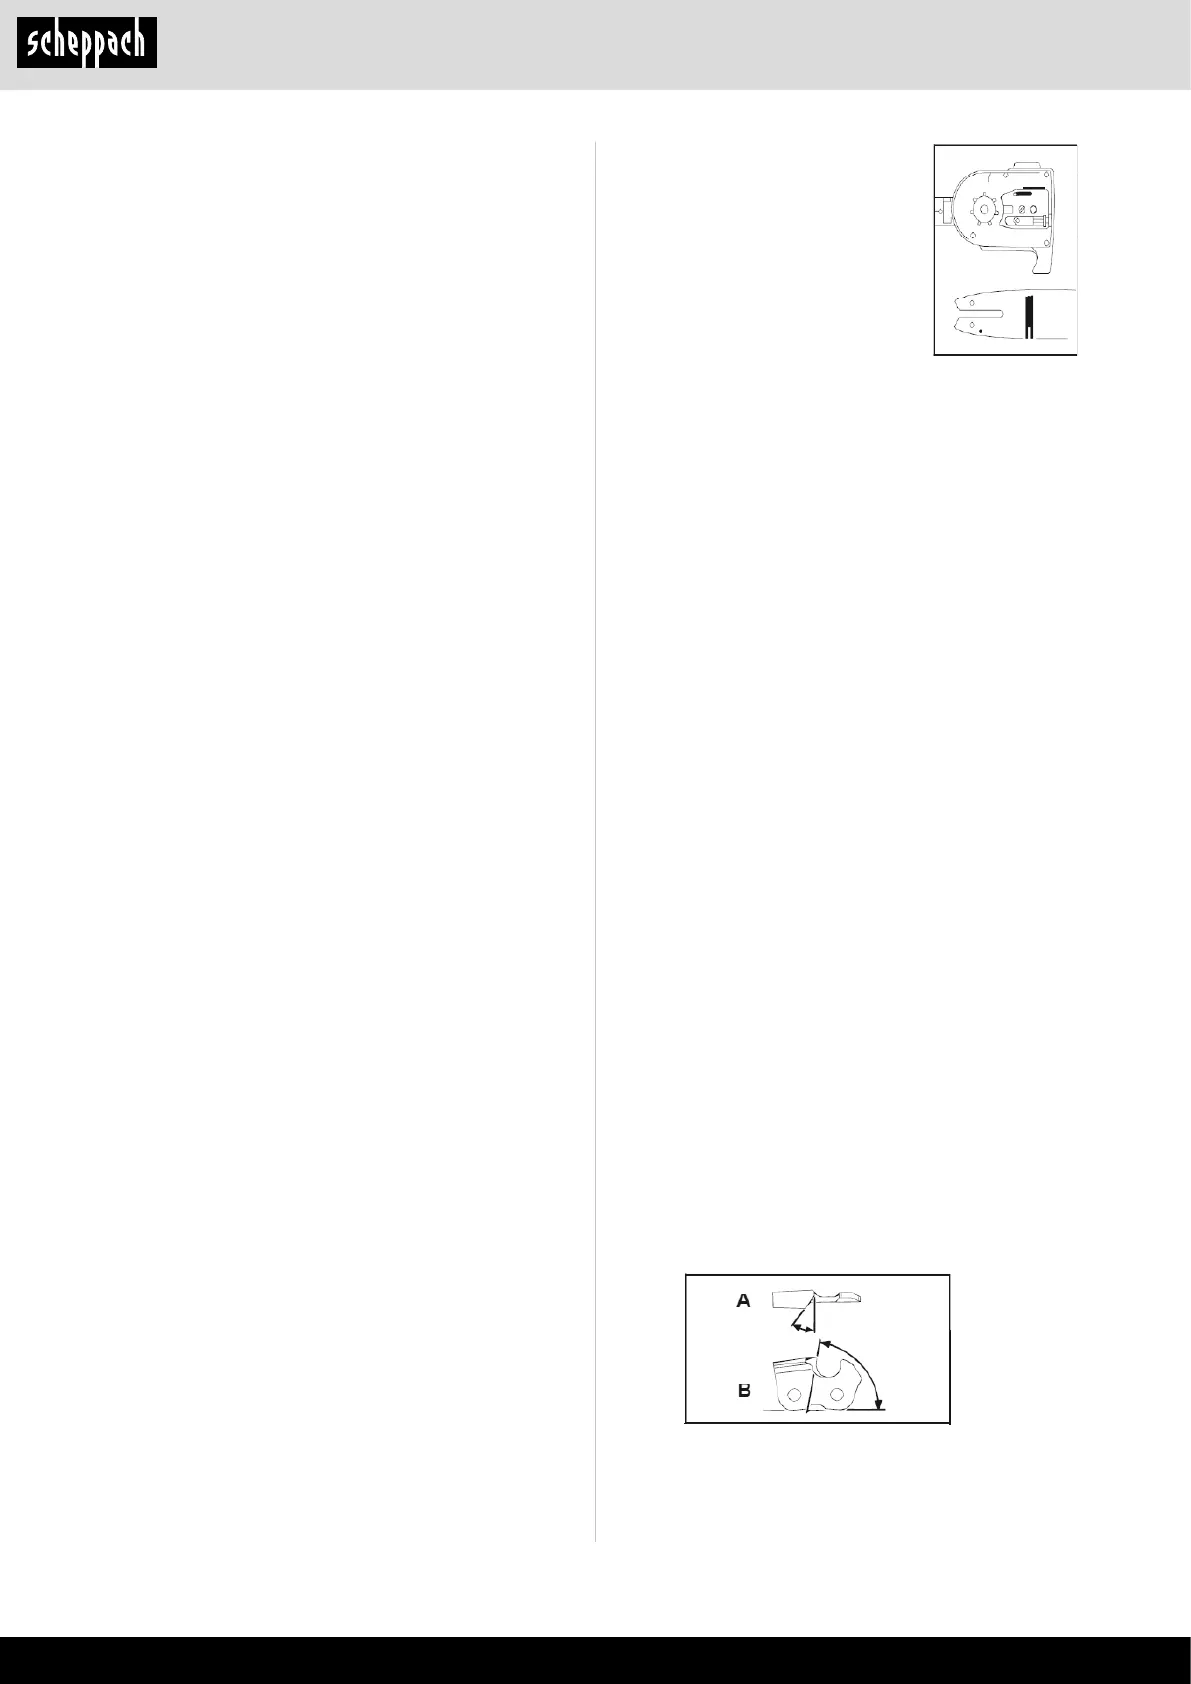
Care of the guide rail
Turn the rail around every time you have the chain
sharpened or replaced. This will avoid a onesided
wear of the rail, especially at the top and bottom.
Regularly clean
1 = the opening for the oil supply
2 = the oil passage
3 = the raceway groove of the rail
Servicing and sharpening of saw chain
The correct sharpened chain
Working eectively with the chainsaw is only pos-
sible if the chain is in good condition and sharp.
This also reduces the risk of kickback. The chain
can be resharpened by any dealer. Do not at-
tempt to sharpen the chain yourself unless you
have the necessary special tools and experience.
A properly sharpened chain goes way through the
wood and it requires very little pressure. Do not work
with a dull or damaged chain. It increases physical
exertion, increase the vibrations and leads to unsat-
isfactory results and higher wear.
• Clean the chain.
• Check it.
• Replace damaged or worn parts with matching
spare parts they are in the shape and size of the
original parts as necessary.
• Sharpening a chain should be performed only by
experienced users!
• Notice. Below the angle and dimensions If the
chain is not properly sharpened or the depth is too
small, there is a higher risk of reversion eects and
resulting injuries!
• The chain cannot be xed on the guide rail. It is
therefore best to remove the chain from the rail
and then sharpen.
• Select the appropriate tools for the chain pitch
sharpening tool. See "Specications" for the al-
lowed chain pitches.
The chain pitch (for example 3/8 ") is highlighted in
the depth of each blade. Use only special les for
chain saws! Other les have the wrong shape and
the wrong cut. Select the le according to the diam-
eter of your chain pitch. Make sure to observe the
following angle when sharpening the chain diameter.
A = ling angle
B = the angle of the side plate
The angle must also be maintained for all knives.
3
2
1


 To Next Page
 Loading...