
A
Angela HeathSep 10, 2025
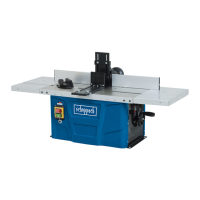
What to do if my Scheppach Industrial Equipment switches off automatically?
- Ddenise73Sep 12, 2025
If your Scheppach Industrial Equipment machine switches off automatically while idling, it could be due to a mains failure. Check the fuse on the mains side. Also, due to the built-in undervoltage protection, the machine does not restart by itself and must be switched on again when the voltage is restored.