Nachdrucke, auch auszugsweise, bedürfen der Genehmigung.
Technische Änderungen vorbehalten. Abbildungen beispielhaft!
Art.Nr.
5902106901
AusgabeNr.
5902016901_0101
Rev.Nr.
12/07/2021
DE
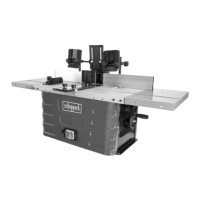
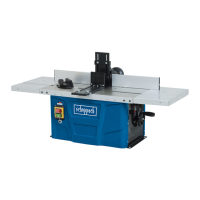
Tischfräsmaschine
Originalbedienungsanleitung
8
GB
Table milling machine
Translation of original instruction manual
24
FR
Défonceuse stationnaire
Traduction des instructions d’origine
37
IT
Fresatrice da banco
La traduzione dal manuale di istruzioni originale
51
NL
Tafelfreesmachine
Vertaling van de originele gebruikshandleiding
65
ES
Fresadora de mesa
Traducción del manual de instrucciones original
79
PT
Fresadora de mesa
Tradução do manual de operação original
93
HF60