www.scheppach.com
GB
|
35
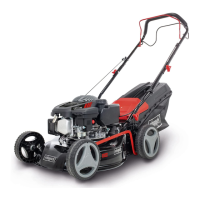
8. Fix the cables to the push bar with the cable clips
(18) provided (Fig. 7).
9. Grass box (16) - open it up and click the plastic
clips into position on the frame (Fig. 8).
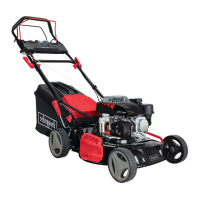
10. Mowing with grass box:
hang the grass box (16) as shown in Fig. 9.
11. Mulching:
If the grass box (16) is attached, remove it and
replace it with the mulch insert (19) as shown in
Fig. 10-12.
Attention:
The side discharge cover must not be installed when
mulching.
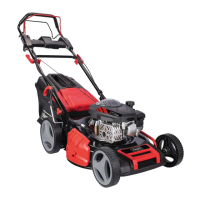
Setting the cutting height
m CAUTION! Adjust the cutting height only when
the engine is switched o and the plug boot has
been pulled.
• Before you begin to mow, check to ensure that the
blade is not blunt and that none of the fasteners are
damaged.
• To prevent any imbalance, replace blunt and/or
damaged blades as a set only (if applicable). To
pull the spark plug boot.
• The cutting height is centrally adjusted with the cut-
-
ent cutting heights can be selected.
• Pull the adjustor lever out and select the desired
cutting height. The lever snaps into the desired po-
sition. (Fig. 13)
Preparing the area to be mowed
Before mowing, carefully examine the area. Remove
stones, sticks, bones, wires, toys and other objects
that may be ejected.
9. Operation
m ATTENTION!
Always make sure the device is fully assembled
before commissioning!
Charge Battery Pack
Improper use of the battery and charger can result in
When Charging Battery Pack
• Charge battery pack only with original battery
charger.
• Do not use battery charger to charge any other
types of batteries.
• Keep battery charger dry. Avoid exposing battery
pack to rain or wet conditions.
• When ordering please provide our article number
as well as type and year of manufacture for your
equipment.
m ATTENTION!
The device and the packaging material are not
children‘s toys! Do not let children play with
plastic bags, lms or small parts! There is a dan-
ger of choking or suocating!
8. Assembly / Before commissioning
m ATTENTION!
Always make sure the device is fully assembled
before commissioning!
Some parts of the mower come disassembled. For
quick and easy assembly, read and follow the instruc-
tions below.
Note!
You will need the following additional tools (not sup-
plied) for assembly, and also for maintenance work:
•
• A 1 litre measuring jug (oil/petrol resistant)
• -
erating hours)
•
• Household wipes (to wipe up oil/petrol residue; dis-
• A petrol suction pump (plastic, available from DIY
stores)
• An oil can with hand pump (available from DIY
stores)
• 0,5 litre of engine oil (SAE 30)
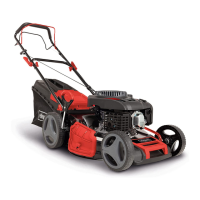
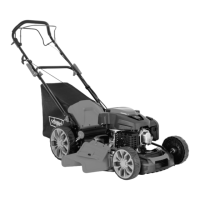
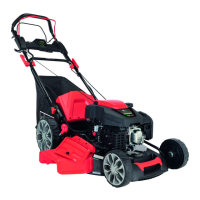
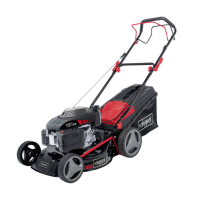
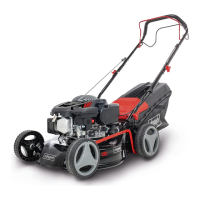
Assembly
1. Take the mower and attachment parts out of the
packaging and check that all parts are present.
2. Attach the lower push bar to both sides of the mow-
er with one screw (a), 1 washer (c), 1 plastic star
grip nut (d) each. Make sure that the cables, which
will be attached later, are not in the way (Fig. 2-3).
3. Attach the upper push bar on the lower push
bar with one quick-release lever (5), one wash-
er big (b), one washer small (c) and one plastic
star grip nut (d) each on both sides (Fig. 4-5).
Note the correct alignment of the quick-release le-
-
tion remains intact.
4. Guide the gas throttle through the electric starter
5. Insert the throttle cable into the engine brake le-
ver (3) using applier. (Fig. 5b-5c)
6. Secure the electric starter unit (18) using the
7. Insert the pull start handle (17) in the designated
hook as shown in Fig. 6.