Do you have a question about the Schiller CARDIOVIT AT-1 and is the answer not in the manual?
Details the warranty terms for the AT-1 / AT-1smartprint, including exclusions and liabilities.
Outlines the responsibilities of physicians regarding the use and interpretation of the ECG unit.
Provides essential safety information, cautions, and warnings for operating and maintaining the unit.
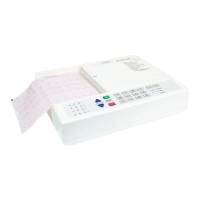
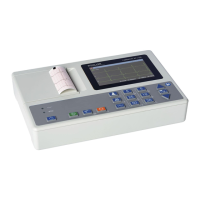
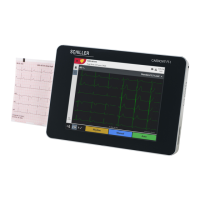
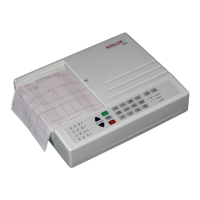
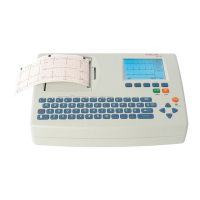
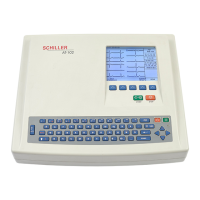
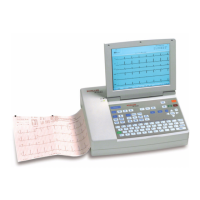
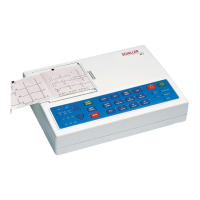
Provides an overview of the AT-1 / AT-1smartprint, its features, and basic operation.
Details the recommended operating environment and power supply options for the ECG unit.
Explains the layout and function of each key on the ECG unit's keyboard.
Provides quick, step-by-step instructions for common operating tasks.
Describes the Automatic and Manual modes for ECG recording and their settings.
Explains how to program and configure various parameters of the ECG unit.
Provides a functional overview of the AT-1 / AT-1smartprint electronics.
Details the Power Supply, CPU, memory, and thermal printhead controller on the main board.
Covers key board functions: paper mark, reset, motor control, power supplies, ECG signal, and noise damping.
Explains procedures for identifying faulty modules and minimizing test equipment usage.
Provides a flowchart for diagnosing common faults and identifying potential faulty modules.
Outlines basic functional checks to verify unit operation after component replacement.
Details how to perform a built-in printer test to check pixel operation and print quality.
Troubleshooting guide for issues related to the external inkjet printer connection and output.
Provides an overview of procedures to remove and replace modules, including prerequisites and tools.
Lists essential warnings and cautions to observe before and during module maintenance procedures.
Describes the unit's construction, components, and the test equipment required for maintenance.
Details the prerequisites, tools, and step-by-step procedure for safely opening the unit's case.
Step-by-step instructions for removing the top housing assembly from the unit.
Step-by-step instructions for correctly replacing the top housing assembly.
Instructions for removal and replacement of the ECG Interface Board MK 11-2.
Procedures for removing and replacing the printer tray and thermal printer assembly.
Step-by-step instructions for removing the thermal printer unit.
Instructions for removing and replacing the printer motor.
Procedures for removing and replacing the Control and Power Supply Board MK 11-10.
Details the removal and replacement of the internal battery pack.
Instructions for reprogramming static settings, date, and time after battery replacement.
Provides procedures for checking and adjusting service settings and component voltages.
Lists safety warnings, cautions, and environmental conditions for performing adjustments.
Lists the proprietary and dedicated test equipment required for fault finding and adjustments.
Procedure for checking and adjusting the battery charge voltage (VR4).
Procedure for adjusting ECG amplifier reference voltage and PWM ramp (VR2, VR3).
Provides contact details and information required for ordering spare parts and accessories.
Lists part descriptions and corresponding part numbers for replaceable components.
Presents detailed technical specifications for dimensions, power, performance, and environmental conditions.
Details Myogram filter, Line Frequency Filter, patient input, leakage current, and safety standards.
Specifies operating conditions, available unit configurations, and external printer details.
| Brand | Schiller |
|---|---|
| Model | CARDIOVIT AT-1 |
| Category | Medical Equipment |
| Language | English |