
E
Elizabeth PhillipsSep 4, 2025
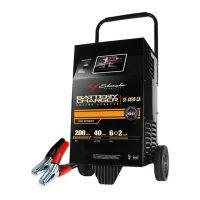
What to do if Schumacher Battery Charger detected that the battery may be getting too hot (thermal runaway)?
- CChristopher PittmanSep 4, 2025
If your Schumacher Battery Charger detects that the battery may be getting too hot (thermal runaway), have the battery checked or replaced.