Refrigeration indicator:
When the refrigerating system is working, this indicator will be on.
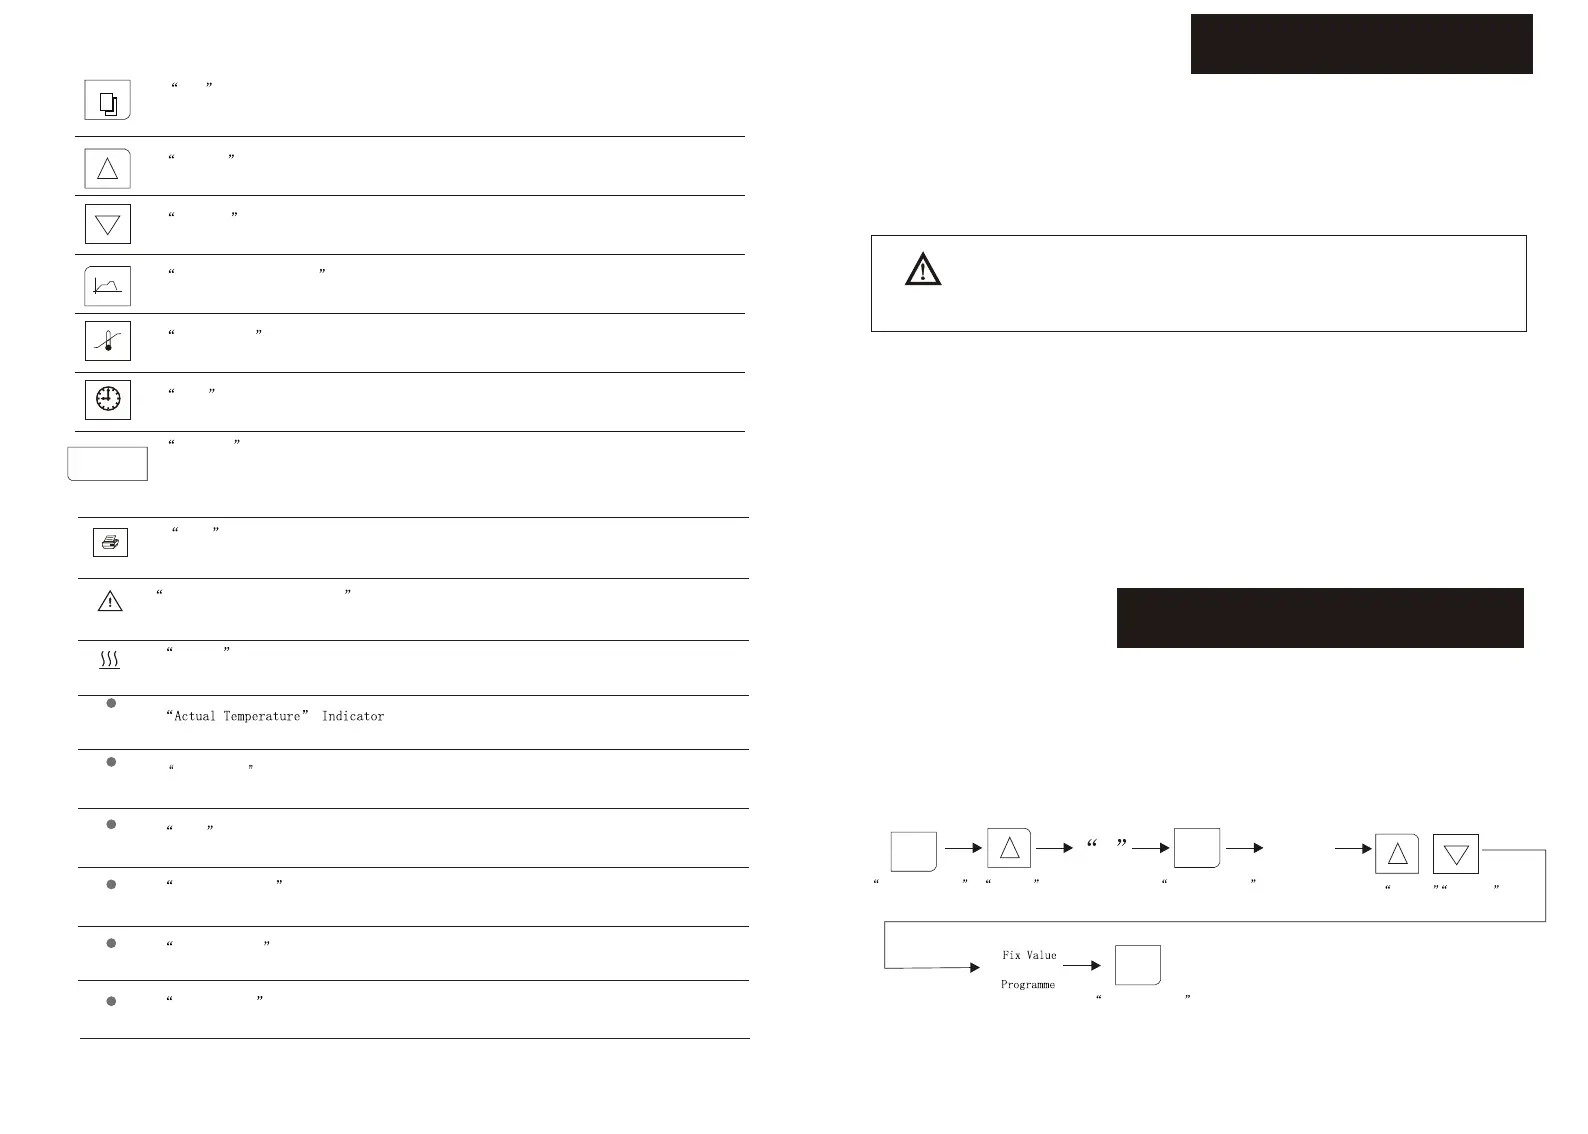
SET button:
Press this button to change the parameter
Increase button:
Press this button, the parameter will increase by one digit, the parameter will keep increasing while this button is held on.
Decrease button:
Press this button, the parameter will decrease by one digit, the parameter will keep decreasing while this button is held on .
Graphic Chart Display button:
Press this button to display the graphic chart of actual temperature and setted temperature.
Temperature button:
Press the button to display the value of actual temperature and setted temperature.
Time button:
Press the button to display the running time and setted timer.
Operating button:
Under Normal mode, press the button to start running the unit. Press the button again to stop running.
Under Programmable mode, press the button to start running the unit. Press it again to enter into
holding status. Press this button for more than 3 seconds to escape from the programming.
Print indicator:
Press the button to print the time and actual temperature (Printer is an optional accessory)
Heating indicator:
When the heater is connected with power supply, this indicator will be light. This indicator will twinkle
when the real temperature close to the preset value.
:
Display the value of the setted temperature and actual temperature
Setted Temperature Indicator:
Time indicator:
When screen displays the operating time, this indicator will be light, twinkles when the screen displays preset time.
Operating status indicator:
When the equipment is well functioned, this indicator will be light.
Status keeping indicator:
Under program control mode, when the equipment is in the state of temperature keeping, this indicator will be light.
ALARM
HEATING
PV
SV
TM
RUN
HOLD
COLD
R/H/S
Temperature exceeding alarm indicator:
When the temperature inside the chamber abnormal, the indicator flashes and the alarm beepes.
Display the graphic chart of the setted temperature and actual temperature
4
5
4.Preparation and Start-up
1.The unit must be placed horizontally on solid, flat floors and provided with sufficient clearance on
all sides of the unit, at least 20cm.
2.Configuration of power supply of AC 220~240V 50/60Hz and capacity not less than the
corresponding value in technique specification with socket reserved for the use of this equipment.
Attention!
Only use a properly grounded outlet, verify the local voltage of power supply
before start, we are not responsible for damages caused by incorrect voltage of
power supply.
3.Connect the plug of power supply of the equipment with an independent jack socket.
4.Turn on the master switch on the right side of the equipment, power is applied to the unit, the LCD
displays the following in turn:
Time Function
Preset Temperature/Measured Temperature
1.1. Stop the current operation by pressing the R/H/S button; the indicator of Run goes off.
.
"" ""
1.2 Press "Set", enter code "1", press "Set" again to enter the page of "Control Mode", press
"increase/decrease" to choose from "Fix Value" or "Programme". Press "Set" again to confirm.
1
Hold on for 3 seconds
Decrease
button
Change/Confirm
button
Increase
button
SETSET
SETSET
SETSET
Increase
button
Change/Confirm
button
Change/Confirm
button
Control Mode
5.Switch between operating modes
 Loading...