NUUndercounterIceMakerUserManual GeneralOperatingInstruction
B10
General Operating Instruction
Turn on the machine
After the power is switched on, with the three
minute water cleaning procedure ends, the ice
maker will enter into the ice making cycle
automatically; after 20 to 25 minutes, the first
batch of ice will fall into the storage bin.
Before the first ice making cycle, be sure to
sanitize the interior of the storage bin with
sanitizer, then rinse it with clean water.
Stop the machine
There are two buttons on the NU front panel,
the switch on right side is the power switch with
which can switch off the power after you press
the button.
Power Switch Panel
Or you can stop the ice maker by cutting off the
circuit breaker.
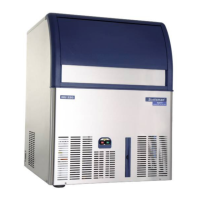
Ice thickness adjustment
The ice thickness has been adjusted to the
optimal level before it was shipped out, if you
find that the ice is irregular in your use, you can
check whether the ice thickness sensor is too
close or too far from the evaporator plate, if
needed, adjusts the screw on the sensor
properly to achieve the suitable thickness.
Ice thickness sensor
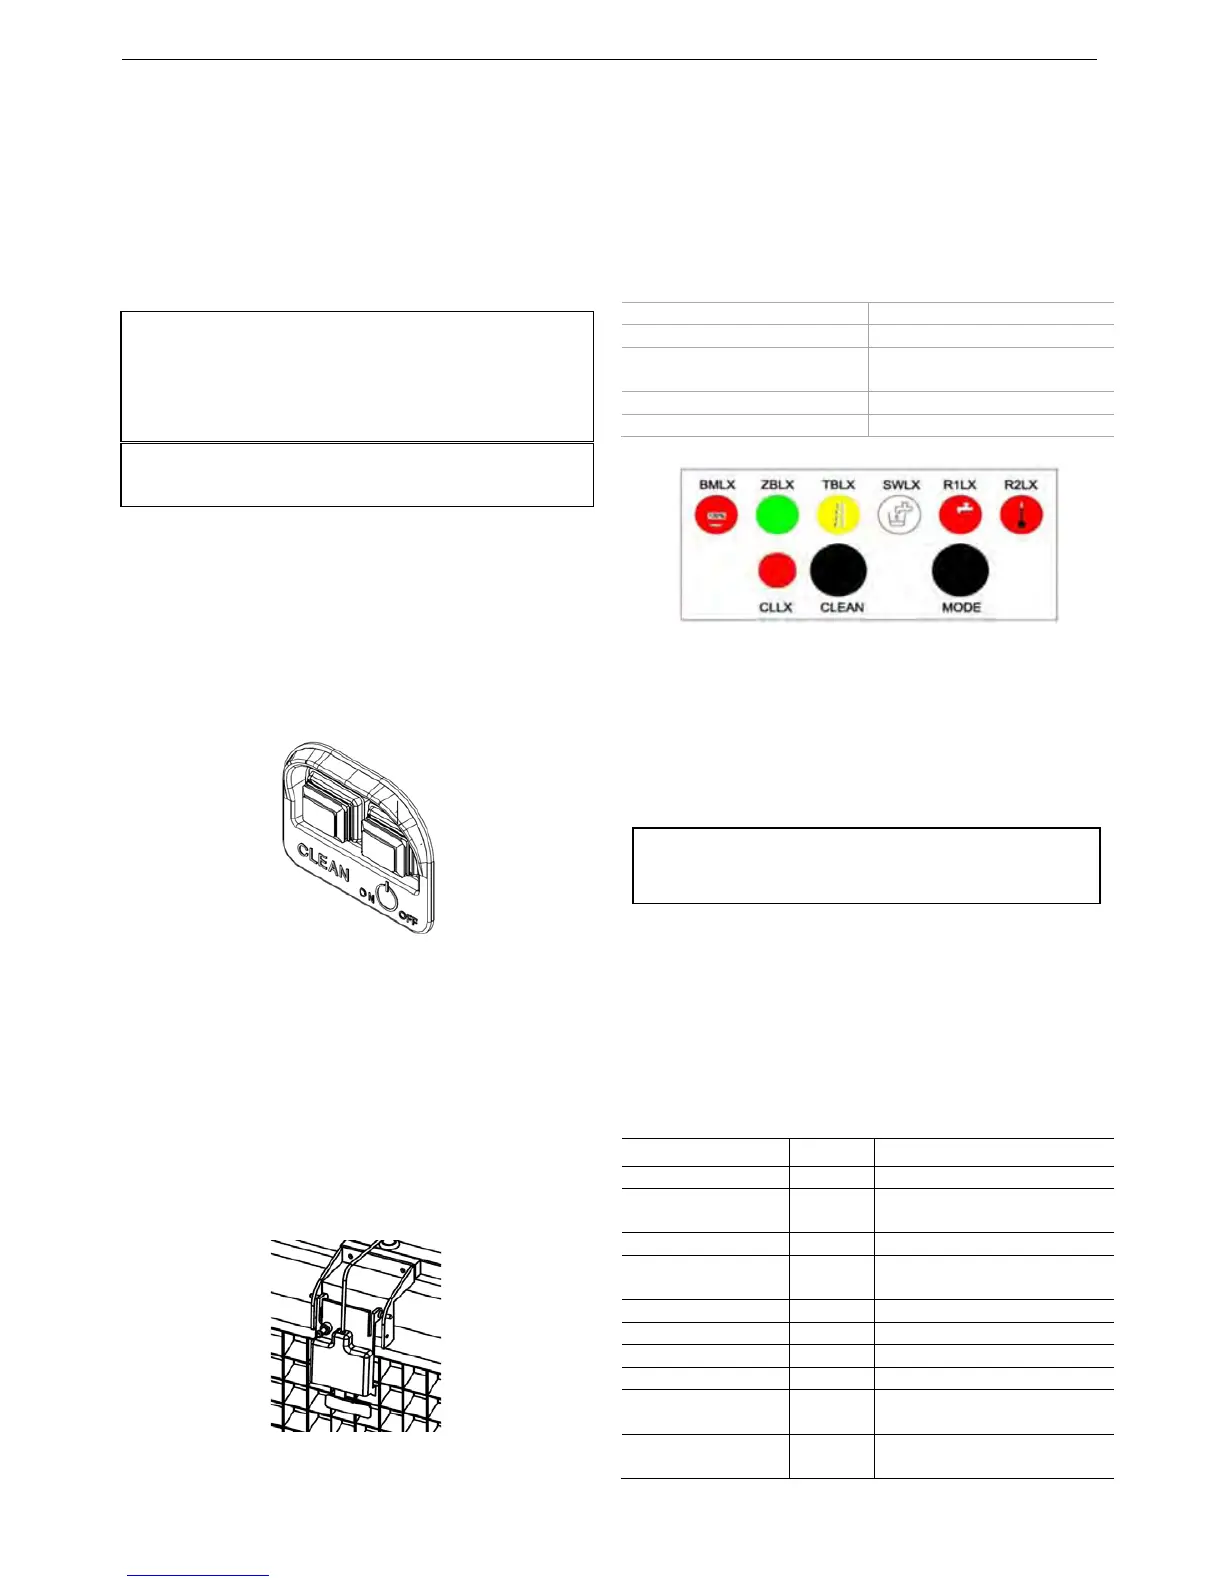
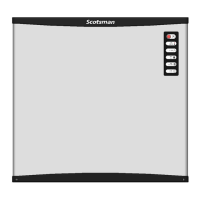
The buttons on the front panel
(see Fig. Power Switch Panel)
There are two switches on the NU front panel:
the right green switch is the power switch, the
red switch is the cleaning switch.
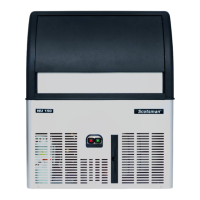
The lamps on the control box
BMLX—Ice full ZBLX—Freezing
TBLX—Defrosting SWLX—Water Supply
R1LX—Water Shortage
Alarm
R2LX—High Temperature
Alarm
CLLX—Cleaning CLEAN—Clean button
MODE—Mode Button
Control Box Panel
Buttons Instruction
Mode Button Functions
Press the button one time in order, then the
machine enters the next step:
Power on - Water Supply – Pre-Cooling –
Freezing - Defrosting - Ice Bin Full Detecting
The function of the cleaning button
When the power switch is on, the clean button
only activates in the first minute. Hold the clean
button for five seconds, the ice maker will enter
into the cleaning procedure automatically. With
Scotsman special cleanser and sanitizer, the
ice maker can be better cleaned and sanitized.
Alarm lamps failure description:
lamps State Failure Description
BMLX + R1LX On Ice chute failure
ZBLX + R1LX On Ice making delayed more
than five times in a row
R1LX + R2LX On Condenser sensor failure
BMLX + R2LX On Ice thickness sensor
failure
SWLX + R2LX On Water level sensor failure
R1LX On Shortage of water
R2LX On High temperature alarm
R1LX + R2LX Blinks High pressure alarm
TBLX Blinks Ice harvest delayed more
than three times in a row
SWLX Slowly
Blinks
Water temperature sensor
failure
Warning:
Only authorized maintenance people are allowed to
press the MODE button.
Note:
The machine running noise should be under 70dB.
Notes:
If the room temperature is below 15 ℃, the ice making
cycle is shorter (about 10 to 15 minutes).
If the room temperature is over 30 ℃, the ice making
cycle is longer (about 15 to 30 minutes).