22
4. INSTALLATION AND SWITCH ON
4.1 - PRODUCT INSTALLATION
- Do not shake the device. Avoid the use of too much force during installation or unit fixing.
- The unit can be installed on the wall, ceiling or on a truss.
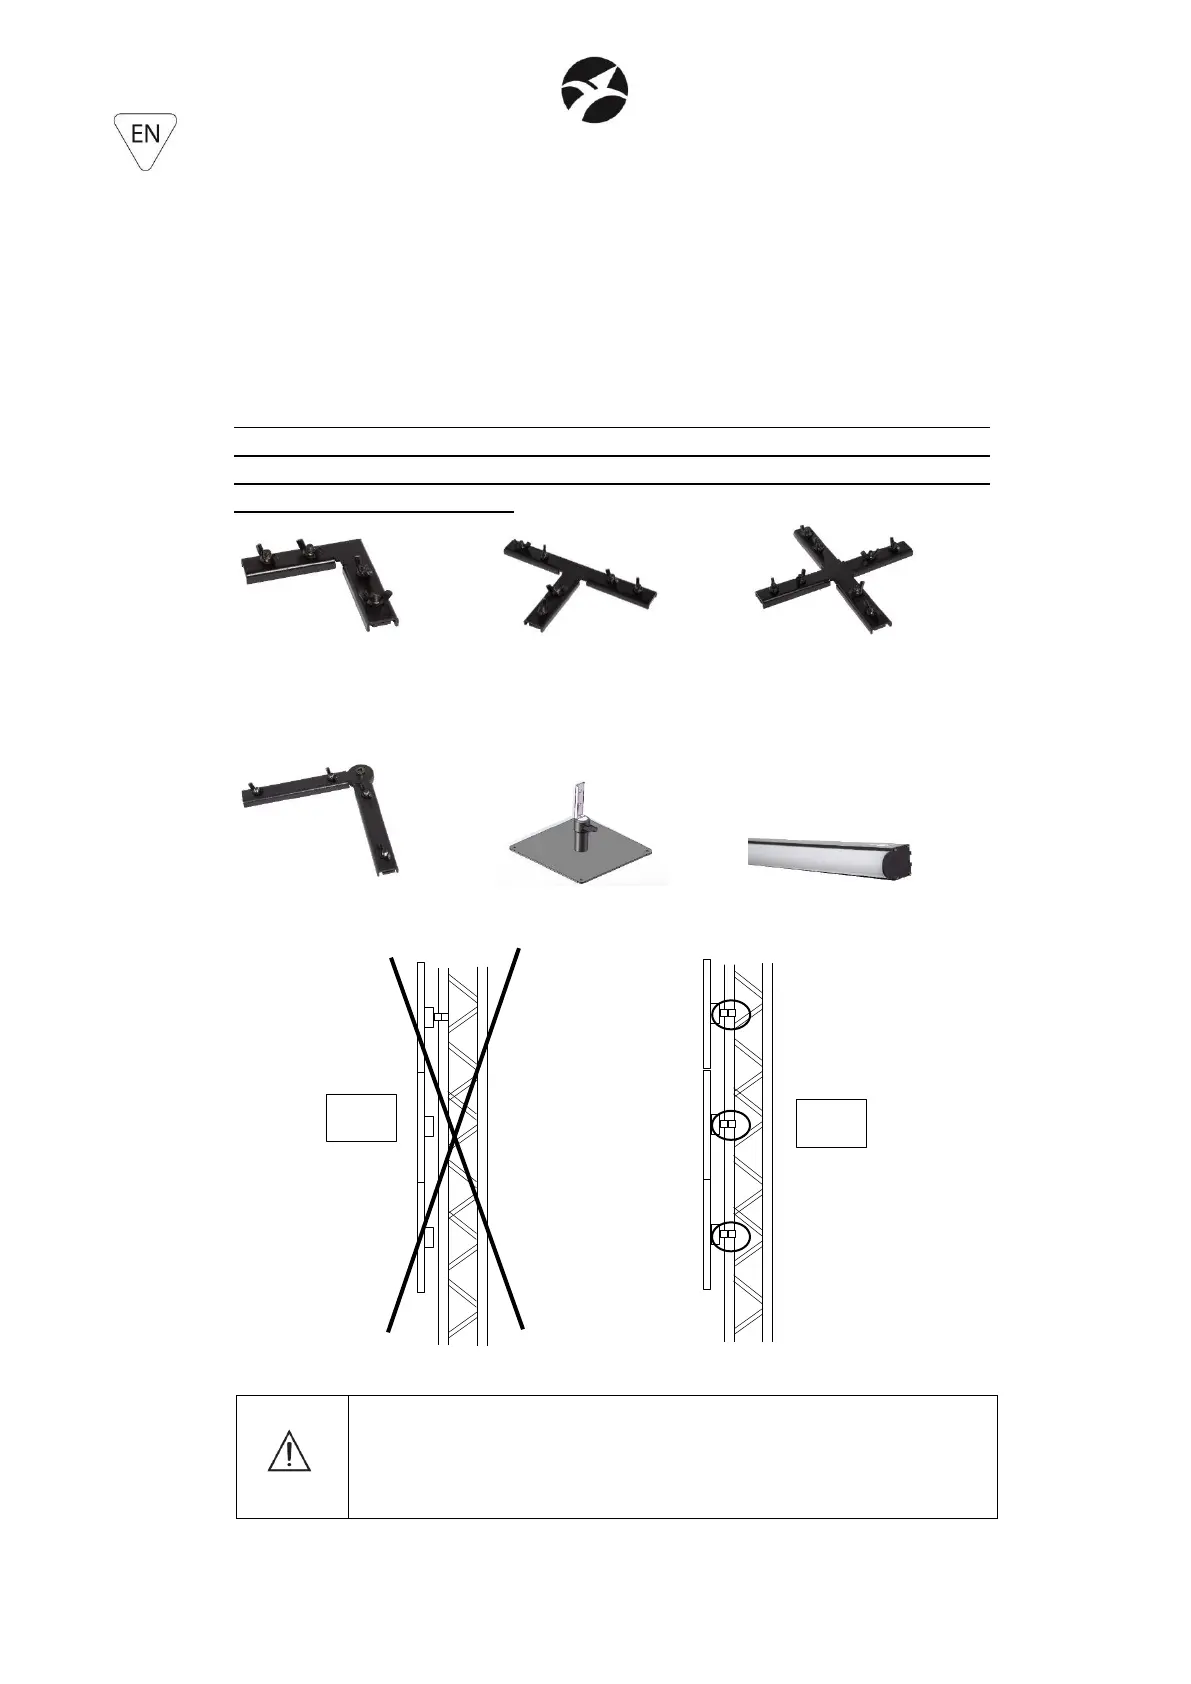
- It is possible to generate different configurations by using following accessories (sold
separately)
- IN CASE OF SUSPENSION ON THE WALL OR ON THE CEILING, EACH BAR MUST BE FIXED
WITH ITS “C” BRACKET. IT IS NOT POSSIBLE TO REALIZE MATRIX, CONFIGURATIONS OR
COLUMNS BY SUSPENDING THE BARS ONLY WITH THE FOLLOWING ACCESSORIES OR
ACCESSORIES ALREADY INCLUDED
SG QPIXBARCK2 SG QPIXBARCK3 SG QPIXBARCK4
2-ways 90° connection 3-ways “T” connection 4-ways connection
SG QPIXBARCKV SG QIXBARBS SG QPIXBARRWD
Variable 2-ways connection Base for 2 vertical bars Rounded white diffuser
WARNING! IT'S REQUIRED
the mounting of the safety rope (PLH232 – PLH248 sold separately) in the
case where the product is hung on a wall, ceiling or on a truss. Except when
the device is placed in the floor, the safety cable is always required.
 Loading...