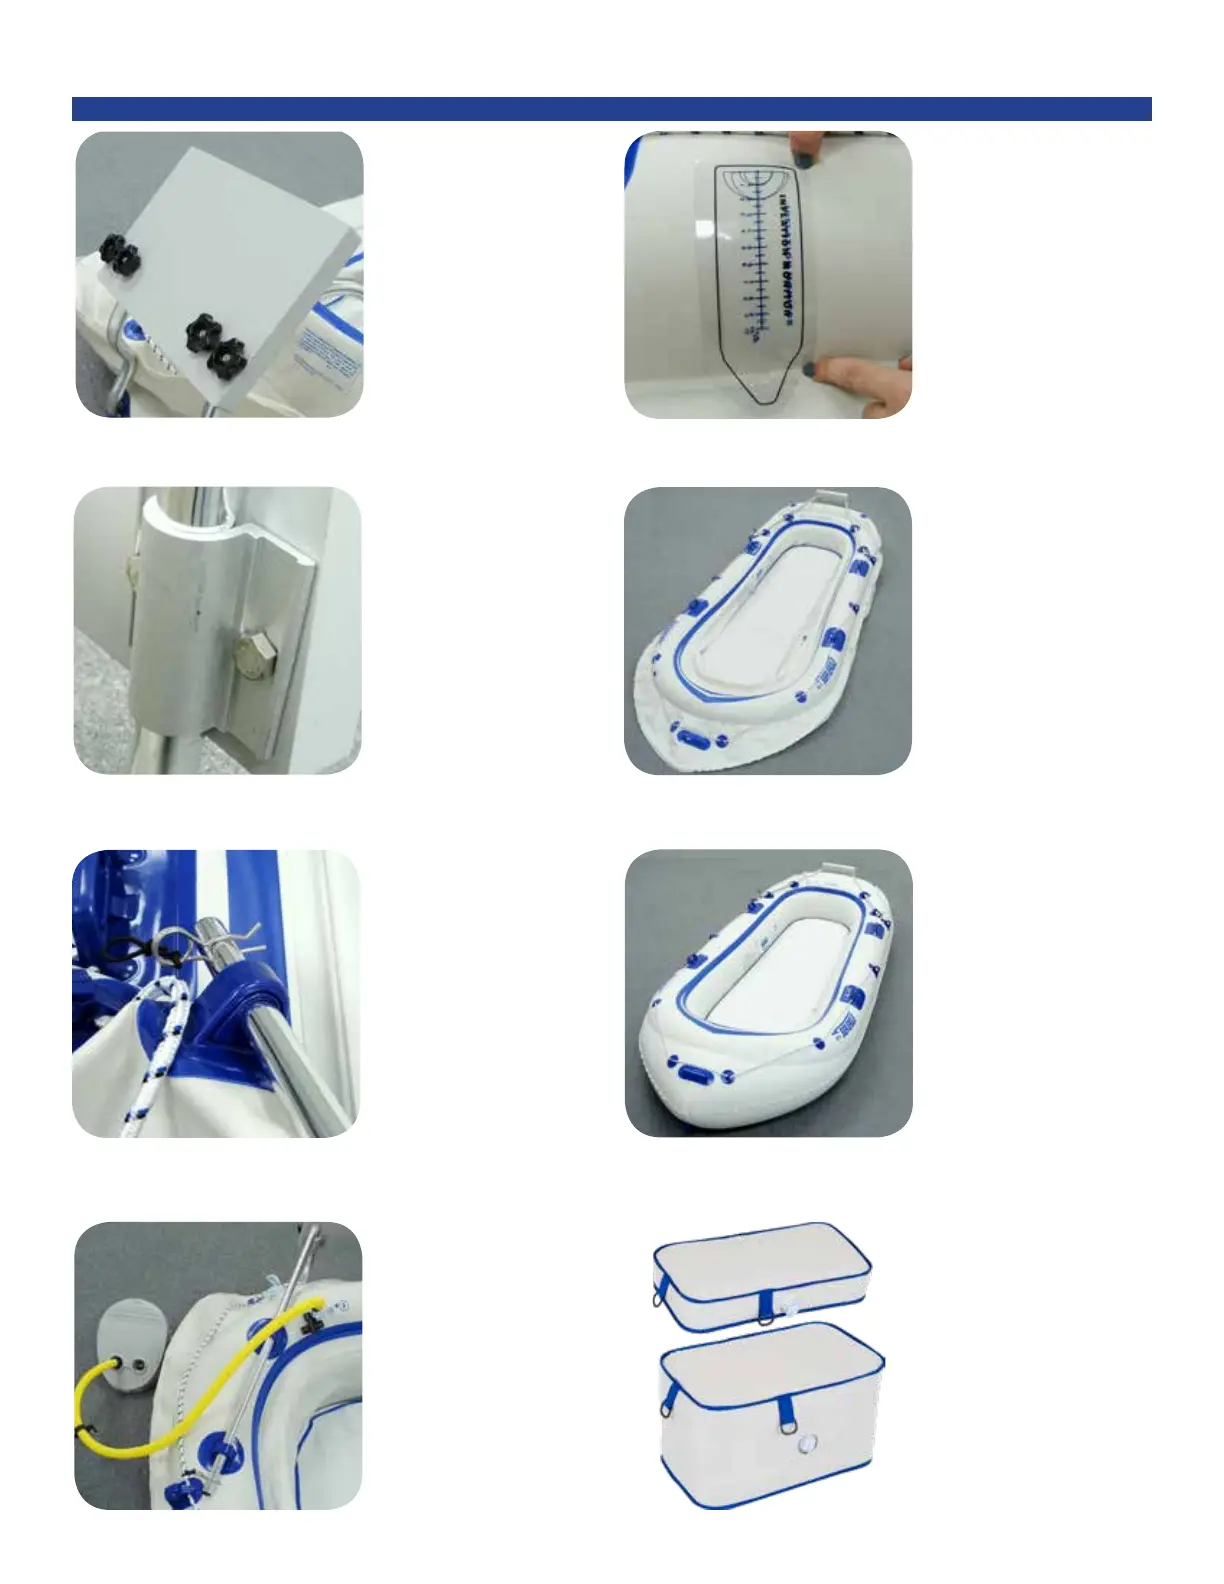
9
Secure the bolts with the
black knobs.
Do not tighten the knobs
until all the blots are
through the block.
The heads of the bolts
should be aligned in the
channel to keep the bolt
from turning.
Insert the pins through
the holes at the end of the
top bars to secure in place.
Loop the end of the string
over the bar to secure the
pin to the bar.
Inate chamber #1.
Insert the hose with the
adapter into the valve.
Pump with one foot at a
comfortable pace until
signicant resistance is felt.
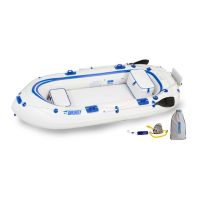
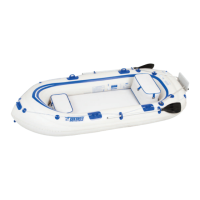
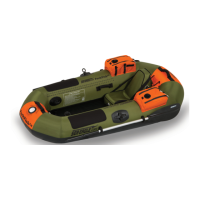
Motormount Boat SE9| INFLATION & ASSEMBLY
Use the Ination Monitor
to check the progress. The
blue scale printed on the
boat and the black scale on
the Ination Monitor will
match when the chamber is
properly inated.
Note: The blue Ination
Monitor for Chamber 1 will
stretch: do not let air out.
Chamber 1 will keep boat
aoat if pressure is lost in
main Chamber 3.
When done, chamber 1
should look like this. This
is the backup chamber in
the event that the main
chamber leaks.
Inate chamber #2 until it is
rm.
Inate chamber #3 while
monitoring progress with the
Ination Monitor.
Inate high pressure oor.
Pump until it is very rm. The
cover and I-beam
construction will prevent oor
from over-stretching. Bladder
cover may need to be reposi-
tioned if valve does not show
through opening. If necessary,
open zipper on the underside
to adjust cover.
Inatable Seats
Attach a valve to each seat
and inate as described in
the previous steps.