8
Warning:
Air compressors that are
designed for other uses,
like tire ination
(usually around 32 PSI)
can easily harm your
Sea Eagle which works
at a much lower
pressure of 1 PSI. For
this reason we
recommend only
using Sea Eagle pumps.
Locate an area large
enough to unfold the
boat, avoiding hazards
that could damage the
boat or injure you.
If not already installed,
insert the inatable oor
with the valve facing up.
Tuck the edges under the
sides of the boat.
If a motor mount (optional) is not to be installed, please skip
the next 7 steps.
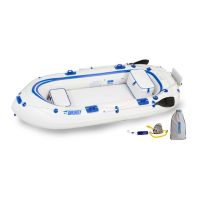
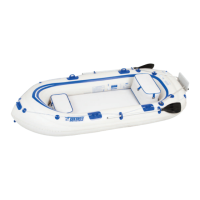
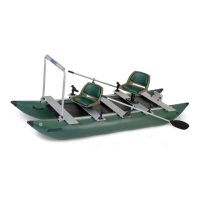
Motormount Boat SE9| SETUP: VALVES & PUMP
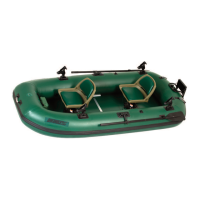
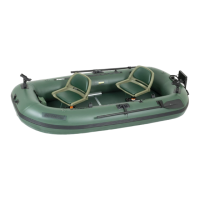
Motormount Boat SE9| INFLATION & ASSEMBLY
Motormount Boat SE9| INFLATION & ASSEMBLY
Motor Mount Set
(OPTIONAL)
Includes 2 rods with
retainer pins, motor mount
block and hardware (4
black knobs, 2 brackets, 4
bolts, 4 washers).
Insert the long part of rod
through the grommets on
top of boat. Push the short
part of the rod into the
grommet under boat. Press
the button and push rod
through grommet until it
pops up on other side.
Place the brackets on the
rods and adjust them so
they are parallel.
Tip: Turn the bracket to
one side, slip it onto the
rod then turn the bracket
to face forward.
Attach the wooden motor
mount block to the
brackets using the
hardware provided.
Insert the bolts through
the bracket, then through
the block. Put 1 washer on
the end of each bolt.