2
page
Rotate the push-fit intake elbow (key 12) 180° and refit the hose between the pump and the bowl.
Remove the 4 screws that secure the pump assembly to the base.
Lift off the pump assembly and leave the base valve gasket (key 17) on its 3 locating pegs.
Rotate the pump assembly 180° and re-secure it.
Remove the 4 bolts (key 5) that secure the bowl to the base.
Rotate the bowl 180° and re-secure it, using the nylon washers (key 5) to protect the ceramic from the
stainless steel washers and nuts (key 5).
Pull off the hose (key 13) that runs from the pump to the bowl.
1
page
FEATURES
Contoured handle and conveniently positioned flush control lever for ease of use.
Angled pump housing and long stroke for easier pumping.
Twist ‘n’ lock action safety handle guards against flooding and waste backflow by locking the waste outlet
valve shut.
Powerful self-priming, double-acting piston pump.
Spring assisted top valve closure for easier priming.
Reversible pump mounting allows re-assembly for left hand operation by installer.
Multi-angle discharge elbow for ease of installation.
Positively located gaskets ensure correct re-assembly.
Aortic joker valve combines full 38mm (1-1/2’’) bore with automatic back-flow prevention.
Dual function base plug combines winter drain point with easy cleaning access.
Automatic vacuum breaker operated by flush control lever for easier bowl emptying.
Strong swirl action for efficient flushing.
Constant 38mm (1-1/2’’) bore waste path minimises blockages.
Accessible mounting points for faster installation.
Crevice free contours and skirted base for added cleanliness and hygiene.
All fastenings face front or top for superbly simple servicing without need for special tools.
Renewable external seal housing for quick, clean placement of seal and piston rod guide.
MATERIALS
Pump and base moulded in ABS or polypropylene with selected parts in acetal resin, fitted with 316
passivated stainless steel fastenings, brass weights and neoprene seals and gaskets.
Hygienic white ceramic bowl for ease of cleaning.
Luxury wooden seat and cover with tough baked enamel coating.
PERFORMANCE
Waste pump discharges up to 3 metres (9ft) above the base.
Flushing pump self-primes from dry up to 1 metre (3ft) below the base.
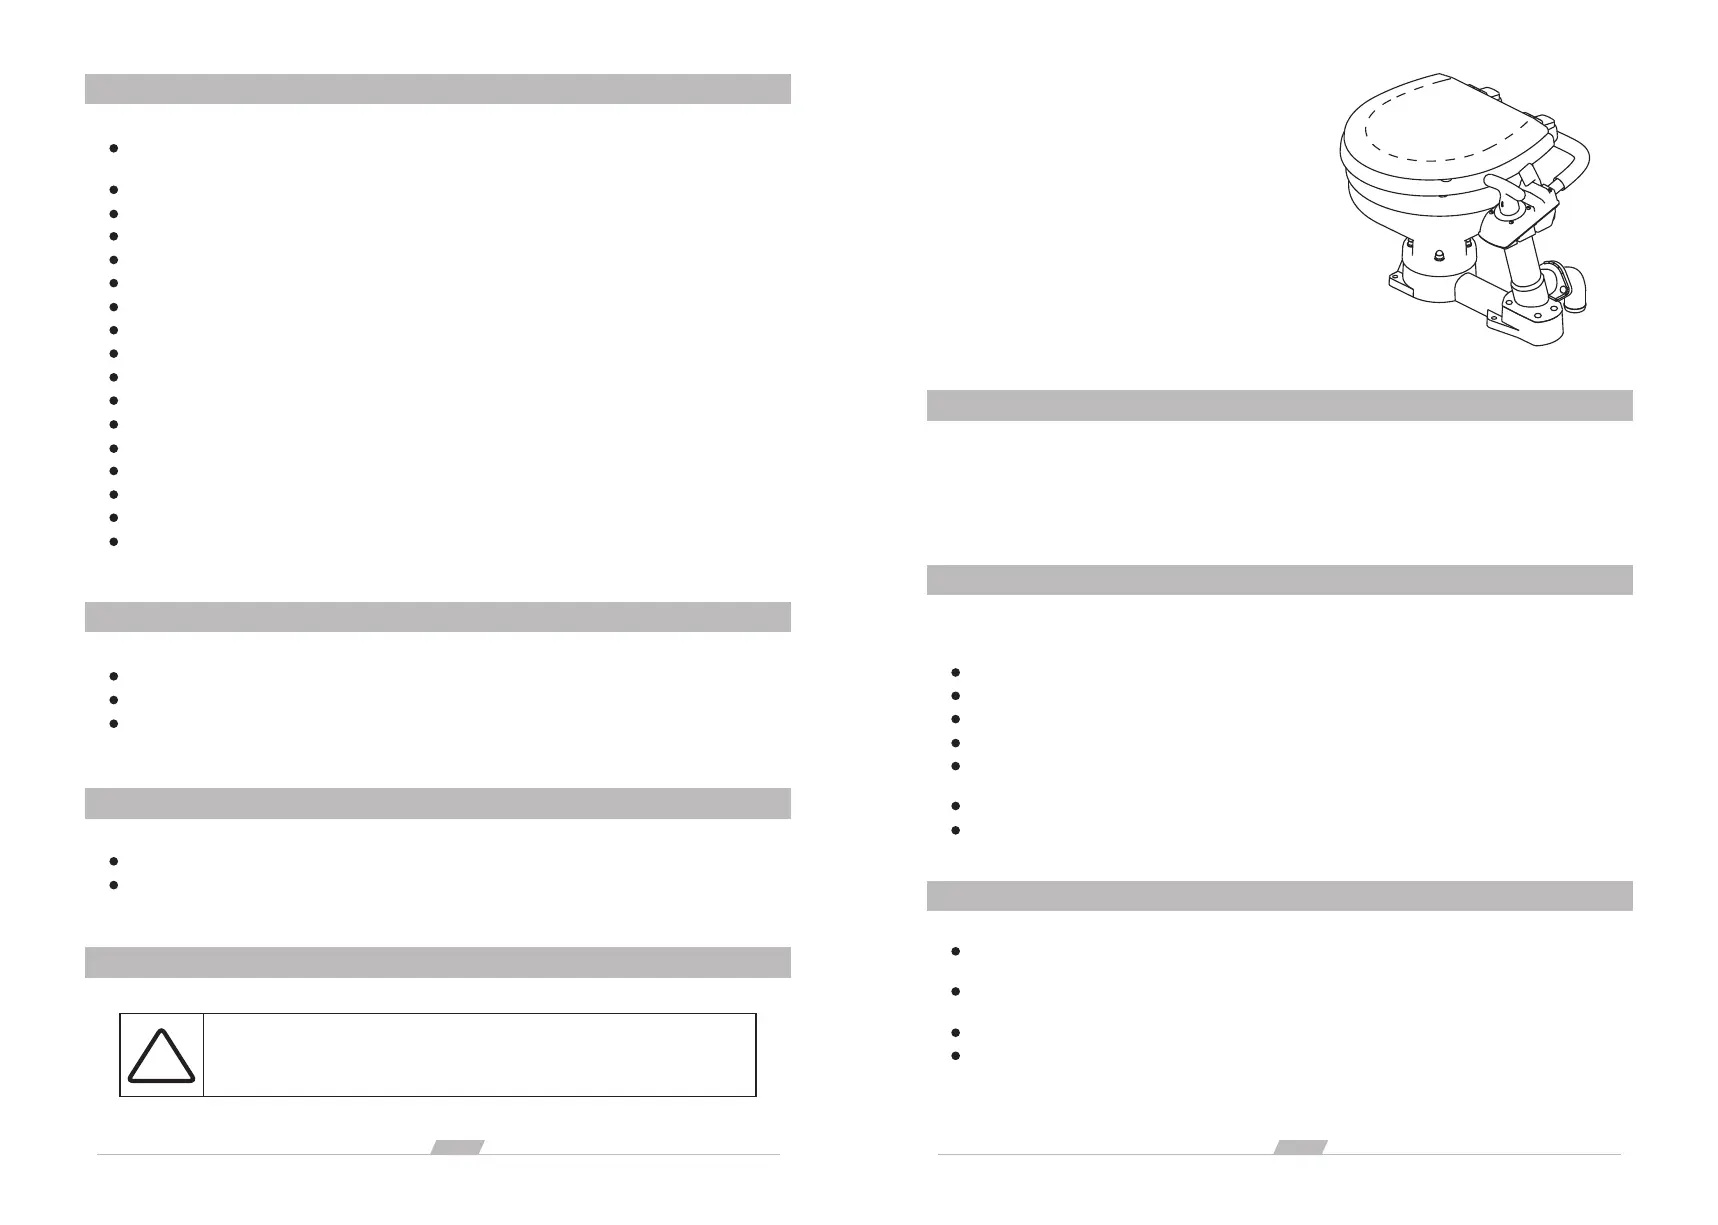
INSTALLATION INSTRUCTIONS
YOUR TOILET is just one part of a system. Correct installation of the whole system is essential if you want
the toilet to perform properly, operate reliably and safely, and give satisfactory length of life. The toilet is
delivered assembled for right-handed operation. The toilet may be re-assembled with the pump on the left
hand side. The seat and lid is delivered boxed and unfitted for its protection.
Select a location that will give sufficient clearance all round and above the toilet. Ensure that there is room
to operate the pump and that there is access to the drain plug at the end of the base.
You will need sufficient clearance below the mounting surface to be able to secure the mounting bolts.
The seat and lid should be able to swing up and over at least 110°, so that they will not fall forward when
the craft heels or pitches. When they are swung up they must be supported so that the hinges are not
strained.
The mounting surface must be flat, rigid and strong enough to support a man's weight and should be at
least 50mm (2") wider and 50mm (2") deeper than the base of the toilet.
1. RE-ASSEMBLY FOR LEFT HAND USE
2. LOCATION
You may install SEAFLO compact bowl
manually operated marine toilets in both
power and sailing craft, either above or
below the waterline, for use on sea, river,
lake or canal.
Your installation may discharge the waste
either overboard (provided that your
national and local regulations allow this),or
into a treatment system or into an on-board
holding tank (U.S.C.G. Marine Sanitation
Devices Type I, II and III).
APPLICATIONS
SEAFLO manual toilets are designed specifically for
marine use. Consult SEAFLO for advice about possible
non-marine applications.
Optional re-assembly by installer for left
hand operation.
If you wish to change the pump mounting from right to left hand, do so before installing
the toilet.
!
 Loading...