4.1.8. The correct charging status of the battery may be determined by using a hydrometer which
1.28 = Fully charged, 1.21 = Half charged, 1.14 = Fully discharged.
WARNING!
4.2. CONNECTING CHARGER TO BATTERY
4.2.1. Ensure that the battery charger is unplugged from the mains power supply before connecting power leads to the battery.
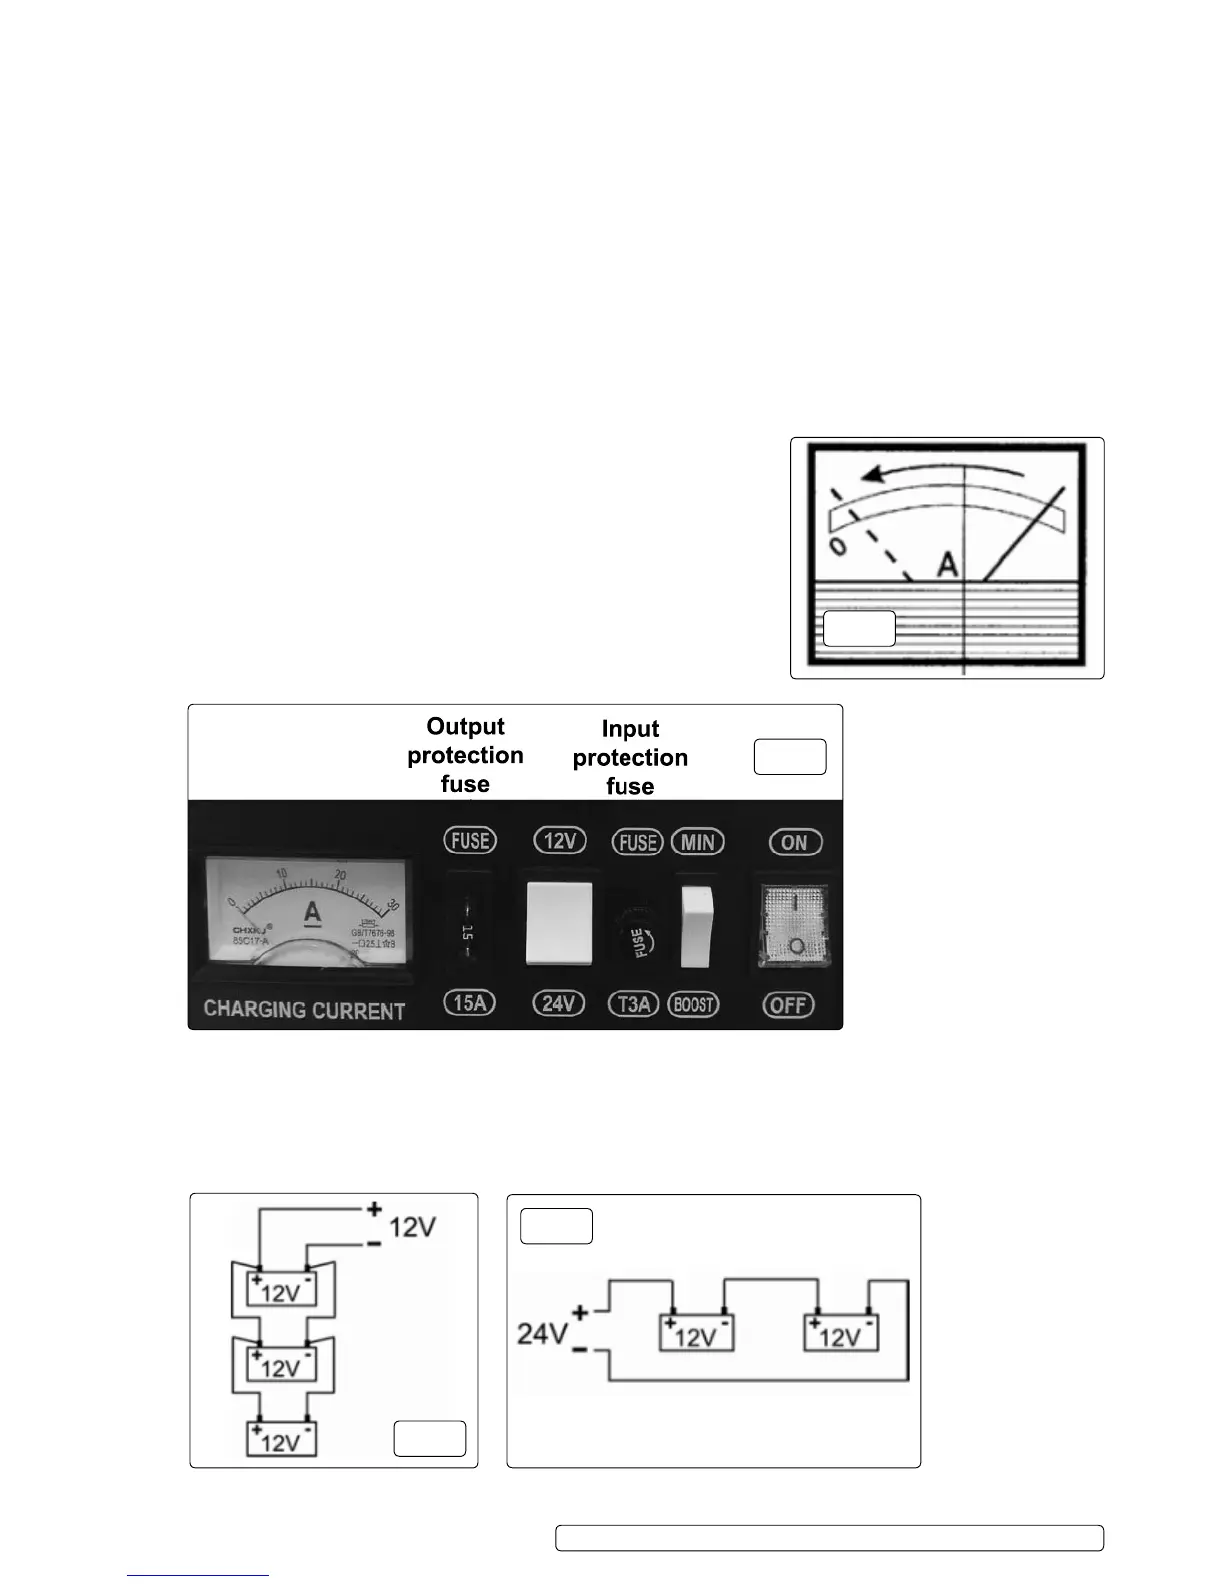
4.2.2. Select the charger voltage to match that of the battery by setting the rocker switch to either 12 or 24 volts. Initially, always set the
4.2.3. Check the charger clamps and battery terminals to ensure that they are clean and free from oxidation.
4.2.4.
4.3. CHARGING THE BATTERY
4.3.1.
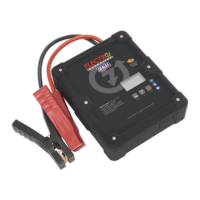
4.3.2. Check the current delivery to the battery by reading the ammeter on the front of the battery charger. During charging the pointer on the
model.)
4.3.3.
4.3.4. To indicate that the battery is fully charged the reading on the ammeter should be at
the “0”output indicator. To correspond with this the electrolyte in the battery will begin
to gas. Stop charging at this point in order to protect the battery plates from damage.
WARNING! The charger will not switch off automatically. The state of charge should be
regularly monitored by the person with responsibility for charging the battery.
8 DO NOT leave the charger operating unattended or overnight.
4.3.5.
the battery terminals. Clean and store the charger in a safe, dry area.
remembering that the electrolyte is a corrosive acid. Return the battery to the vehicle,
secure according the manufacturer’s instructions and re-connect the power leads.
Check to ensure that all tools are removed before closing the bonnet or boot.
4.3.8. SEALED BATTERIES
4.3.8.1. Charge a sealed battery very slowly, carefully monitoring the voltage across the battery terminals using a normal tester.
4.3.8.2.
4.4. MULTIPLE BATTERY CHARGING
WARNING! DO NOT simultaneously charge different types of battery or batteries with different capacities or levels of discharge.
4.4.1.
4.4.2.
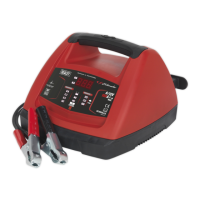
fig.
1
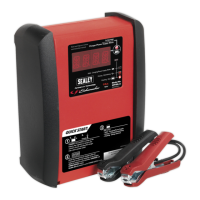
fig.
2
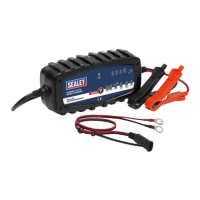
fig.
3
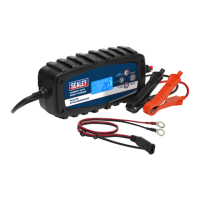
fig.
4
C
Original Language Version
 Loading...