EasyManua.ls Logo

Sealey SUPERMIG230 - User Manual

Sealey SUPERMIG230
7 pages
Print Icon
To Next Page IconTo Next Page
Loading...
INSTRUCTIONS FOR
SUPERMIG
WELDER
SUPERMIG230
MODEL No:
Original Language Version
SUPERMIG230 Issue No: 3(L) - 24/04/14

Questions and Answers

  • M
    millerelizabethAug 18, 2025
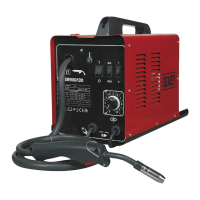
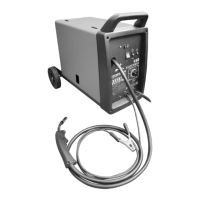
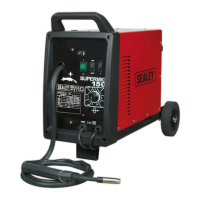
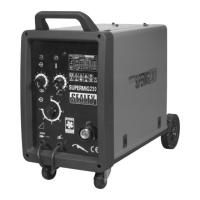
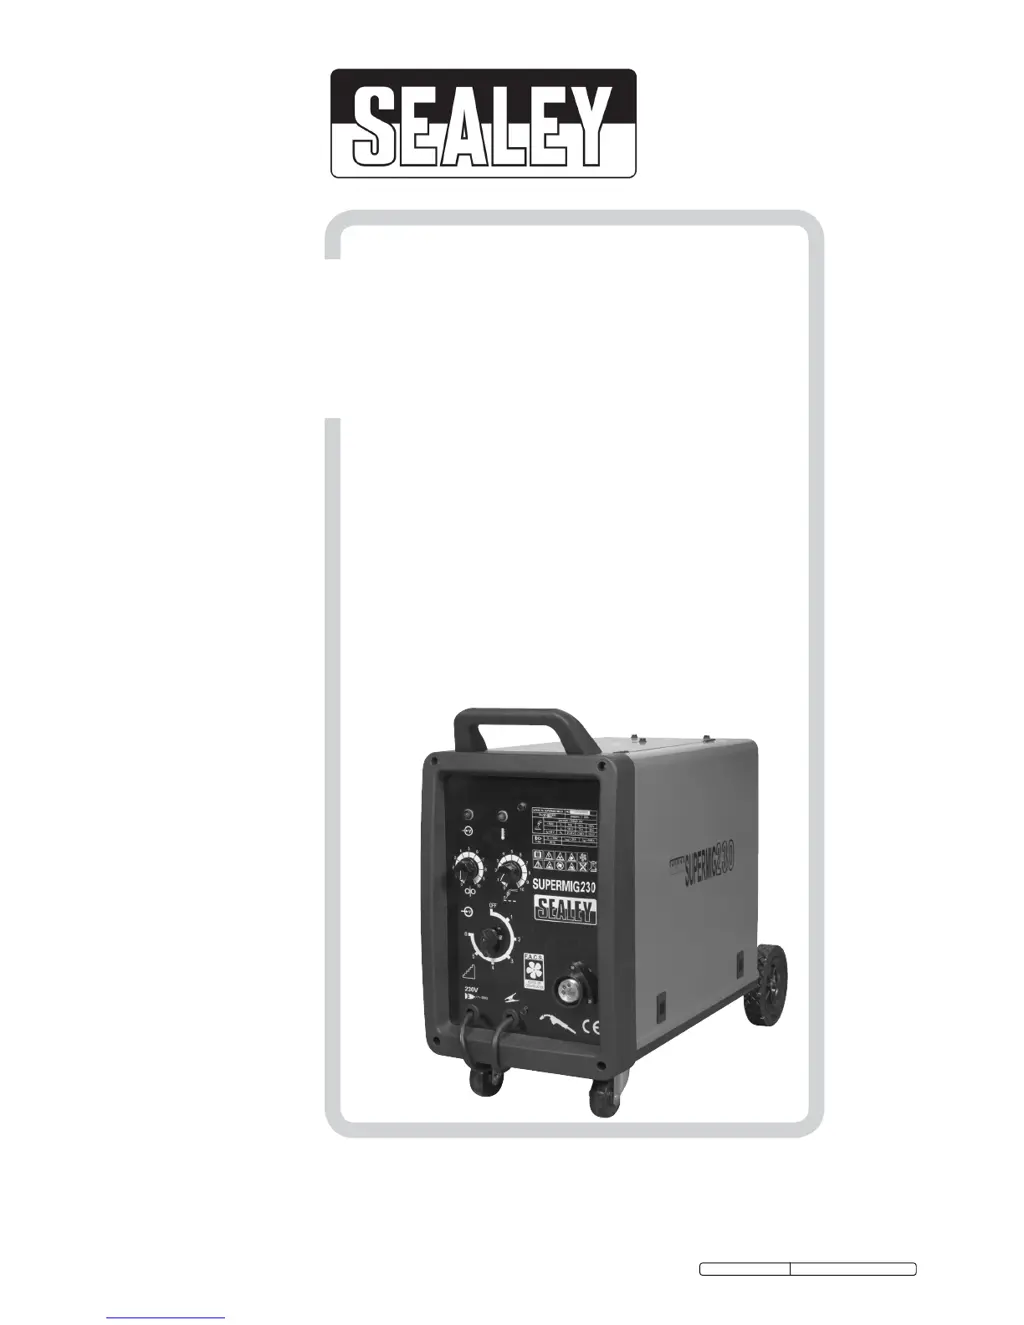
    Why does my Sealey SUPERMIG230 Welding System produce porous welds?
    • J
      Jeffrey HarrisAug 18, 2025
      If you're experiencing porous welds with your Sealey Welding System, several factors could be at play. Ensure your gas cylinder is open and the gas flow is correctly regulated. Check for and clean a clogged gas cup, and shield the welding site from drafts that might blow away the shielding gas. Also, make sure the joints are free from rust and dirt. The torch should be held at the correct angle and distance (8 to 10mm) from the workpiece. Inspect hoses, connections, and the torch assembly for any gas leaks, and ensure the gas cup is correctly positioned. Finally, the electrovalve might be faulty and need cleaning or replacement.
  • U
    ugriffinAug 21, 2025
    Why does my Sealey SUPERMIG230 Welding System power source stop?
    • M
      mary46Aug 21, 2025
      If your Sealey Welding System stops unexpectedly, it's likely due to the overheating protection being activated because of an overload. The protection will automatically reset once the transformer has cooled down, which usually takes about 15 minutes.
  • P
    Pamela KingAug 23, 2025
    What to do if there is no weld current in Sealey SUPERMIG230 Welding System?
    • R
      Robin VaughnAug 23, 2025
      If you're not getting any weld current from your Sealey Welding System, there could be several reasons. A rectifier might have blown and need replacement. There could be a bad connection between the clamp and the workpiece; in this case, you should clean or grind the contact surface and weld area. Alternatively, there might be a break in the earth lead, which would require repair or replacement, or a break in the torch lead, also requiring repair or replacement.
  • M
    Mitchell WilliamsAug 26, 2025
    Why does wire feed unevenly in Sealey SUPERMIG230 Welding System?
    • A
      Andrew CarsonAug 26, 2025
      If the wire on your Sealey Welding System feeds unevenly, it could be due to several reasons. The liner might be dirty, so try cleaning it from the machine forward using compressed air. The gas cup or tip could be defective and need replacement. The gas cup might also be spattered, requiring cleaning or replacement. A feed roller groove could be clogged, requiring cleaning, or deformed, requiring replacement. Lastly, the pressure roller tension might be improper and need adjustment.
  • S
    Sarah SmithAug 27, 2025
    What to do if wire does not feed in Sealey SUPERMIG230 Welding System?
    • A
      awarnerAug 27, 2025
      If the wire on your Sealey Welding System isn't feeding but the feed roller is rotating, first check if the pressure roller is improperly adjusted and adjust the tension accordingly. Also, the torch liner might be clogged with dirt, copper, or dust; clean it from the machine forward using compressed air, and replace the liner if it's too dirty. Additionally, the gas cup or tip could be defective and need replacement. Finally, the wire might be deformed, so check and adjust the roller tension if necessary.
  • B
    bmcdowellAug 30, 2025
    How to fix unstable arc on Sealey SUPERMIG230?
    • R
      Rebecca ConradAug 30, 2025
      If you're getting an unstable arc with your Sealey Welding System, it might be due to incorrect settings, so check them. Another cause might be impurities in the weld area, so try cleaning or grinding the workpiece. Also, a worn or defective gas cup could be the culprit, so consider replacing it.
  • N
    nathaniel00Sep 1, 2025
    What causes excessive penetration in Sealey SUPERMIG230?
    • D
      davisterrenceSep 1, 2025
      If you're experiencing excessive penetration with your Sealey Welding System, it's likely due to the weld current being too high, so decrease the power and wire speed. Another reason could be that the weld speed is too slow, so move the torch faster. Finally, the torch distance might be incorrect; it should be 8-10mm from the workpiece.
  • V
    Veronica ComptonSep 4, 2025
    Why is the weld bead too wide with my Sealey SUPERMIG230?
    • G
      gregorycarsonSep 4, 2025
      If you're getting a weld bead that's too wide with your Sealey Welding System, it could be because the weld current is too high, so decrease the power and wire speed. Another possibility is that the weld speed is too low, so move the torch faster and weave less. Lastly, the arc might be too long, so bring the torch closer to the workpiece.
  • L
    Leslie FletcherSep 5, 2025
    How to improve penetration on Sealey SUPERMIG230?
    • B
      Brandon DanielSep 6, 2025
      If you're experiencing poor penetration with your Sealey Welding System, it might be because the weld current is too low, so increase the power and wire speed. Another reason could be that the arc is too long, so bring the torch closer to the workpiece.
  • W
    wisejosephSep 8, 2025
    Why is electrode sticking in gas cup of Sealey SUPERMIG230?
    • L
      Lee JacksonSep 8, 2025
      If the electrode is sticking in the gas cup of your Sealey Welding System, it could be due to a worn or defective gas cup, which would need replacement. Another cause might be a deformed electrode, so check the roller tension. Also, the wire speed might be too slow; see the recommendations for wire speed.

Summary

Safety Precautions

Electrical Safety

Precautions for safe use of electrical products and compliance with safety regulations.

General Safety Guidelines

Essential safety guidelines for operating and maintaining the welder and work area.

Introduction to Supermig Welder

MIG;MAG Welder Overview

Introduction to Supermig models and their features like forced air cooling and non-live torch.

Welding Experience Advice

Guidance for new welders, emphasizing training and practice for safe and effective MIG welding.

Assembly and Preparation Steps

Gas Platform and Wheel Assembly

Instructions for assembling the gas platform, wheels, and castors onto the welder unit.

Earth Clamp Assembly

Steps for correctly assembling the earth clamp to the welder's earth lead.

Gas Cylinder Installation

Guide on how to safely place and secure a gas cylinder onto the welder's rear platform.

Regulator Attachment

Procedure for attaching the gas regulator to the cylinder and welder, including safety checks.

Torch Cable Connection

Steps for connecting the torch cable to the welder using the Euro connector.

15 kg Wire Reel Fitting

Procedure for fitting a 15kg reel of welding wire onto the spool holder.

5 kg Wire Reel Fitting

Procedure for fitting a 5kg reel of welding wire onto the spool holder.

Wire Feeding Procedure

Instructions on how to feed welding wire through the torch assembly.

Setting Wire Tension

Adjusting the wire tension knob to ensure proper wire feed without disfigurement.

Clutch Adjustment

Correctly adjusting the spool clutch to prevent wire spool overrun and motor strain.

Drive Roller Changing

Steps for turning or changing the wire feed drive roller based on wire diameter.

MIG;MAG Welding Operations

Preparation For Welding

Essential steps before welding, including safety checks and connecting the earth lead.

Power Output and Control Settings

Setting the power output switch and general welder controls for different weld thicknesses.

Welding Mild Steel

Guidance on using CO2 gas or Argon/CO2 mixtures for welding mild steel effectively.

Aluminium Welding Requirements

Specific requirements for welding aluminium, including gas, tip, and wire types.

Overload Protection

Explanation of the thermostatic overload protection and reset procedure.

Spot Welding Guide

Instructions and settings for performing spot welding with the machine.

Ratings Plate Information

Troubleshooting Common Issues

Sealey SUPERMIG230 Specifications

General IconGeneral
BrandSealey
ModelSUPERMIG230
CategoryWelding System
LanguageEnglish

Related product manuals