
K
Kyle FernandezAug 6, 2025
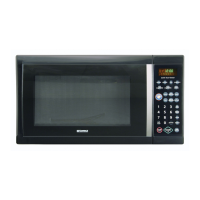
What to do if my Sears 721.66469500 Microwave Oven produces little heat?
- PPaul WardAug 6, 2025
If your Sears Microwave Oven seems to be running but isn't heating food properly, it could be due to a decrease in power rating voltage. It is suggested that you contact your local electric power utility company or a qualified electrician. Also, the issue might be with a defective PCB assembly or a defective magnetron, which would need replacement.