J English I
EXTENSION CORDS
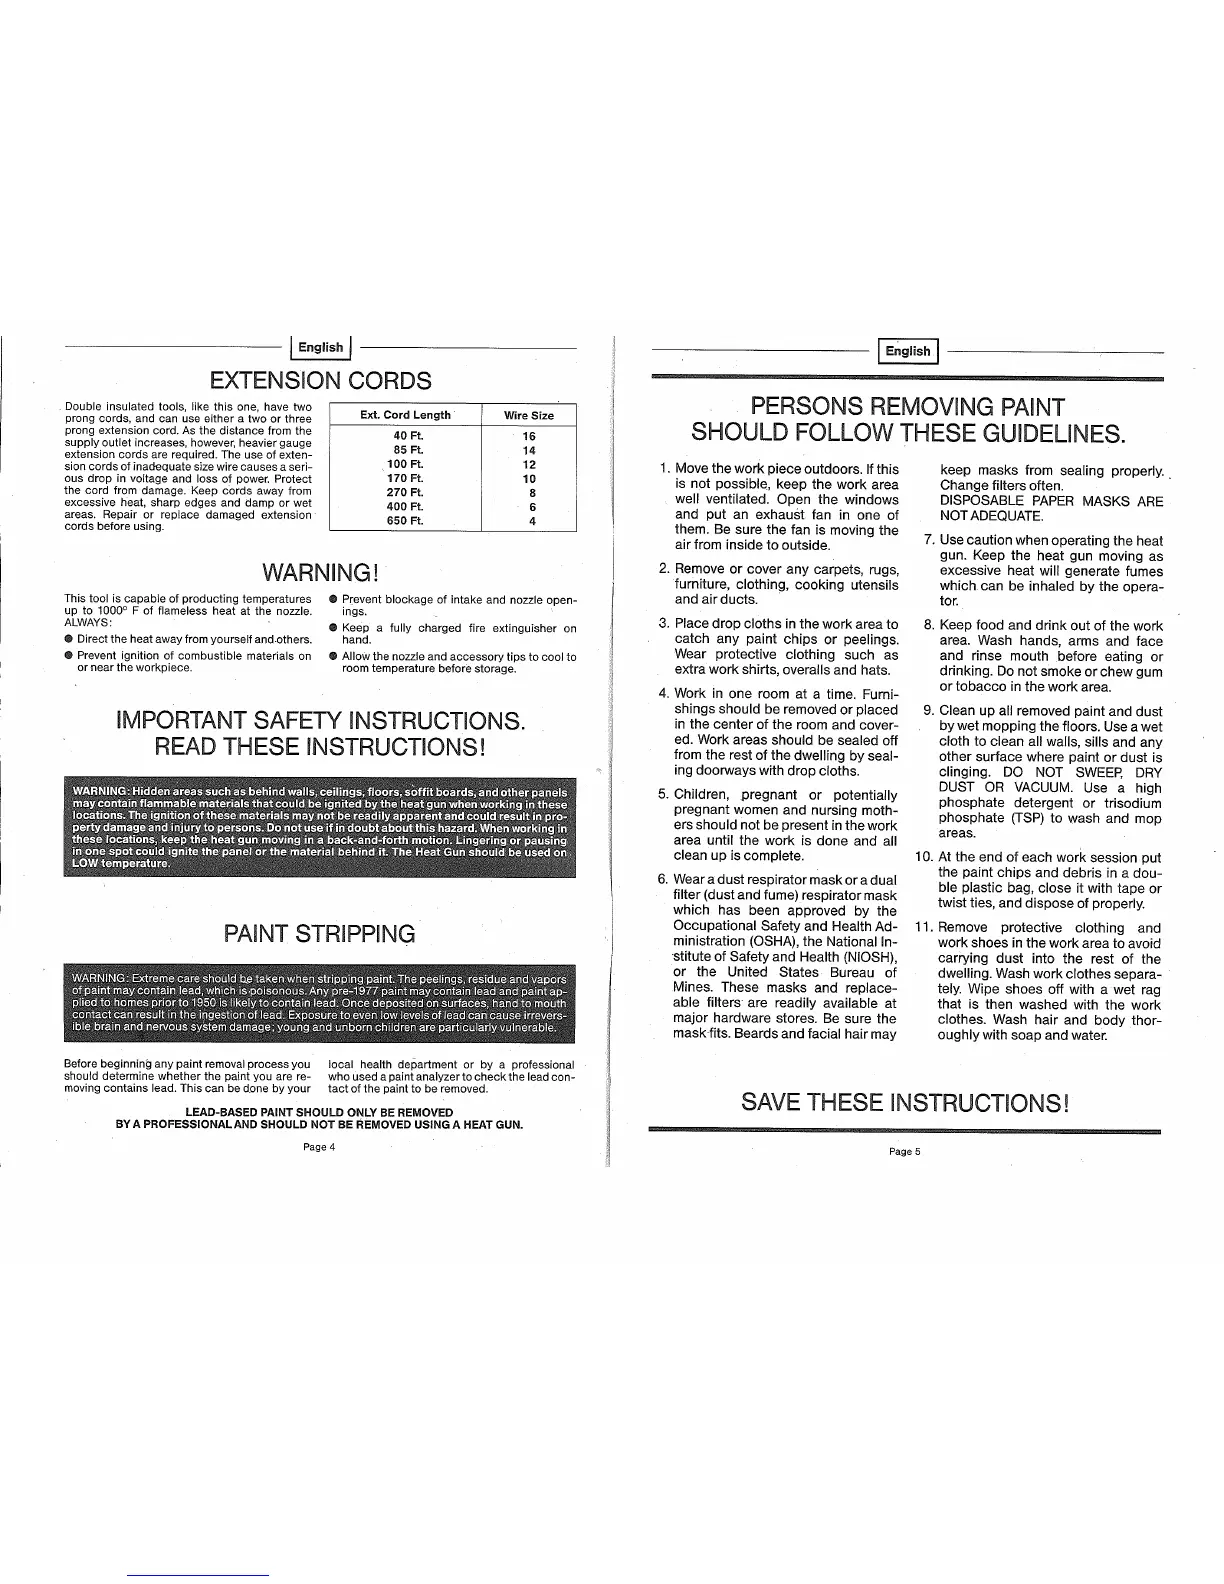
Double insulated tools, like this one, have two
prong cords, and can use either a two or three
prong extension cord. As the distance from the
supply outlet increases, however, heavier gauge
extension cords are required. The use of exten-
sion cords of inacfequate size wire causes a seri-
ous drop in voltage and loss of power. Protect
the cord from damage. Keep cords away from
excessive heat, sharp edges and damp or wet
areas. Repair or replace damaged extension
cords before using.
Ext. Cord Length
40 Ft.
85 Ft.
100 Ft.
170 Ft.
270 Ft.
400 Ft.
650 Ft.
Wire Size
16
14
12
10
8
6
4
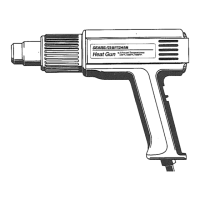
WARNING!
This tool is capable of producting temperatures
up to 1000 ° F of flameless heat at the nozzle.
ALWAYS:
® Direct the heat away from yourself and.others.
@ Prevent ignition of combustible materials on
or near the workpiece.
® P[event blockage of intake and nozzle open-
ings.
® Keep a fully charged fire extinguisher on
hand.
• Allow the nozzle and accessory tips to cool to
room temperature before storage.
iMPORTANT SAFETY iNSTRUCTiONS.
READ THESE INSTRUCTIONS!
PAINT STRIPPING
Before beginning any paint removal process you local health department or by a professional
should determine whether the paint you are re- who Used a paint analyzer to check the lead con-
moving contains lead. This can be done by your tact of the paint to be removed.
LEAD-BASED PAINT SHOULD ONLY BE REMOVED
BY A PROFESSIONALAND SHOULD NOT BE REMOVED USING A HEAT GUN.
Page 4
English I
PERSONS REMOVING PAINT
SHOULD FOLLOW THESE GUIDELINES.
1. Move the work piece outdoors. If this
is not possible, keep the work area
well ventilated. Open the windows
and put an exhaust fan in one of
them. Be sure the fan is moving the
air from inside to outside.
2. Remove or cover any carpets, rugs,
furniture, clothing, cooking utensils
and air ducts.
3,
Place drop cloths in the work area to
catch any paint chips or peelings.
Wear protective clothing such as
extra work shirts, overalls and hats.
4.
5.
6,,
Work in one room at a time. Furni-
shings should be removed or placed
in the center of the room and cover-
ed. Work areas should be sealed off
from the rest of the dwelling by seal-
ing doorways with drop cloths.
Children, pregnant or potentially
pregnant women and nursing moth-
ers should not be present in the work
area until the work is done and all
clean up is complete.
Wear a dust respirator mask or a dual
filter (dust and fume) respirator mask
which has been approved by the
Occupational Safety and Health Ad-
ministration (OSHA), the National In-
stitute of Safety and Health (NIOSH),
or the United States Bureau of
Mines. These masks and replace-
able filters-are readily available at
major hardware stores. Be sure the
mask-fits. Beards and facial hair may
keep masks from sealing properly.
Change filters often.
DISPOSABLE PAPER MASKS ARE
NOT ADEQUATE.
7.
Use caution when operating the heat
gun. Keep the heat gun moving as
excessive heat will generate fumes
which can be inhaled by the opera-
tor.
8.
Keep food and drink out of the work
area. Wash hands, arms and face
and rinse mouth before eating or
drinking. Do not smoke or chew gum
or tobacco in the work area.
9.
10.
Clean up all removed paint and dust
by wet mopping the floors. Use a wet
cloth to clean all walls, sills and any
other surface where paint or dust is
clinging. DO NOT SWEEP, DRY
DUST OR VACUUM. Use a high
phosphate detergent or trisodium
phosphate (TSP) to wash and mop
areas.
At the end of each work session put
the paint chips and debris in a dou-
ble plastic bag, close it with tape or
twist ties, and dispose of properly.
11. Remove protective clothing and
work shoes in the work area to avoid
carrying dust into the rest of the
dwelling. Wash work clothes separa-
tely. Wipe shoes off with a wet rag
that is then washed with the work
clothes. Wash hair and body thor-
oughly with soap and water.
SAVE THESE iNSTRUCTIONS!
Page 5
 Loading...