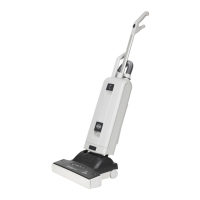
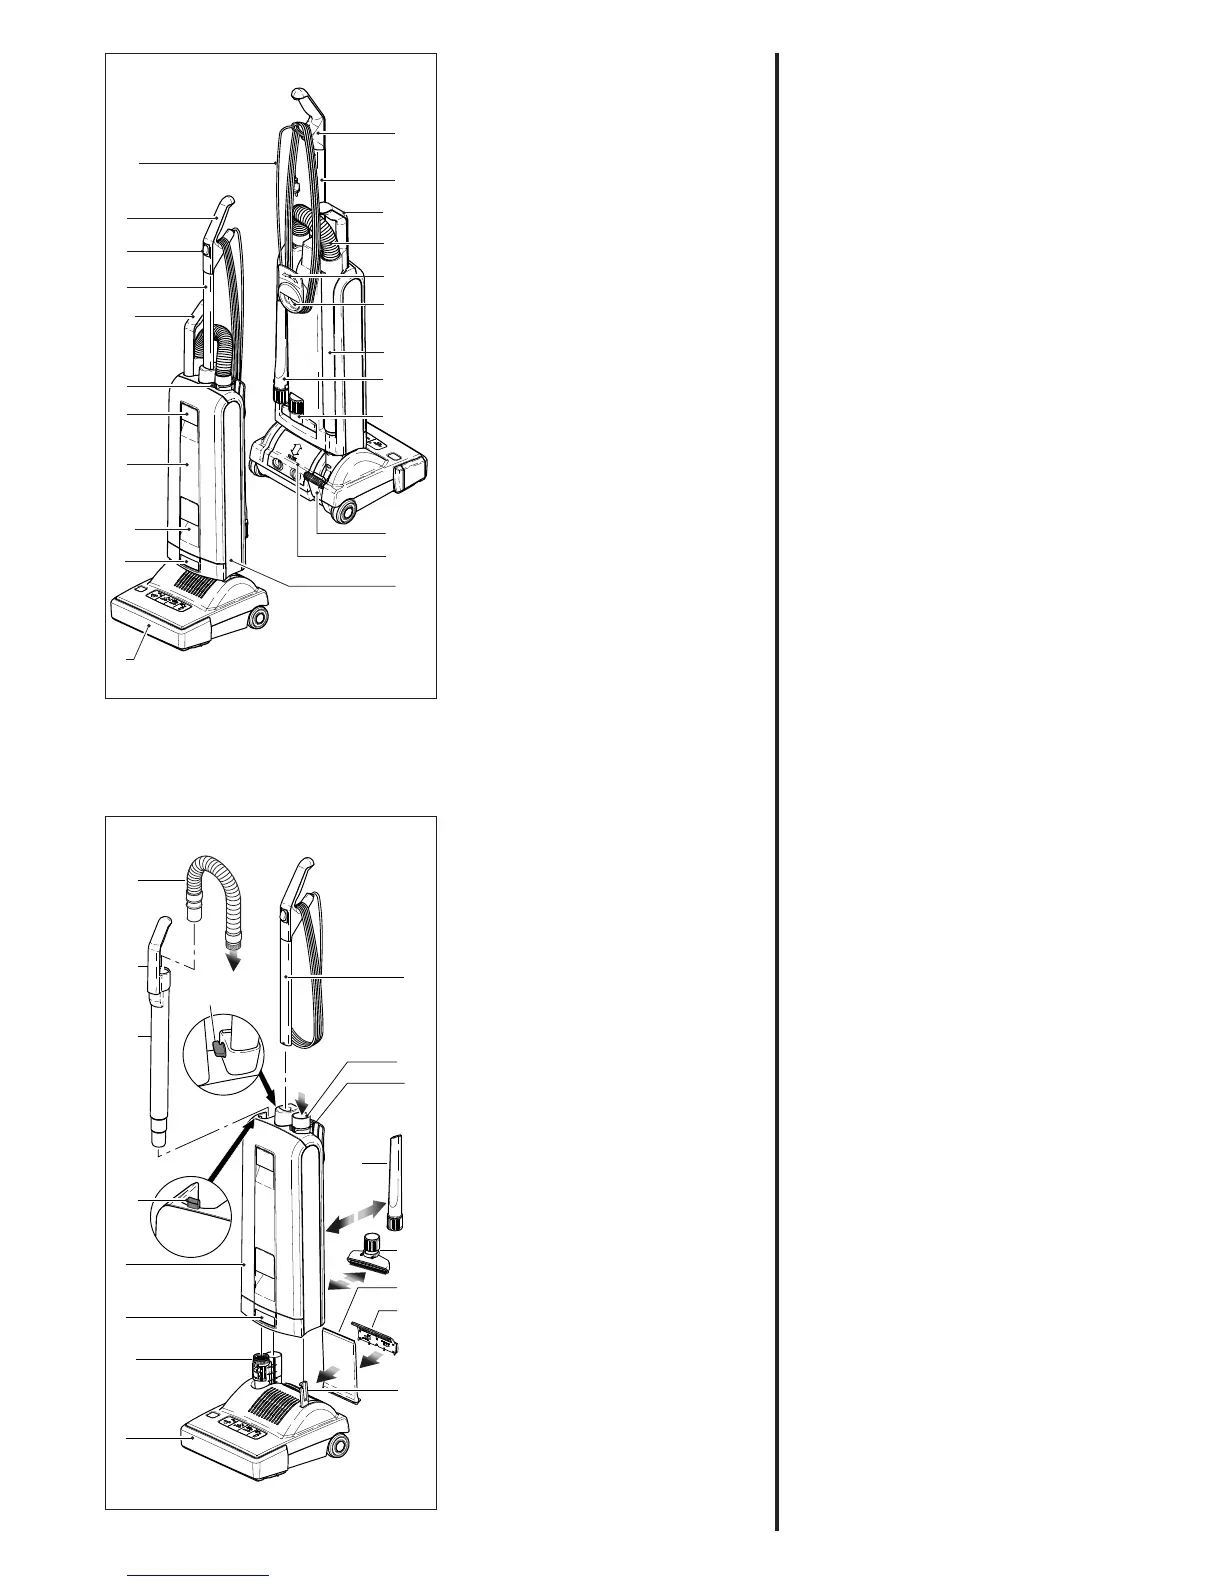
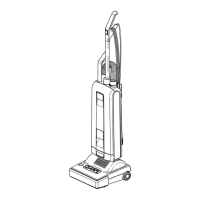
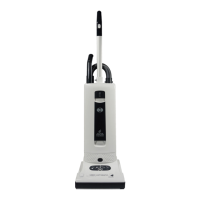
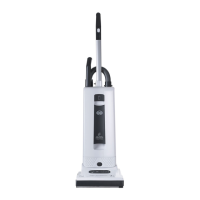
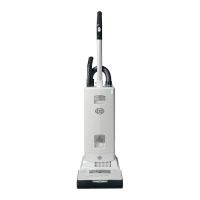
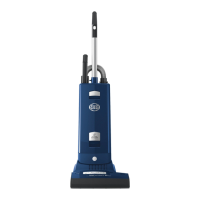
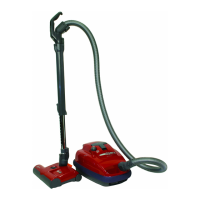
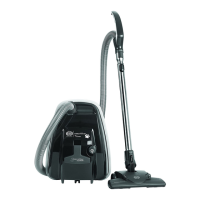
5. Gerätebeschreibung
1 Griff
2 Schalter
3 Stiel
4 Sicherungsring
5 Deckelschloß
6 Filtergehäuse
7 Deckel
8 Entriegelungstaste
9 Gerätefuß mit Bürste
10 Anschlußleitung
11 Handgriff des Teleskopschlauchs
12 Schlauch
13 Griffmulde / Tragegriff
14 Leitungshaken
15 Saugrohr des Teleskopschlauchs
16 Fugendüse
17 Polsterdüse
18 Rastpedal
23 Abluftfilterdeckel
Bitte lesen Sie zuerst gründlich die-
se Gebrauchsanweisung.
Bitte beachten Sie unbedingt die
Sicherheitshinweise.
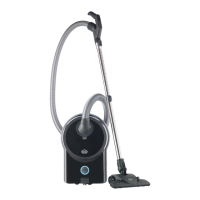
6. Inbetriebnahme
In der Verpackung befindet sich das
in vier Teile zerlegte Gerät sowie die
Gebrauchsanweisung. Den Gerätefuß (9)
auf den Boden stellen. Das Filtergehäuse
(6) vorsichtig auf das aufrechte Gelenk (20)
und den Stützhebel (21) setzen und nach
unten drücken, bis die Entriegelungstaste
(8) einrastet. Den Stiel (3) des Handgriffs
bis zum Anschlag in die Aufnahme am
Filtergehäuse einschieben und mit einer
90°-Drehung des Hebels (22) verriegeln.
Das Saugrohr (15) erst in das Gelenk (20)
einführen und dann mit dem Griff auf den
Nocken (24) am Filtergehäuse stecken.
Die passende Schlauchseite in das
Saugrohr (15) einführen. Zum Anschließen
des Schlauches (12) an das Filtergehäuse,
das Ende mit der schwarzen Buchse in die
Verbindungshülse (26) einführen und ganz
einschieben. Durch Zusammendrücken
der Griffflächen am Sicherungsring (4)
kann der Schlauch wieder gelöst werden.
Wenn das Gerät nicht läuft, überprü-
fen, ob die Teile richtig zusammenge-
steckt sind.
5. Machine Description
1 Handle grip
2 On / Off switch
3 Handle assembly
4 Retaining ring
5 Cover release flap
6 Dust bag housing
7 Front cover
8 Housing release button
9 Base with brush
10 Cable
11 Attachment tube handle
12 Hose
13 Carrying handle
14 Cable hook
15 Attachment tube
16 Crevice nozzle
17 Upholstery nozzle
18 Foot pedal
23 Exhaust filter cover
Please read this instruction manual.
Do not use the machine before reading
the Cautions.
6. Assembly
In the box you will find the machine in four
major parts. To assemble the machine,
put the swivel neck (20) and black support
lever (21) in the upright position. Carefully
place the dust bag housing over them
and push down until the release button
resets (8). Lift the catch (22) and push in
the handle assembly (3) in until the arrow
disappears. Lock the catch (22) with a 90°
turn. Push the black end of the hose into
the connecting tube (26) so that it clicks
into place. Insert the attachment tube (15)
into the swivel neck and push the handle
(11) over the projection (24). The hose can
be taken off by squeezing the retaining ring
(4).
IF THE MACHINE DOES NOT WORK, THEN
THE STEPS ABOVE HAVE NOT BEEN
EXECUTED CORRECTLY. PLEASE ENSURE
THE PARTS ARE PROPERLY PUSHED
TOGETHER.