11
MAKING CONNECTIONS
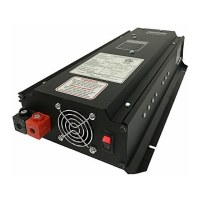
After mounting Pump Sentry to the
wall, follow these steps.
Make sure the ON/OFF
switch is in the OFF
position.
Connect the red battery
cable to the Red (Positive) +
terminal of the Pump
Sentry.
Connect the black battery
cable to the Black
(Negative) – terminal of the
Pump Sentry.
WARNING! DO NOT
REVERSE THESE
CONNECTIONS. DAMAGE
TO THE PUMP SENTRY
WILL OCCUR AND YOU
WILL VOID THE
WARRANTEE.
WARNING! A spark may
occur when connecting the
second cable. This is normal.
An explosion hazard may
exist if flammable liquid or
gas is present. INSTALL
AND OPERATE PUMP
SENTRY IN A WELL
VENTILATED AREA
ONLY.
Plug your pump into the
Pump Sentry’s AC
outlet.
Plug the Pump Sentry
into a 120 volt AC
outlet.
Turn ON/OFF switch to
the ON position.
INSTALLATION TEST
After making the
connections as instructed
above, cycle the pump to
ensure its operation under
normal conditions.
Remove power cord from
the AC wall outlet to
simulate a power failure.
The fan will not necessarily
be activated. It is thermostat
controlled and will turn only
when the temperature of the
wall of the stove sentry
exceeds 45C (113F).
Cycle the pump to ensure
operation in “battery back
up” mode.
Plug the Pump Sentry AC
power cord back into the
wall outlet. Cycle the pump.
Note that after 2 seconds at
least one of the Battery
Monitor LEDs has lit. This
is normal and is an
indication that the Pump
Sentry has recognized the
return of normal AC power.
The Pump Sentry is no