Section 8: Repairs
Bambi Bucket Service Manual – Models 6072-1821 51
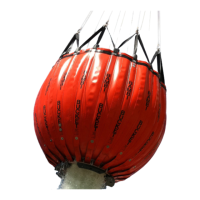
2. Scrub the damaged area with an abrasive pad
dampened with solvent (isopropyl rubbing alcohol is
recommended). Scrub vigorously to remove the
cured surface. The area should be clean and dry with
a dull matte finish.
3. Wipe with a rag, dampened with solvent, to remove any residue from cleaning. Check to see
if the area is totally clean and all coated surfaces and edges are dull. If not, repeat the
cleaning. This is critical for a good glue bond.
4. Cut a patch at least 2" (50 mm) larger in every
direction from the damaged area. A round patch is
recommended but, if a rectangular patch covers the
damage better, then round all corners. Clean the
patch by scrubbing with a pad dampened with solvent.
Rub vigorously to remove the gloss from the fabric.
Clean both sides of the patch, as it is easy to get the
patch turned over during installation. The colour of
the patch will vary depending on the product repair
kit.
5. Apply glue to the patch and damaged area. Wait 30 minutes (at 75 °F or 22 °C) for some of
the solvent to evaporate from the glue. The glue should become thicker but still be quite wet.
If it has been allowed to dry too long, give both sides another thin coat. If the glue has dried
too long, it will be difficult to avoid entrapping air bubbles in the bonded joint.
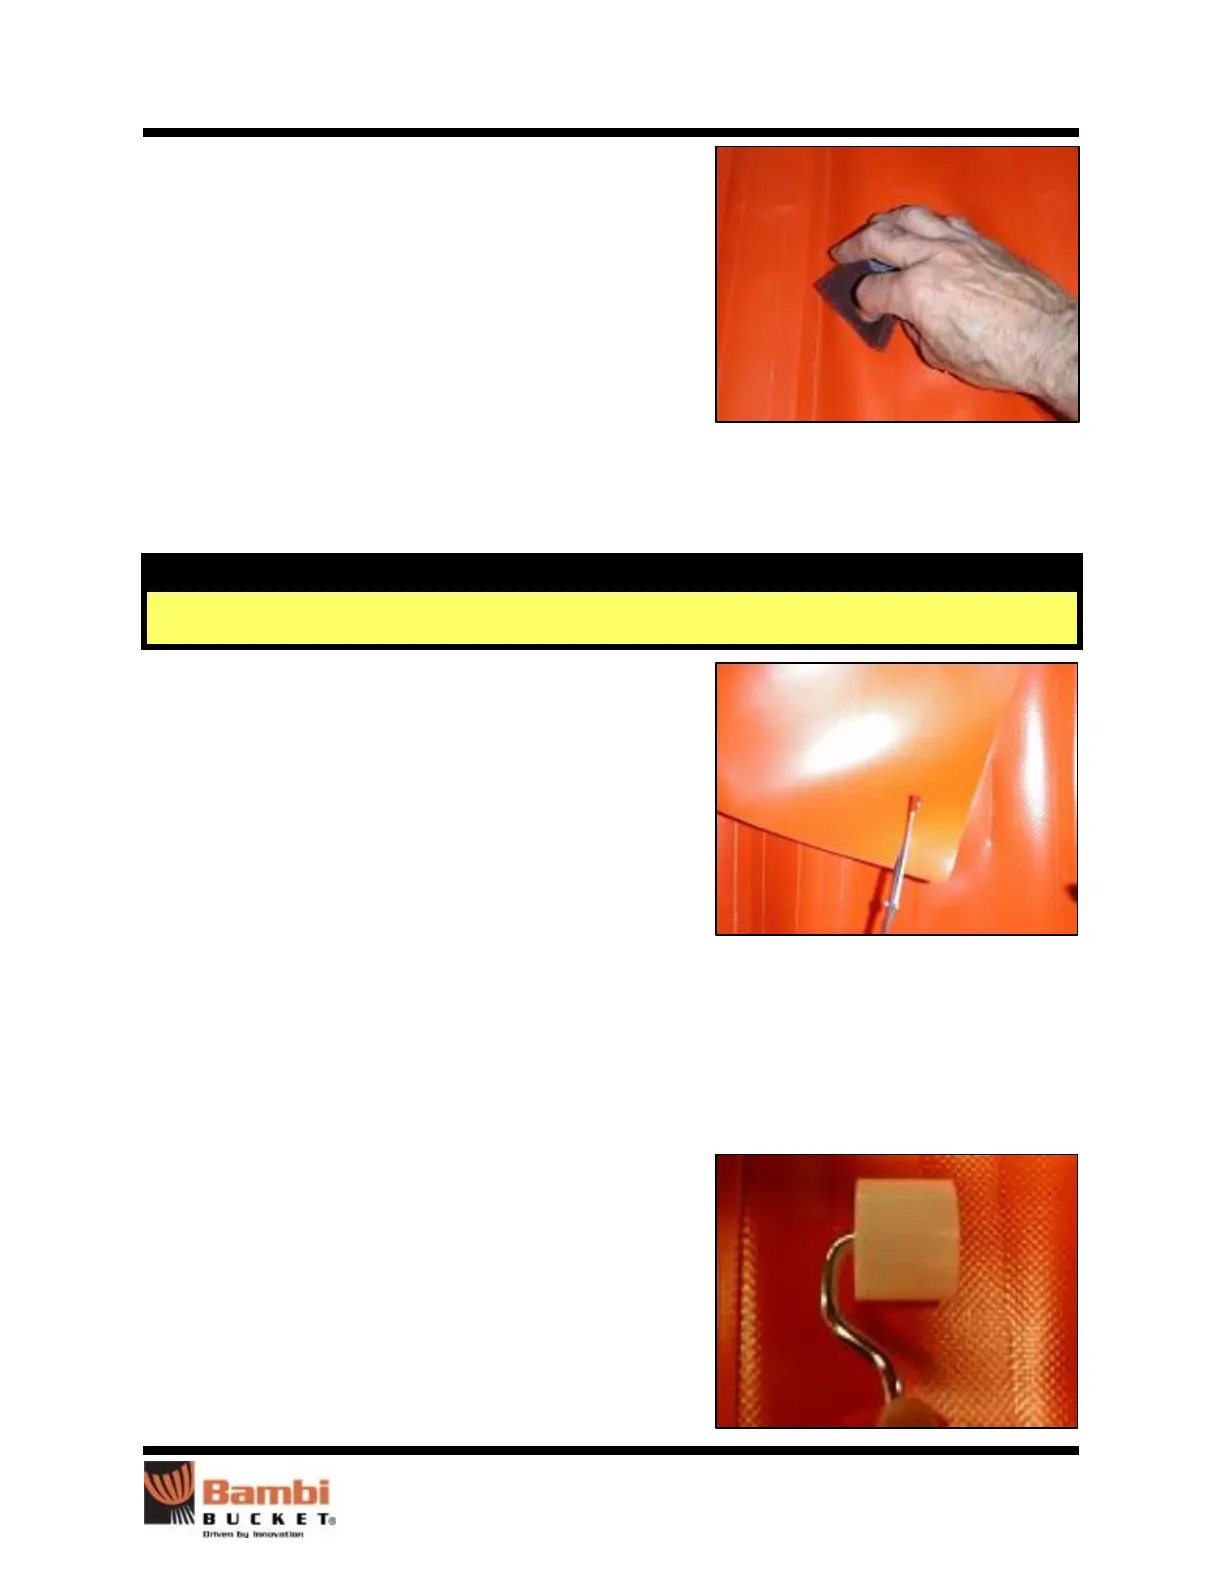
6. Place the centre of the patch down first, and then roll
it out towards the edges with the roller. This expels
trapped air. Once the patch is rolled down, do not let
it lift up. This will prevent air from getting under the
patch which causes a weak bond.
 Loading...