Comfort technologydivisio
“MUSA Plus Eco
Electronic control for towel radiators
Rev. 0
- Sept. 201
Selmo Electronic
Viia Pacinotti, 24 - 35030 Rubano (PD) Italy- Tel 049.8976761, Fax 049.8976085 - www.selmo.it
EN
CHRONO MODE
This operating mode allows the user to configure different temperature values for each hour of each day of the
week. The “Comfort” / “Night” temperatures and the related time intervals can be thus programmed.
-To activate this function, press the [PROG] button until the “Chrono” icon is
displayed.
Programming the “Chrono” mode
a) Setting the current day of the week and time
Enter into “Stand-by” mode and press the [-] button at least 3
seconds.
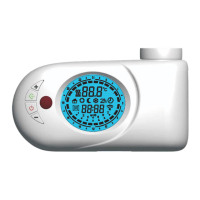
On the upper part of the display the message “Set” will be displayed
To set the day and time press the [+] button until the bottom part of the
display the message “TED” is displayed (see picture on the right).
Press the [Prog] button to enter the editing mode
The blinking arrow indicates the currently selected day: Pressing the
[+] / [-] buttons the desired day can then be set
Press again the [Prog] button to confirm the selected day. After that,
the procedure for entering the time starts and the display shows the
currently selected time. “Hours”: Use the [+] and [-] buttons to set the
correct hour and confirm the selected value pressing the [Prog] button.
Minutes: Same procedure as for the hours. Confirm the selected value
by pressing the [Prog] button.
At the end of the procedure, the thermostat returns into “Stand-by”
mode.
b) Setting the program for the “Chrono” mode
- Enter into “Stand-by” mode and press the [-] button at least 3
seconds.
On the upper part of the display the message “Set” will
be displayed
To set the day and time press the [+] button until the
bottom part of the display the message “Prog” is displayed
(see picture on the right).
Press the [Prog] button to enter the editing mode
Now a time sequence can be defined for each day of
the week.
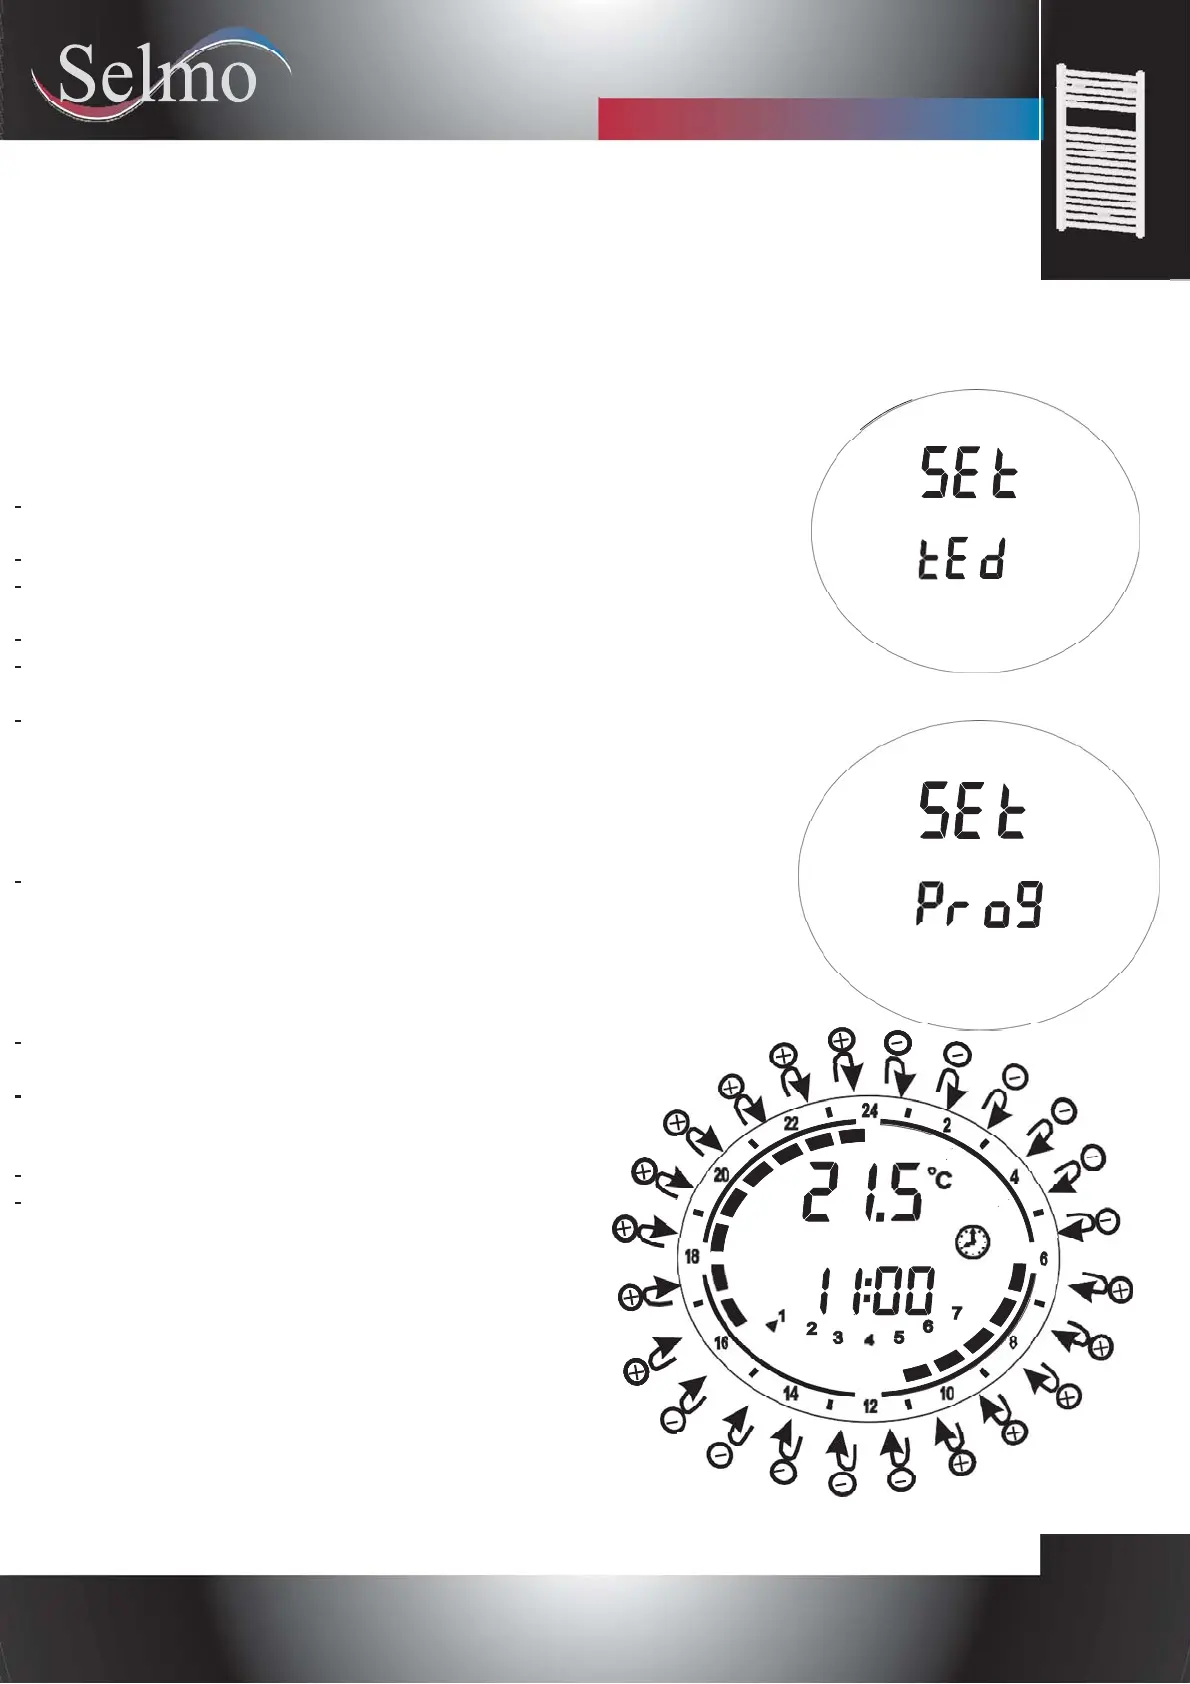
The procedure starts with day 1, and the desired
sequence can be configured with the [+] and [-] buttons:
For each hour of the day, it is then possible to assign
either the “Comfort” temperature (full bar indication
displayed) by pressing the [+] button or the “Night”
temperature (empty bar) by pressing the [-] button
(see picture below).
Press [PROG] to confirm the entered configuration for
day 1, and repeat the same procedure for the remaining 6
days of the week.
 Loading...