EN - 12 WWW.SENIXTOOLS.COM
ASSEMBLY
1. Unpack all parts and lay them on a flat, stable surface:
2. Remove all packing materials and shipping devices, if
applicable.
3. The scope of delivery varies depending on the country
and purchased variant:
Model of PDIX2-M2
• Screwdriver x1
• Driver bit x1
• Belt clip x1
• Screw x1
• Battery pack x1
• Charger x1
• Instruction manual x1
4. If you find that parts are missing or show damage do
not use the product but contact your dealer. Using an
incomplete or damaged product represents a hazard to
people and property.
5. Ensure that you have all the accessories and tools
needed for assembly and operation. This also includes
suitable personal protective equipment.
NOTE:
PDIX2-M2 includes charger and battery pack.
PDIX2-M2-0 does not include charger and battery pack.
WARNING:
Wear protective gloves for this assembly work
and always lay the product on a flat and stable
surface while assembling.
Follow the assembly instructions step-by-step
and use the pictures provided as a visual guide
to easily assemble the product!
Do not insert the battery pack before the power
tool is completely assembled or adjusted!
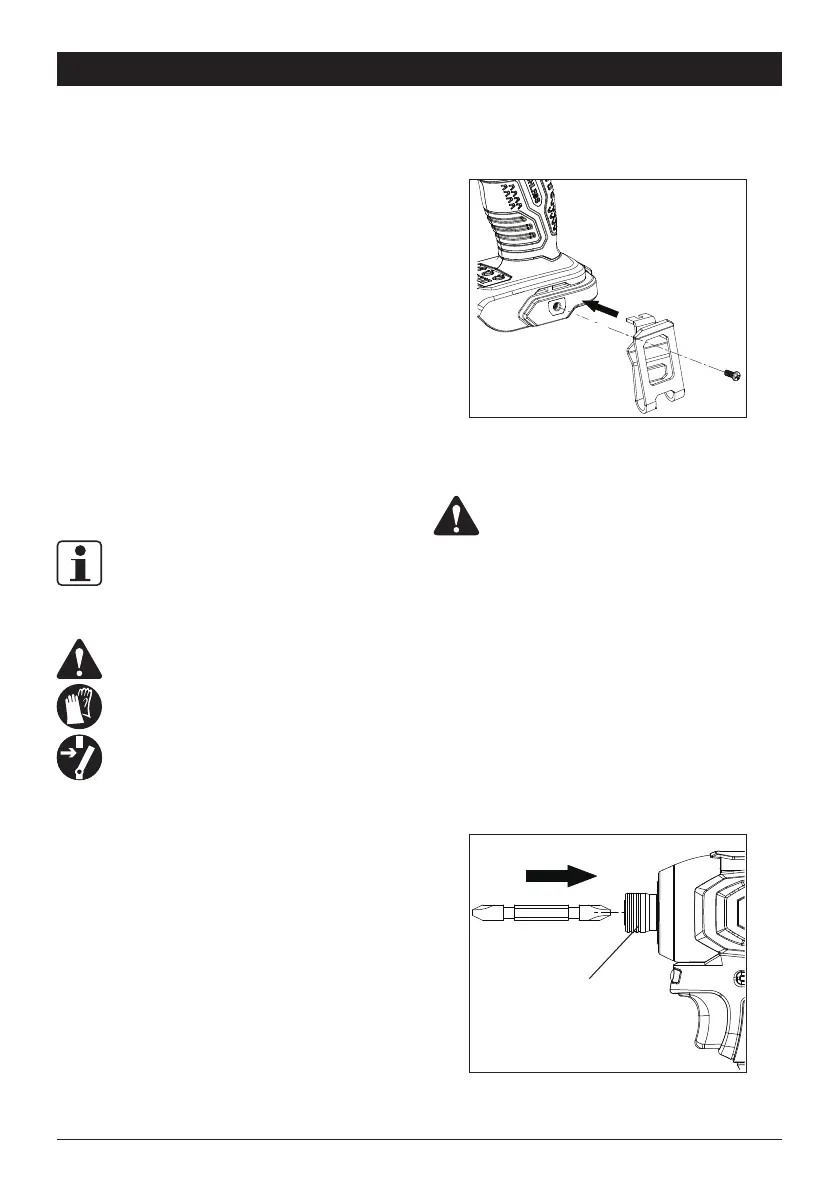
BELT CLIP
Secure the belt clip on the tool by a screw.
DRIVER BIT
WARNING:
Observe the technical requirements of this
product (see section "SPECIFICATIONS") when
purchasing and using application tools (e.g.
adapter for wrench socket or screwdriver bits).
Always use suitable application tool according to
the intended use.
Always hold the product firmly in the hand while
assembling application tool.
To install:
Pull the collar froward and insert a suitable bit as far as
possible into the chuck. Release the collar then the chuck
will rmly hold the bit in place. Pull the bit outward to make
sure it is secured.
Collar