Personal Ambulatory Oxygen System Users Manual
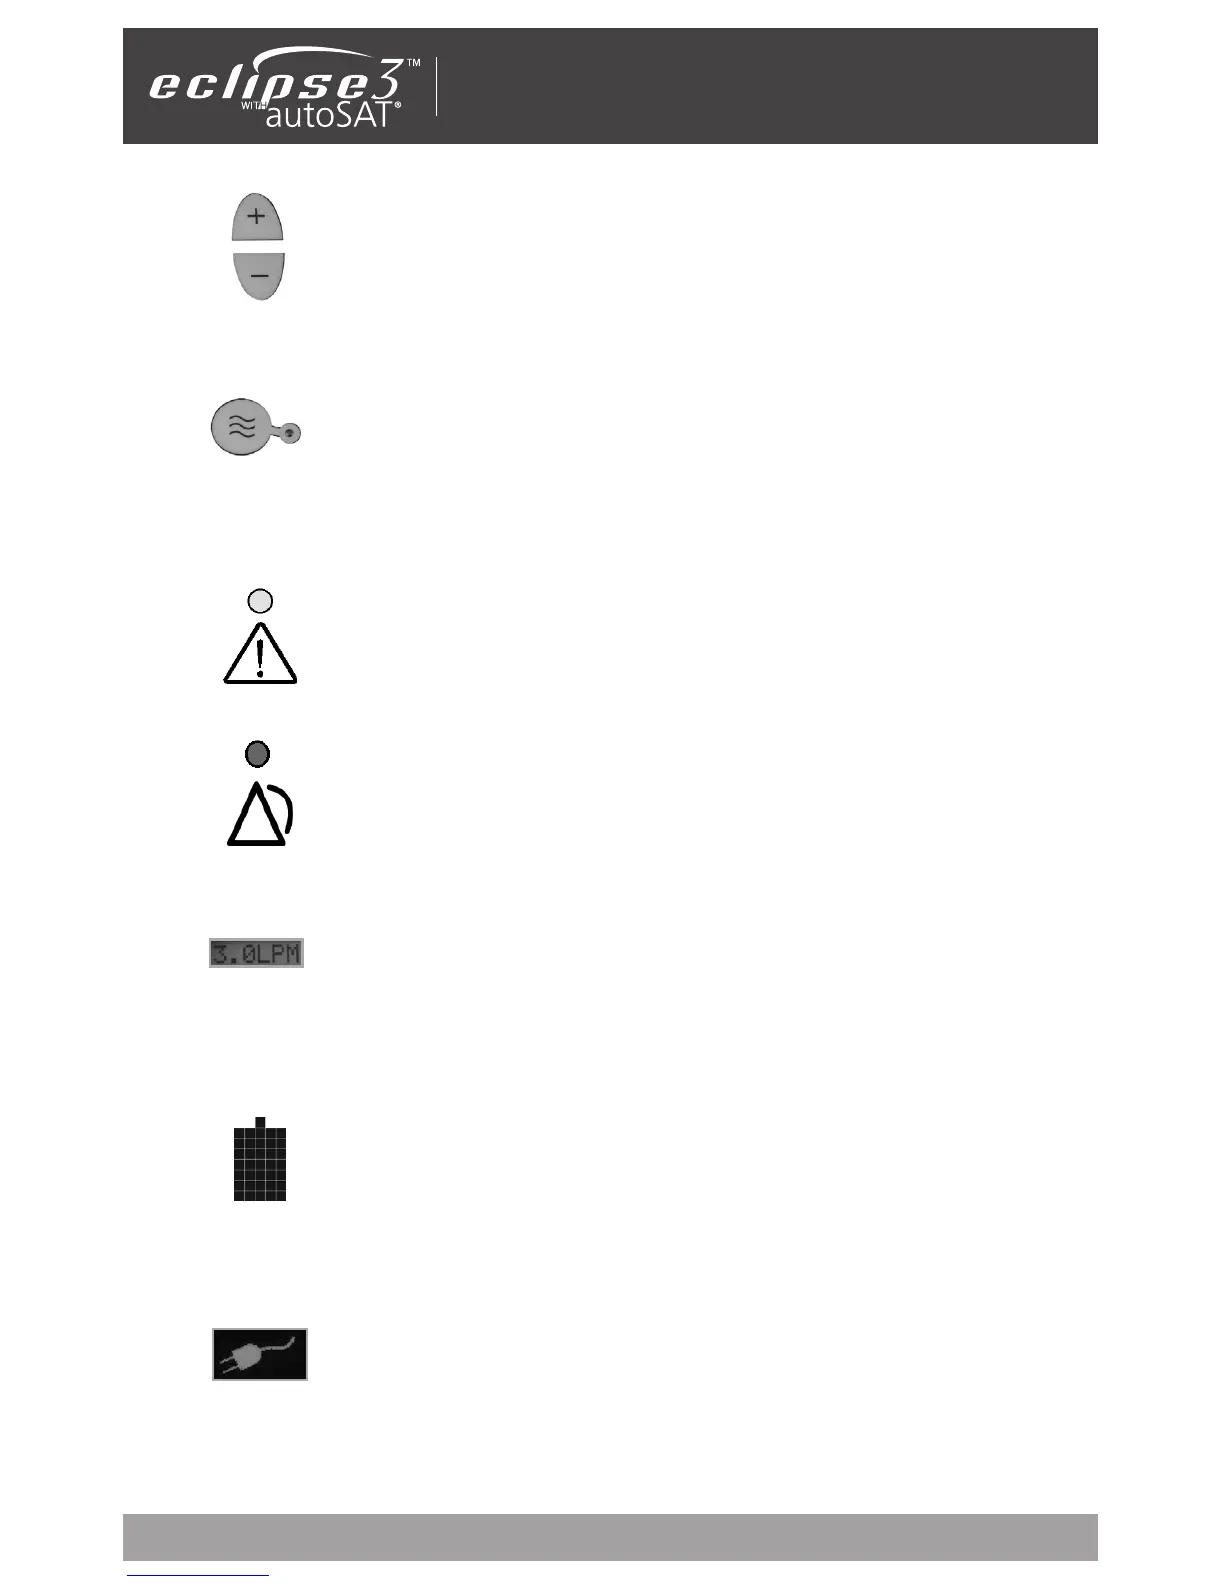
Increase or Decrease Flow Setting Buttons:
Use these buttons to set the flow to your prescribed setting.
Delivery Mode Button and Indicator: The button toggles between
Continuous Flow and Pulse Dose Mode. The Pulse Dose Mode activates
autoSAT Technology—as your breath rate changes, the Eclipse servo-
controls the unit to provide a consistent bolus size. The Pulse Dose Mode
allows a significant increase in the operating time while powered by
the battery. When this mode is activated, the green Pulse Dose Mode
Indicator illuminates and a pulse of oxygen is delivered with each
inspiratory effort.
External Power Indicator: When the Eclipse is properly plugged in and
is using the AC or DC Power Supply, this indicator will appear on the
User Control Panel.
Buzzer: An audible alarm (or buzzer) is used to alert you to the operating condition of
the device, either a warning or failure, and to confirm a valid key press by the user.
ALERT (Yellow) Indicator—Low and Medium Priority Alerts:
When illuminated, this indicates a low priority awareness condition or
Caution. Continue to use your system and refer to the Troubleshooting
Table for the proper response. A flashing yellow indicates a medium
priority alert. A prompt response is necessary.
Flow Setting Indicator: This is the main focus on your control panel.
Your home care provider will correctly set your prescribed flow for
the Continuous Flow Mode (LPM) and/or your Pulse Dose Mode (mL)
settings. Each time you power the device ON, the previous mode and/or
setting has been saved and will be used at start-up.
ALARM (Red) Indicator —High Priority Alarms: Indicates a high prior-
ity alarm condition. An immediate response is necessary. Refer to the
Troubleshooting Table and contact your home care provider.
Power Cartridge (battery) Status Gauge: This indicator displays the
charge remaining in the battery. Each of the five horizontal gray bars
represents approximately 20% of the total battery charge. When
the battery is being charged, the charge indicator bars will blink in a
waterfall-type fashion.
If the battery is not installed, or if it is improperly installed, the Power
Cartridge (battery) Status Gauge will not be illuminated.
9