- 44 -
1 ~ 4
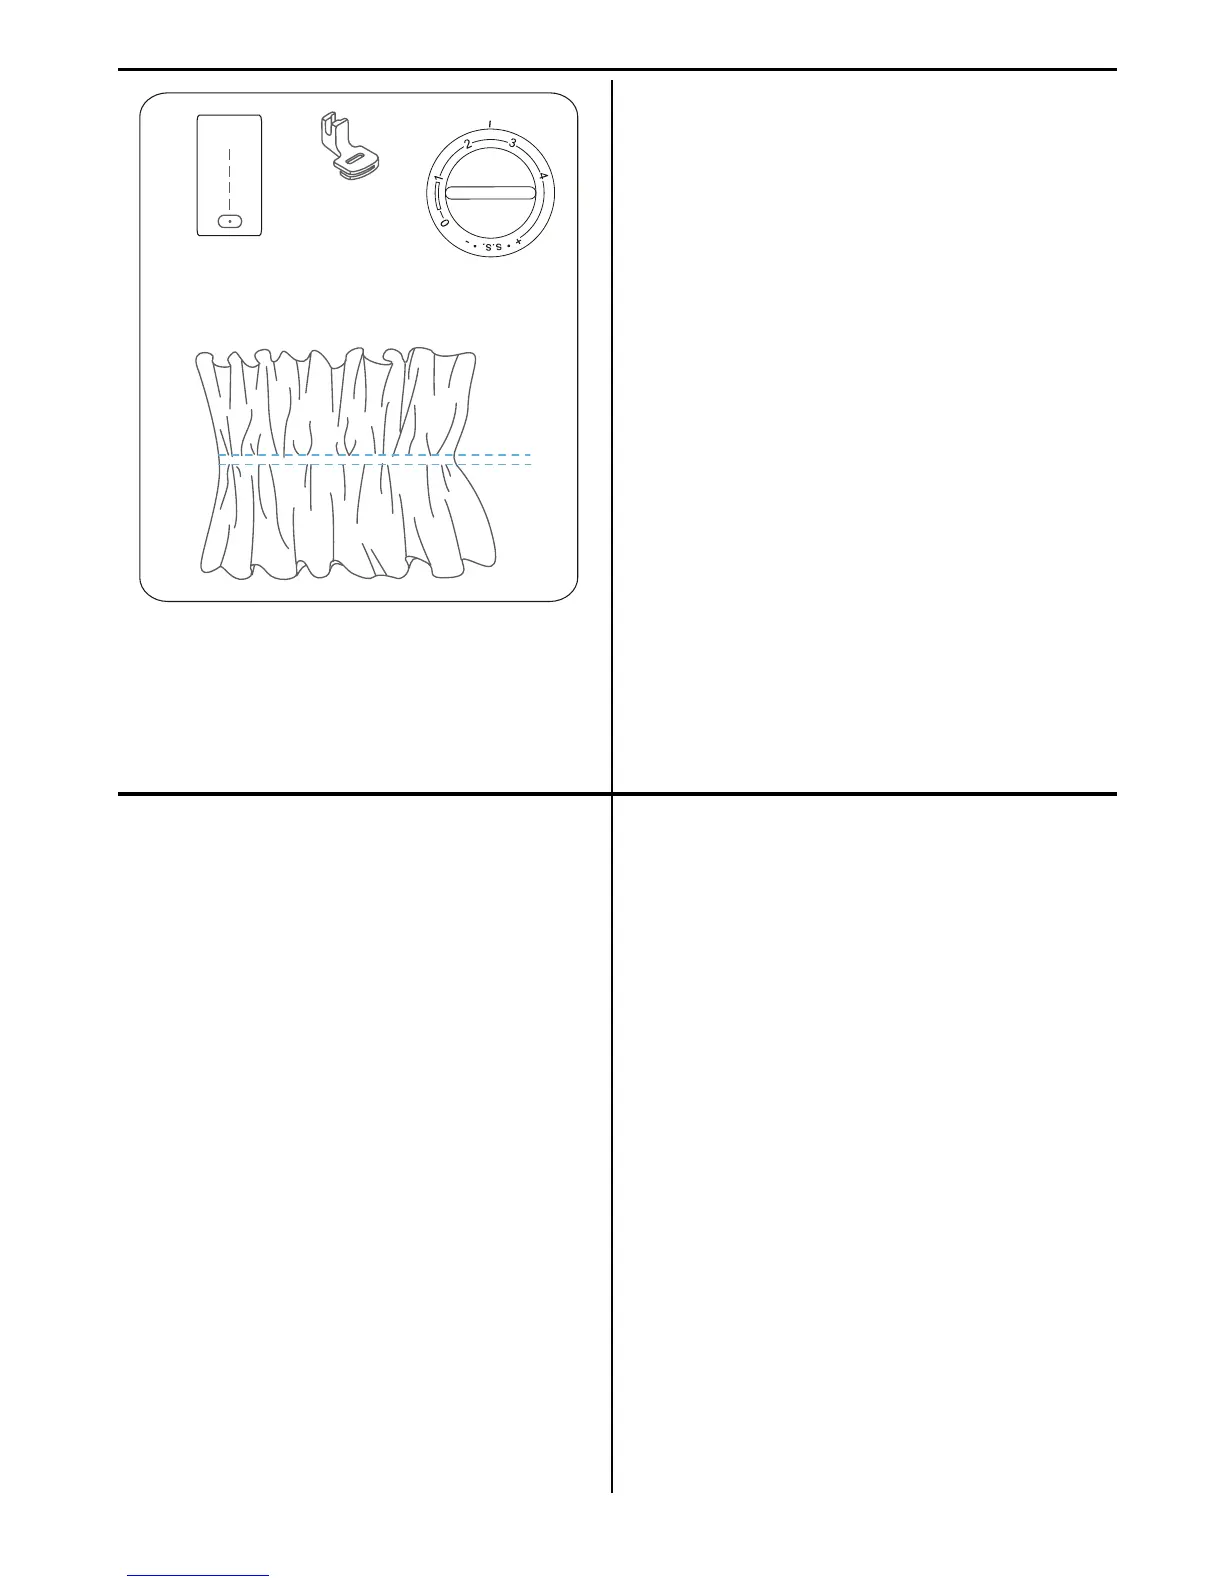
Gathering Foot*
(Optional)
Pata para fruncidos*
(Opcional)
Pied fronceur*
(facultatif)
A
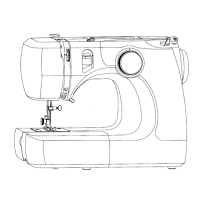
Using the Gathering foot
(*not included with the machine)
- Attach the Gathering foot.
- Select the straight stitch. (A)
- Set the stitch length dial between “1” and “4”.
- Use a marker to space your row of stitches evenly.
- Align the presser foot with your marks and lower the
presser foot to sew.
- Move the fabric over and sew successive rows.
Utilisation du pied fronceur
(*non compris avec la machine)
-
Attachez le pied fronceur.
- Sélectionnez le point lancé (A).
- Réglez le cadran de longueur de point entre « 1 » et
« 4 ».
- Utilisez un tracé pour espacer également votre
rangée de points.
- Alignez le pied presseur sur votre tracé et abaissez
le pied presseur pour coudre.
- Déplacez le tissu dessus et cousez des rangées
successives.
Usando la pata para Fruncidos
(*no incluida con la máquina)
- Coloque la pata para fruncidos.
- Seleccione la puntada recta. (A)
- Coloque la perilla de longitud de puntada entre
“1” y "4".
- Utilice un marcador para separar las líneas de
puntos uniformemente.
- Alinee la pata prensora con sus marcas y bájela
para comenzar a coser.
- Desplace la tela y cosa líneas sucesivas.
Stitch Length Dial
Longitud de puntada
Cadran de longueur
de point
Using optional accessories - Uso de accesorios opcionales - Utilisation des accessoires en option