CA
D
B
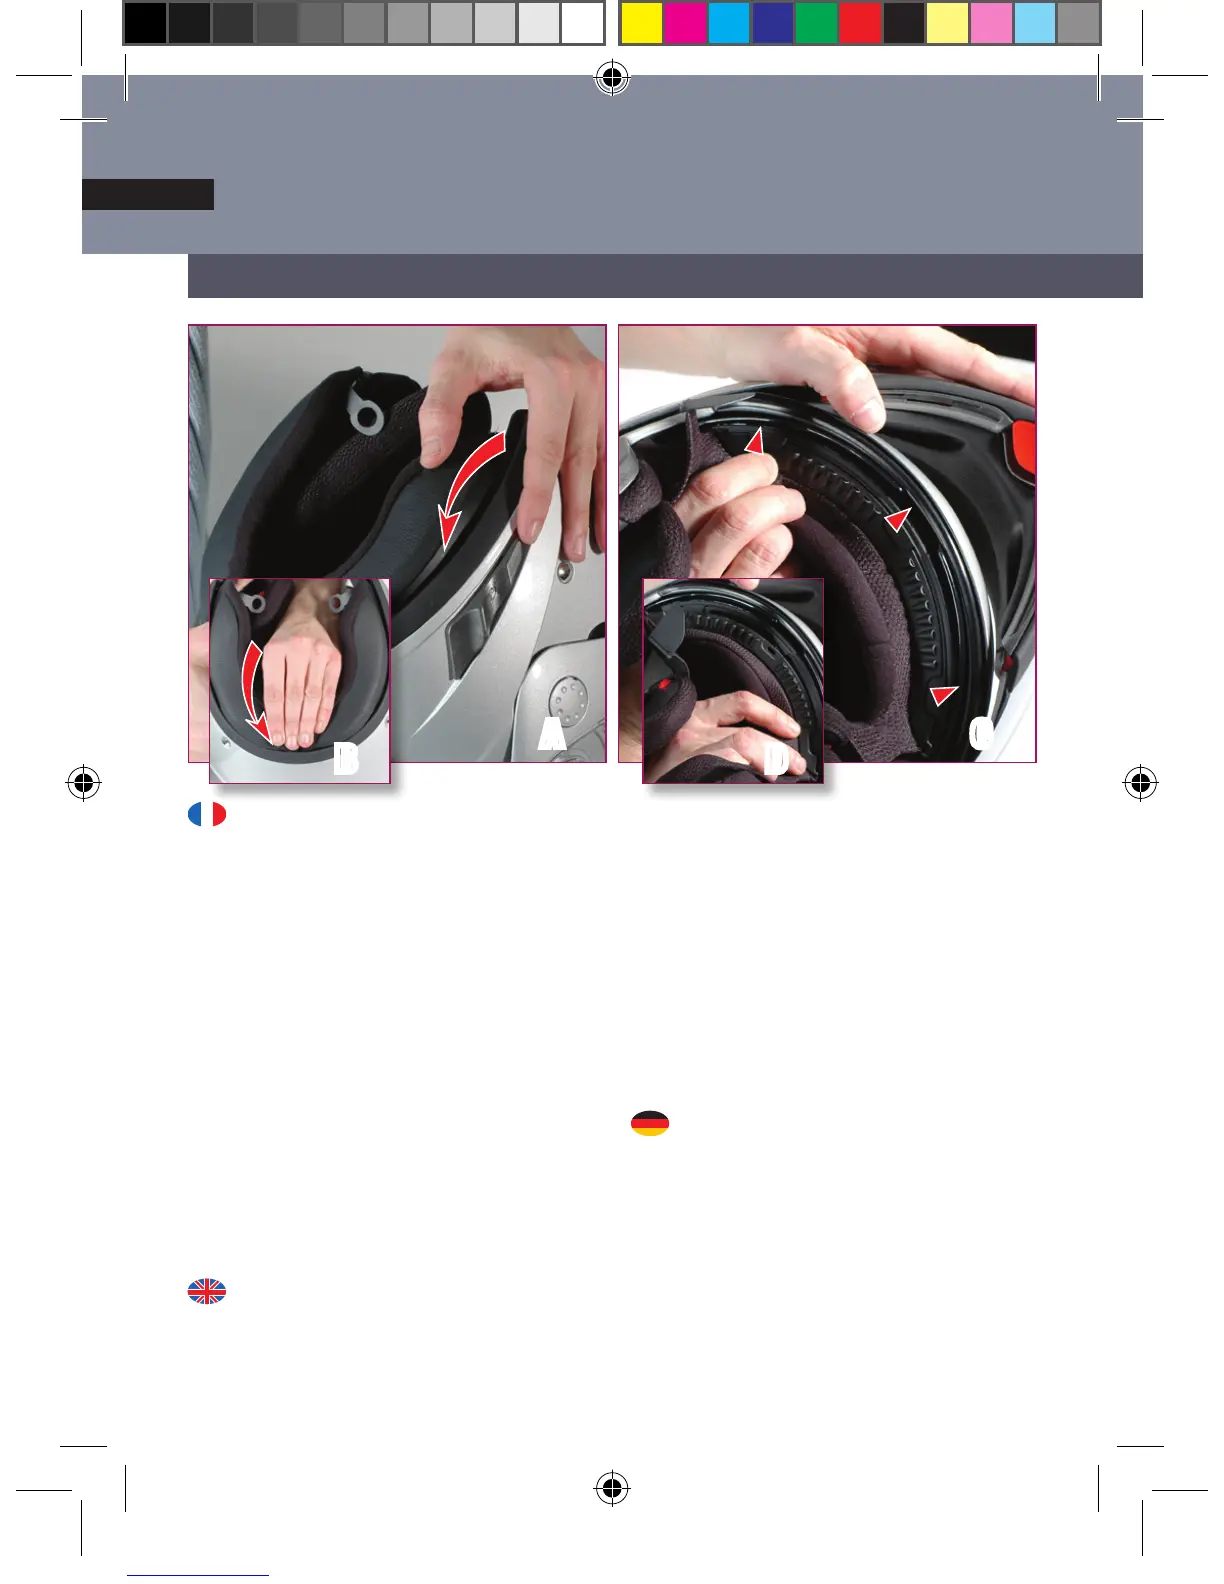
Réaliser l’opération de démontage en
sens inverse :
1/ Positionner le pare-nuque dans son
logement en le centrant correctement dans
2/ Glisser la partie frontale dans son sup-
port, les 3 clips doivent être engagés
3/ Passer chaque côté de la jugulaire dans
le logement prévu dans les coussinets de
4/ Clipser les coussinets de joues, sans
omettre de positionner correctement la
5/ Bien vérifier que les jugulaires ne fas-
sent aucun pli sous les coussinets de
joues.
Follow the instructions for the removal,
starting from the finish:
1/ Place the nape shield in its seat, centring
it correctly in the helmet (A-B) ;
2/ Insert the front part in its base, make
you sure that the 3 clips are properly
grasped (C-D) ;
3/ Thread each side of the chin strap in the
proper seat in the cheek pads (E) ;
4/ Press the cheek pads until you hear the
click of the snaps, ensure that the bracket
of the nape shield is correctly positioned
(F-G-H) ;
5/ Always make sure that there is no crease
of the chin straps under the cheek pads.
in umgekehrter Reihenfolge vorgenom-
men:
38