Do you have a question about the Shark Rotator NV682 and is the answer not in the manual?
Warnings regarding electrical connections in the vacuum's power nozzle, wand, and handle.
Essential safety practices for operating the vacuum cleaner in general.
Safety considerations for dust cup, filters, and accessories before operation.
Safety precautions related to vacuum hose attachments and usage.
General safety advice for cleaning operations with the vacuum.
Information and warnings about the vacuum cleaner's polarized plug.
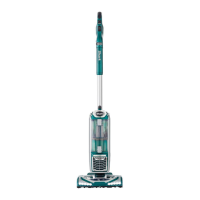
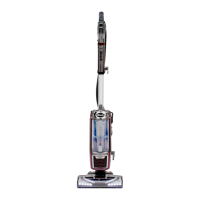
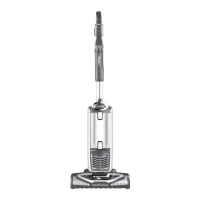
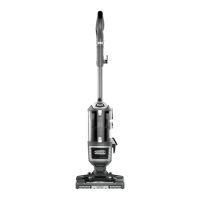
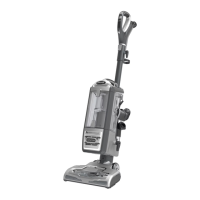
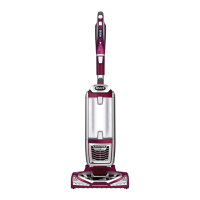
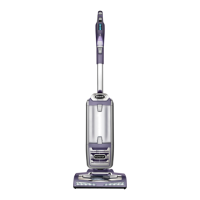
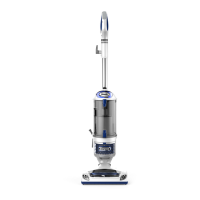
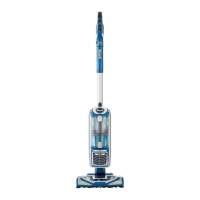
Identification and description of the main components of the vacuum cleaner.
Detailed steps for assembling the vacuum cleaner, covering initial setup.
Explanation of the different states of the brushroll indicator light.
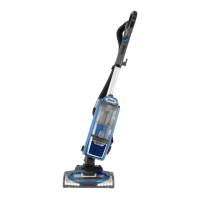
Guide to operating the vacuum cleaner in its standard upright configuration.
Explanation of how suction control enhances vacuuming performance on different surfaces.
Instructions for using the vacuum in above-floor cleaning modes with various tools.
Details on using the motorized floor nozzle for deep cleaning carpets and large debris.
Guide to using the Dust-Away attachment for debris and fine dust on hard floors.
Explanation of the Powered Lift-Away feature and its benefits for cleaning.
Instructions for using the vacuum's Powered Lift-Away feature for hard-to-reach areas.
Tool for cleaning tight spaces with extension tubes and micro tools.
Brush designed for pet hair and dirt on carpeted stairs and upholstery.
Durable pad for debris and gentle dusting on hardwood and tile floors.
Two tools in one: crevice tool for reach, dusting brush for surfaces.
Accessory that transforms the vacuum into a canister for portability.
Tool for debris/upholstery; removable bristles for stubborn pet hair.
Step-by-step instructions for removing and emptying the vacuum's dust collection cup.
Guide on how to properly clean the pre-motor and post-motor HEPA filters.
Procedures for identifying and clearing blockages and maintaining the vacuum's brushroll.
Solutions for common problems related to poor suction or no suction.
Troubleshooting steps when the vacuum unexpectedly lifts area rugs.
Diagnosing and resolving problems where the brushroll fails to spin.
Steps to take when the vacuum shuts off automatically or shows a red indicator light.
Details on components and conditions protected by the limited warranty.
List of exclusions for parts, uses, and conditions not covered by the warranty.
Procedures for obtaining product support and warranty service options.
Steps for activating warranty and starting the claims process.
| Type | Upright |
|---|---|
| Model | NV682 |
| Cord Length | 30 feet |
| Cleaning Path Width | 12 inches |
| Voltage | 120V |
| Amps | 10 amps |
| Warranty | 5 years |
| Filtration | HEPA |
| Accessories | Crevice tool, Dusting brush, Pet Power Brush |
| Features | Lift-Away, Swivel steering |
| Power Source | Corded Electric |