9
BEFORE USING THE MACHINE
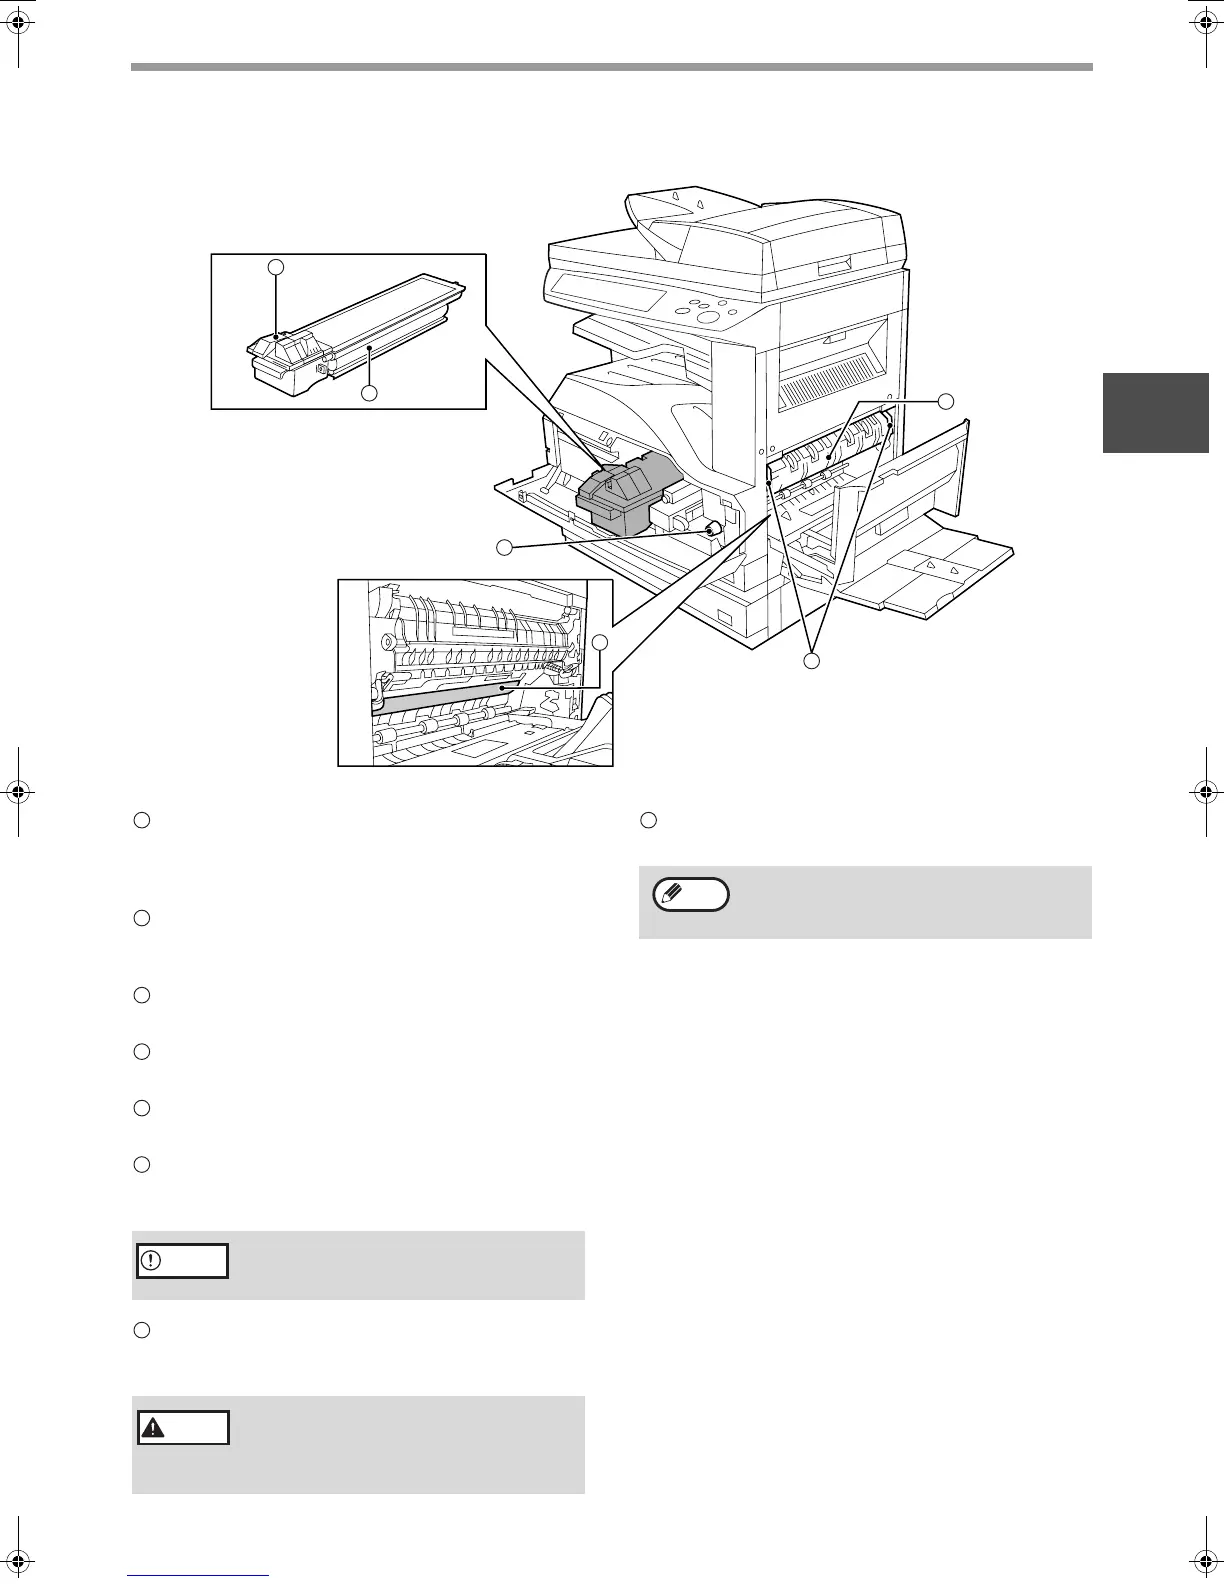
1
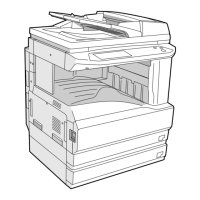
Interior
Bypass tray
Regular paper and special paper (such as
transparency film) can be fed from the bypass tray.
(p.18)
Bypass tray extension
Pull out the bypass tray extension before placing
paper in the bypass tray. (p.18)
Toner cartridge lock release lever
Use to unlock the toner cartridge. (p.73)
Toner cartridge
Contains toner. (p.73)
Roller rotating knob
Turn to remove misfed paper. (p.67)
Photoconductive drum
Copy images are formed on the photoconductive
drum.
Fusing unit release levers
To remove a paper misfeed in the fusing unit, push
up on these levers and remove the paper. (p.68)
Fusing unit paper guide
Open to remove misfed paper. (p.68)
18
17
19
20
22
21
Do not touch the photoconductive drum
(green portion). Doing so may damage the
drum and cause smudges on copies.
The fusing unit is hot. Do not touch
the fusing unit when removing
misfed paper. Doing so may cause a
burn or injury.
15
16
17
18
19
20
Caution
21
Warning
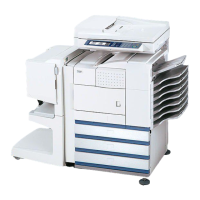
The model name is on the front cover of the
machine.
22
Note
ar_m318_uk_cpy.book 9 ページ 2007年1月15日 月曜日 午前11時36分