TINSZA921AWZZ
ENGLISH
MODEL
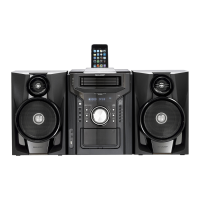
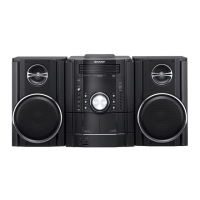
CD-DH950P
MINI COMPONENT SYSTEM
OPERATION MANUAL
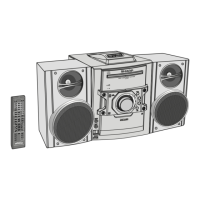
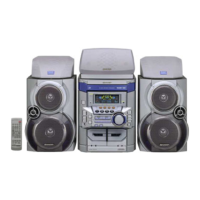
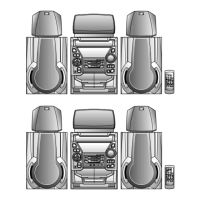
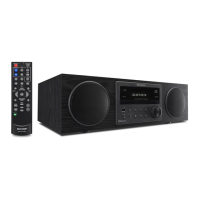
CD-DH950P Mini Component System consisting of CD-DH950P (main unit) and CP-DH950P (speaker system).
Accessories
Please confi rm that only the following accessories are included.
Special Note
Supply of this product does not convey a license nor imply any right to distribute content created with this product in
revenue-generating broadcast systems (terrestrial, satellite, cable and/or other distribution channels), revenue generating
streaming applications (via Internet, intranets and/or other networks), other revenue-generating content distribution
systems (pay-audio or audio-on-demand applications and the like) or on revenue-generating physical media (compact
discs, digital versatile discs, semiconductor chips, hard drives, memory cards and the like). An independent license for
such use is required. For details, please visit http://mp3licensing.com
MPEG Layer-3 audio coding technology licensed from Fraunhofer IIS and Thomson.
iPhone, iPod, iPod classic, iPod nano, and
iPod touch are trademarks of Apple Inc.,
registered in the U.S. and other countries.
Printed in Malaysia
11C R MW
1
“Made for iPod” and “Made for iPhone” mean that an electronic accessory has been designed to connect specifi cally
to iPod or iPhone, respectively, and has been certifi ed by the developer to meet Apple performance standards. Apple
is not responsible for the operation of this device or its compliance with safety and regulatory standards. Please note
that the use of this accessory with iPod or iPhone may affect wireless performance.
Remote control x 1
(RRMCGA255AWSA)
AM loop antenna x 1
(QANTL0005AWZZ)
FM antenna x 1
(92LFANT1535A)
iPhone® adaptor x 3
(GCOVAA238AWSA - No 12)
(GCOVAA239AWSA - No 15)
(GCOVAA294AWSA - No 19)
ON/S
TAND-B
Y
DISPLA
Y
(TV OUT)
DISP
LA
Y
TUNER(BAND)
TAPE
AUDIO IN
USB
X-BASS
TUNING
VO
L
FOLDER
CLOCK/TIMER
DEMO
MUTE
DIMMER CLEAR
SLEEP
MEMO
R
Y
PRESET
PRESE
T
ENTER
PLA
Y MODE
BASS/TREBLE
MENU
CD
CD-DH950P_US_EN_cover.indd 1CD-DH950P_US_EN_cover.indd 1 2/17/2011 11:10:50 AM2/17/2011 11:10:50 AM