7
LC-32LE225
OPERATION MANUAL
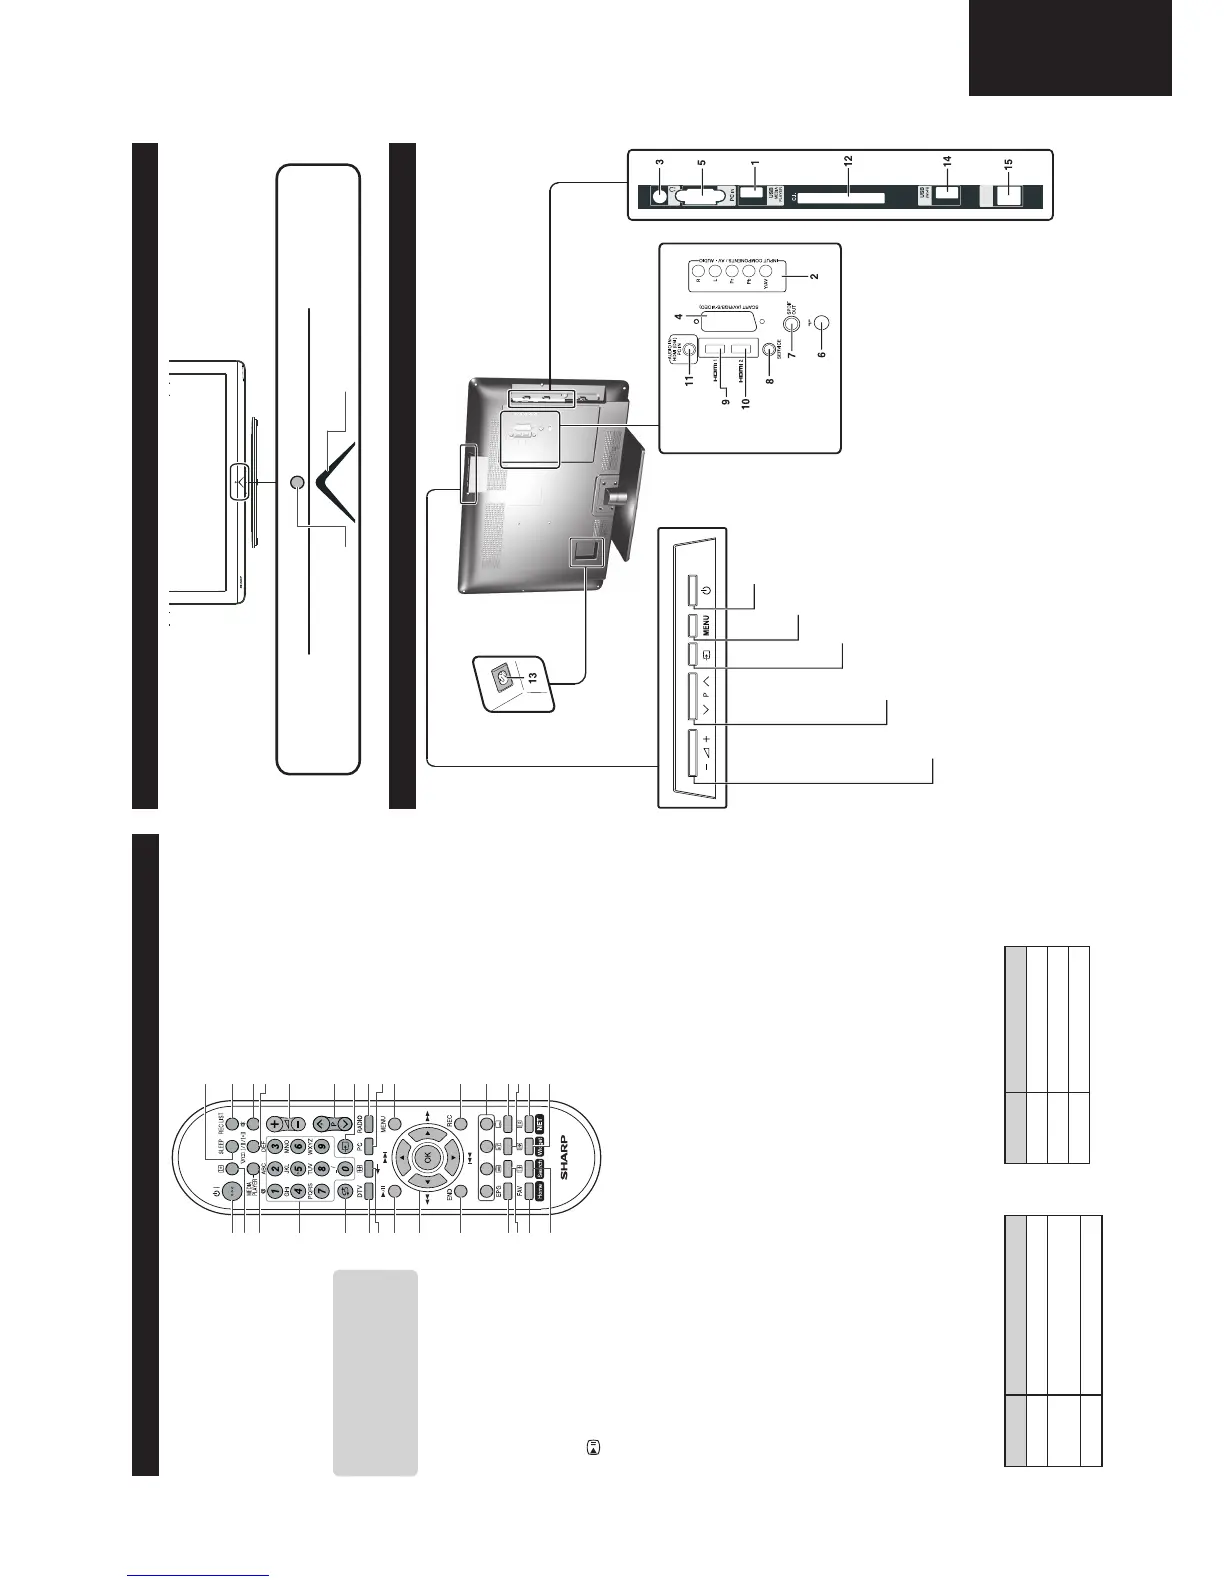
Remote control unit
1
2
3
4
5
6
7
8
9
10
11
12
13
14
15
16
17
18
19
20
21
22
23
24
25
26
27
28
29
30
1 B Standby/On
Enter standby mode or turn on the
power.
2 p Channel information / EPG
(See pages 11 and 22.)
3 MEDIA PLAYER
Display the MEDIA PLAYER screen.
4 0–9
Set the channel in TV mode.
Set the page in Teletext mode.
Alphanumeric use on Connected TV
mode.
5 A Flashback
Press to return to the previous
selected channel or external input
mode.
6 DTV
Change between ATVļDTV or
ATVļ CADTV
mode.
7 f Picture format/Backspace
Change between different picture
formats (see page 23.)
Backspace function on Connected
TV mode. (See page 26.)
8
/
TimeShift / Play-Pause
Activate or deactivate the TimeShift.
Start / stop the reproduction.
9 a/b/c/d (Cursor)
TV mode: Select a desired item on
the setting screen.
S
/
V
USB REC and TimeShift mode:
Rewind and fast forward.
T
/
L
Rewind and forward the recording in
units of 5 minutes.
OK
Execute a command within the
menu screen.
ATV/DTV or ATV/CADTV mode:
Display the channel list.
(See page 22.)
10 END
Exit the menu screen.
11 EPG
DTV/CADTV: To display EPG
17 e Mute
Switch the sound on and off.
18 2 Audio mode
Select the sound multiplex mode.
(See below.)
19 i (+/-) Volume
i (+) Increase the volume.
i (-) Decrease the volume.
20 P (r/s)
TV/DTV/CADTV: Select the program
or move up or down the channel list
pages.
Input source: Switch to TV or DTV
or CADTV input mode.
Teletext: Move to the next/previous
page.
21 b Input source
Select an input source.
(See page 10.)
22 RADIO
DTV/CADTV: Switch between
RADIO and digital mode.
•Due to the large variation in
transmitted volume levels in RADIO
mode, some stations will produce
distortion if the volume level is set
too high.
23 PC
Select PC input source (Analogue
connection, see page 16.)
24 MENU
Display the MENU screen.
(See page 18.)
25 REC
Starts the USB REC recording.
26 Colour (Red/Green/Yellow/Blue)
TELETEXT: Select a page. (See
page 12.)
DTV/CADTV: The coloured buttons
are used to select correspondingly
to the coloured items in the menu
screen.
27 [ Subtitle for Teletext
ATV: Subtitles on / off.
DTV/CADTV: Display the subtitle
selection screen. (See page 10
and 12.)
28 k Reveal hidden Teletext
(See page 12.)
29 v T
op/Bottom/Full/ NET
Switch the Teletext image to Top,
Bottom or Full.
Display Connected TV screen.
30 1 Subpage/ Widget
(See page 12.)
Widget control on Connected TV
mode.
(Electronic Programme Guide) screen.
(See page 11.)
12 m Teletext
ATV: Select the TELETEXT mode
(See page 12.)
DTV/CADTV: Select DTV/CADTV
(MHEG-5) data broadcasting or
TELETEXT.
13 FAV / Home
Shows the favourite list.
Back to HOME on Connected TV
mode.
14 3 Freeze / Hold / Search
Freeze a picture (TV) or the Teletext
on the screen (See page 12)
15 SLEEP
Set the sleep timer on (in units of
10 min. up to max. 4 hr) and off.
16 REC LIST
Shows list of recorded programs.
(See page 31.)
When one of the 5 Nordic countries
(Sweden, Norway, Finland, Denmark or
Iceland) is selected in the country setting
of Auto Installation, DTV channels are 4
digits. When another country is selected,
DTV channels are 3 digits
.
• Using 2 on the remote control unit
DTV/CADTV mode:
Press 2 to open the multi audio screen. (See page 10.)
Analogue TV mode:
Each time you press 2, the mode switches as illustrated in the following tables:
Signal Selectable items
Stereo NICAM STEREO, MONO
Bilingual
NICAM CH A, NICAM CH B, NICAM
CH AB, MONO
Monoaural NICAM MONO, MONO
Signal Selectable items
Stereo STEREO, MONO
Bilingual
CH A, CH B, CH AB
Monoaural MONO
NICAM TV broadcasts selection
A2 TV broadcasts selection
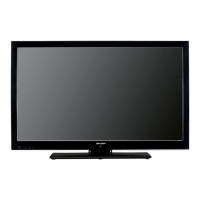
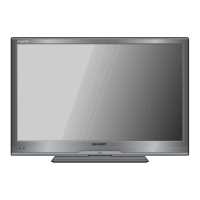
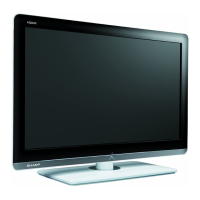
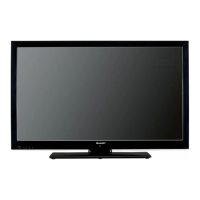
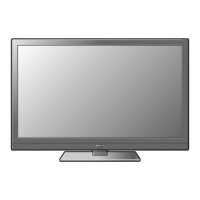
TV (Front view)
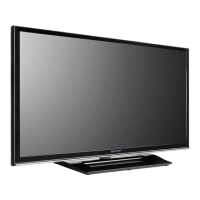
TV (Top and rear view)
Remote control sensor
B (Standby/On) indicator
a (Power button)
MENU button
b (INPUT SOURCE button)
i(k/l) (Volume buttons)
P(r/s) (Programme (channel) buttons)
1 USB terminal (MEDIA PLAYER/ SOFTWARE)
2 COMPONENTS / AV terminals
3 HEADPHONES jack
4 SCART (AV/RGB, Y/C Input) terminal
5 PC Input
6 Antenna input terminal
7 DIGITAL AUDIO OUTPUT terminal (SPDIF)
8 SERVICE connector (jack 3.5mm)
9 HDMI 1 (HDMI/DVI)
10 HDMI 2 (HDMI/DVI)
11 AUDIO input for DVI and PC
12 COMMON INTERFACE slot
13 AC INPUT terminal
14 USB terminal (Wi-Fi use only)
15 ETHERNET terminal
ETHERNET
(10/100)