MX-2300/2700 N/G MX-PBX1 10 – 2
5) Set the image of this machine.
Set the image of this machine displayed on the printer driver
setting screen according to the peripheral devices installed to
the machine.
a) Select the peripheral device installed to the machine.
b) Click [OK] button.
• When [CANCEL] button is clicked, the automatic setting is
terminated. However, the contents which were automatically
set by step 4) are saved.
6) Click [OK] button on the property screen of the printer.
* If the automatic setting is failed, set manually.
• The status of the peripheral device installed to the machine
and the tray setting can be checked by printing the "All setting
list" of the system setting of the machine. The printing proce-
dure of the "All setting list" is as follows:
Press [System setting] key, [Data list print] key, and [All setting
list] key in this sequence.
• To check the contents of [Tray setting], [Paper type setting],
and [Tandem print setting], click each button to confirm.
• Paper type setting: The content of [Paper type setting] in
[Paper feed tray setting] of the system setting of the
machine is reflected. When the user type (1 – 7) is changed,
enter the changed type name.
B. Check the operations of the printer expansion
function.
1) After completion of installation of the printer driver, print the
test page and check to confirm that the test page is normally
printed.
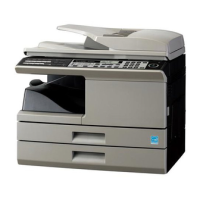
C. Attach the BMLinkS label.
1) Attach the BMLinkS label (package part No. 3) to fit it with the
EnergyStar label attached on the left side of the upper cas-
sette. (Refer to the figure below.)
2) Supply "On BMLinkS" (package part No. 4) included in the
package to the user.