• Thisproductisforuseindoors.
• Consultyourdealerbeforeinstalling,removingormoving
the monitor.
• AmountingbracketcompliantwithVESAspecications
isrequired.DonotuseanyscrewholesotherthanVESA
holes for installation.
• ToattachaVESA-compliantmountingbracket,useM6
screwsthatare5/16inch(8mm)to3/8inch(10mm)
longerthanthethicknessofthemountingbracket.
• Whenmovingthemonitor,donotplaceyourhandonthe
screen.Thismaycauseproductdamage,failure,orinjury.
• Installthemonitorwiththesurfaceperpendiculartoalevel
surface.Ifyoutiltthemonitor,donottiltmorethan20°up
or down.
• Mountingthemonitoronthewallrequiresspecialexpertise
andtheworkmustbeperformedbyanauthorizedSHARP
dealer.Youshouldneverattempttoperformanyofthis
workyourself.Ourcompanywillbearnoresponsibility
foraccidentsorinjuriescausedbyimpropermountingor
mishandling.
• Thismonitorshouldbeusedatanambienttemperature
between32°F(0°C)and104°F(40°C).Provide
enoughspacearoundthemonitortopreventheatfrom
accumulatinginside.
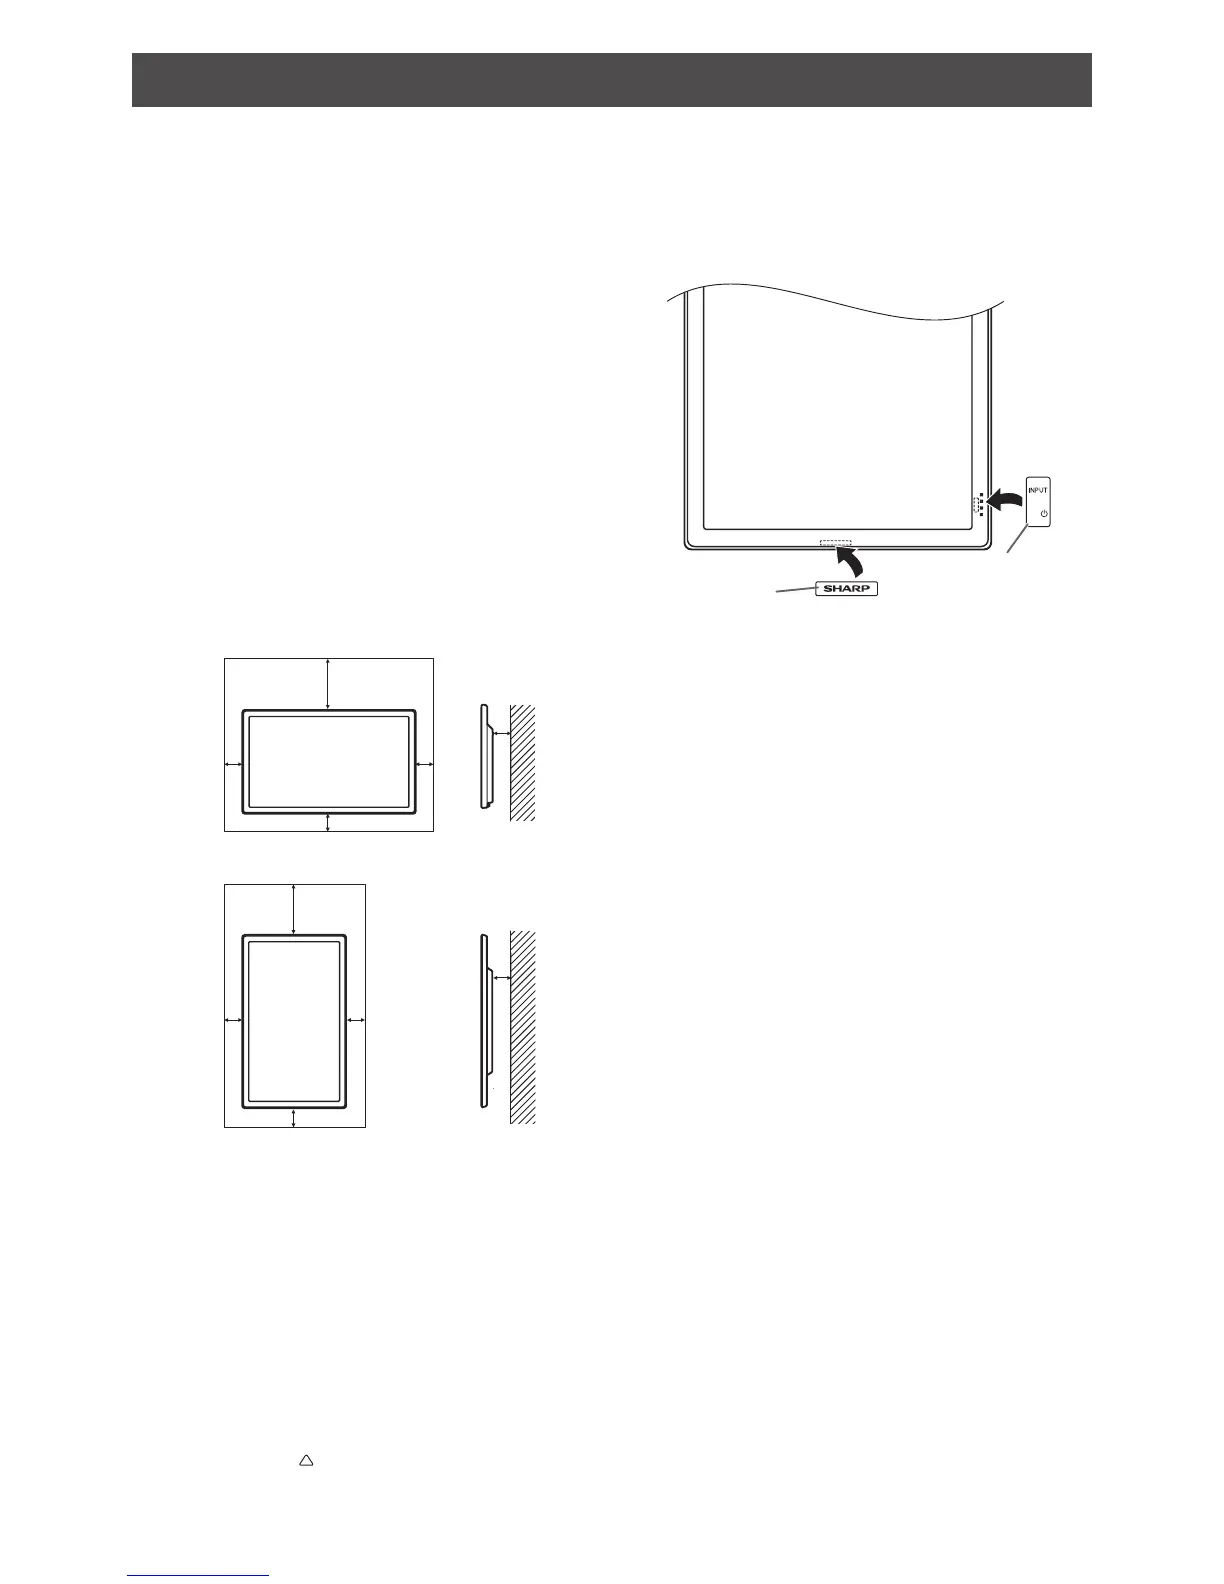
For the monitor in horizontal orientation
7-7/8 [20]
Unit: inch [cm]
2 [5]
2
[5]
2
[5]
1-7/16 [3.5]
1-13/16 [4.5]
For the monitor in vertical orientation
Unit: inch [cm]
2 [5]
2
[5]
2
[5]
7-7/8 [20]
• Ifitisdifficulttoprovidesufficientspaceforanyreason
suchastheinstallationofthemonitorinsideahousing,or
iftheambienttemperaturemaybeoutsideoftherange
of32°F(0°C)to104°F(40°C),installafanortakeother
measurestokeeptheambienttemperaturewithinthe
requiredrange.
• Temperatureconditionmaychangewhenusingthedisplay
togetherwiththeoptionalequipmentsrecommendedby
SHARP.Insuchcases,pleasecheckthetemperature
conditionspeciedbytheoptionalequipments.
• Adheretothefollowingwheninstallingthemonitorinits
verticalorientation.Failingtoadheretothefollowingmay
causemalfunctions.
-InstallthemonitorsuchthatthepowerLEDislocatedon
the bottom side.
- Mount so that the
markonthebackpointsup.
-SettheTHERMALSENSORSETTINGintheSETUP
menutoPORTRAIT.(OperationManual)
• Donotblockanyventilationopenings.Ifthetemperature
insidethemonitorrises,thiscouldleadtoamalfunction.
• Aftermounting,pleasecarefullyensurethemonitoris
secure,andnotabletocomeloosefromthewallormount.
• Donotplacethemonitoronadevicewhichgeneratesheat.
• Usethesuppliedverticalstickerwhenyouinstallthe
monitorinverticalorientation.
-
Becarefulnottocovertheremotecontrolsensoror
buttons.
• Besuretouseawall-mountbracketdesignedor
designatedformountingthemonitor.
• Thismonitorisdesignedtobeinstalledonaconcretewall
orpillar.Reinforcedworkmightbenecessaryforsome
materialssuchasplaster/thinplasticboard/woodbefore
startinginstallation.
Thismonitorandbracketmustbeinstalledonawallwhich
canendureatleast4timesormoretheweightofthe
monitor.Installbythemostsuitablemethodforthematerial
andthestructure.
MOUNTING PRECAUTIONS