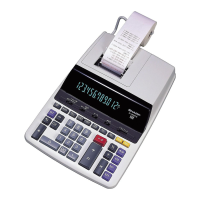
– 11 –
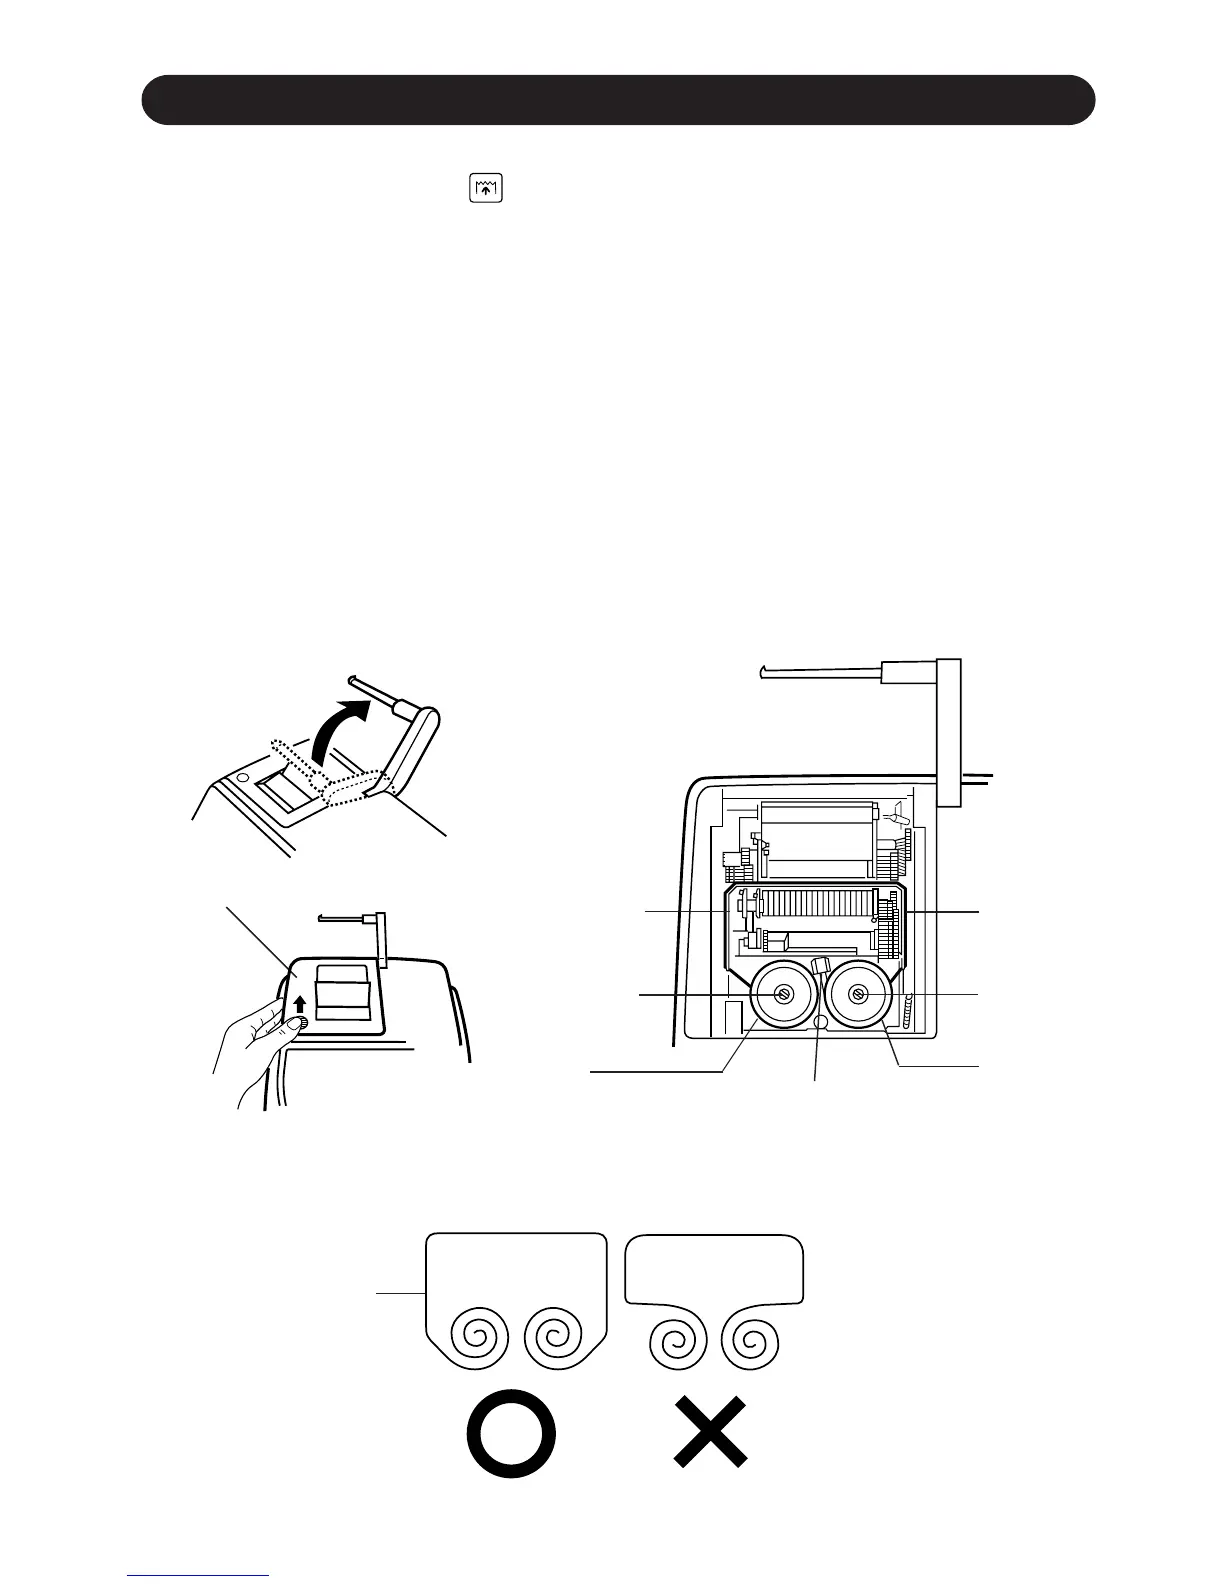
1. Remove the paper roll from the calculator. (Tear the paper and remove it from the
print mechanism by using .)
2. Set the power switch at OFF position.
Make sure that the print wheel has stopped.
3. Remove the printer cover by sliding it towards the back of the calculator. (Fig. 1)
4. Remove the used ribbon.
5. Install the new ribbon.
6. With the black side of the ribbon facing upwards, place one of the reels on the reel
shaft on the right. Make sure that the reel is securely in place.
7. Thread the ribbon around the outside of the metal guides. (Fig. 2)
8. Insert the right reel securely.
9. Take up any slack by manually turning one of the reels.
10. Replace the printer cover.
11. Replace the paper roll.
INK RIBBON REPLACEMENT
Fig. 1
Printer cover
Fig. 2
Ink ribbon
Ink ribbon
Reel detection lever
Reel shaft
Ink ribbon
Reel
Reel shaft
Reel