7
Fig. 13
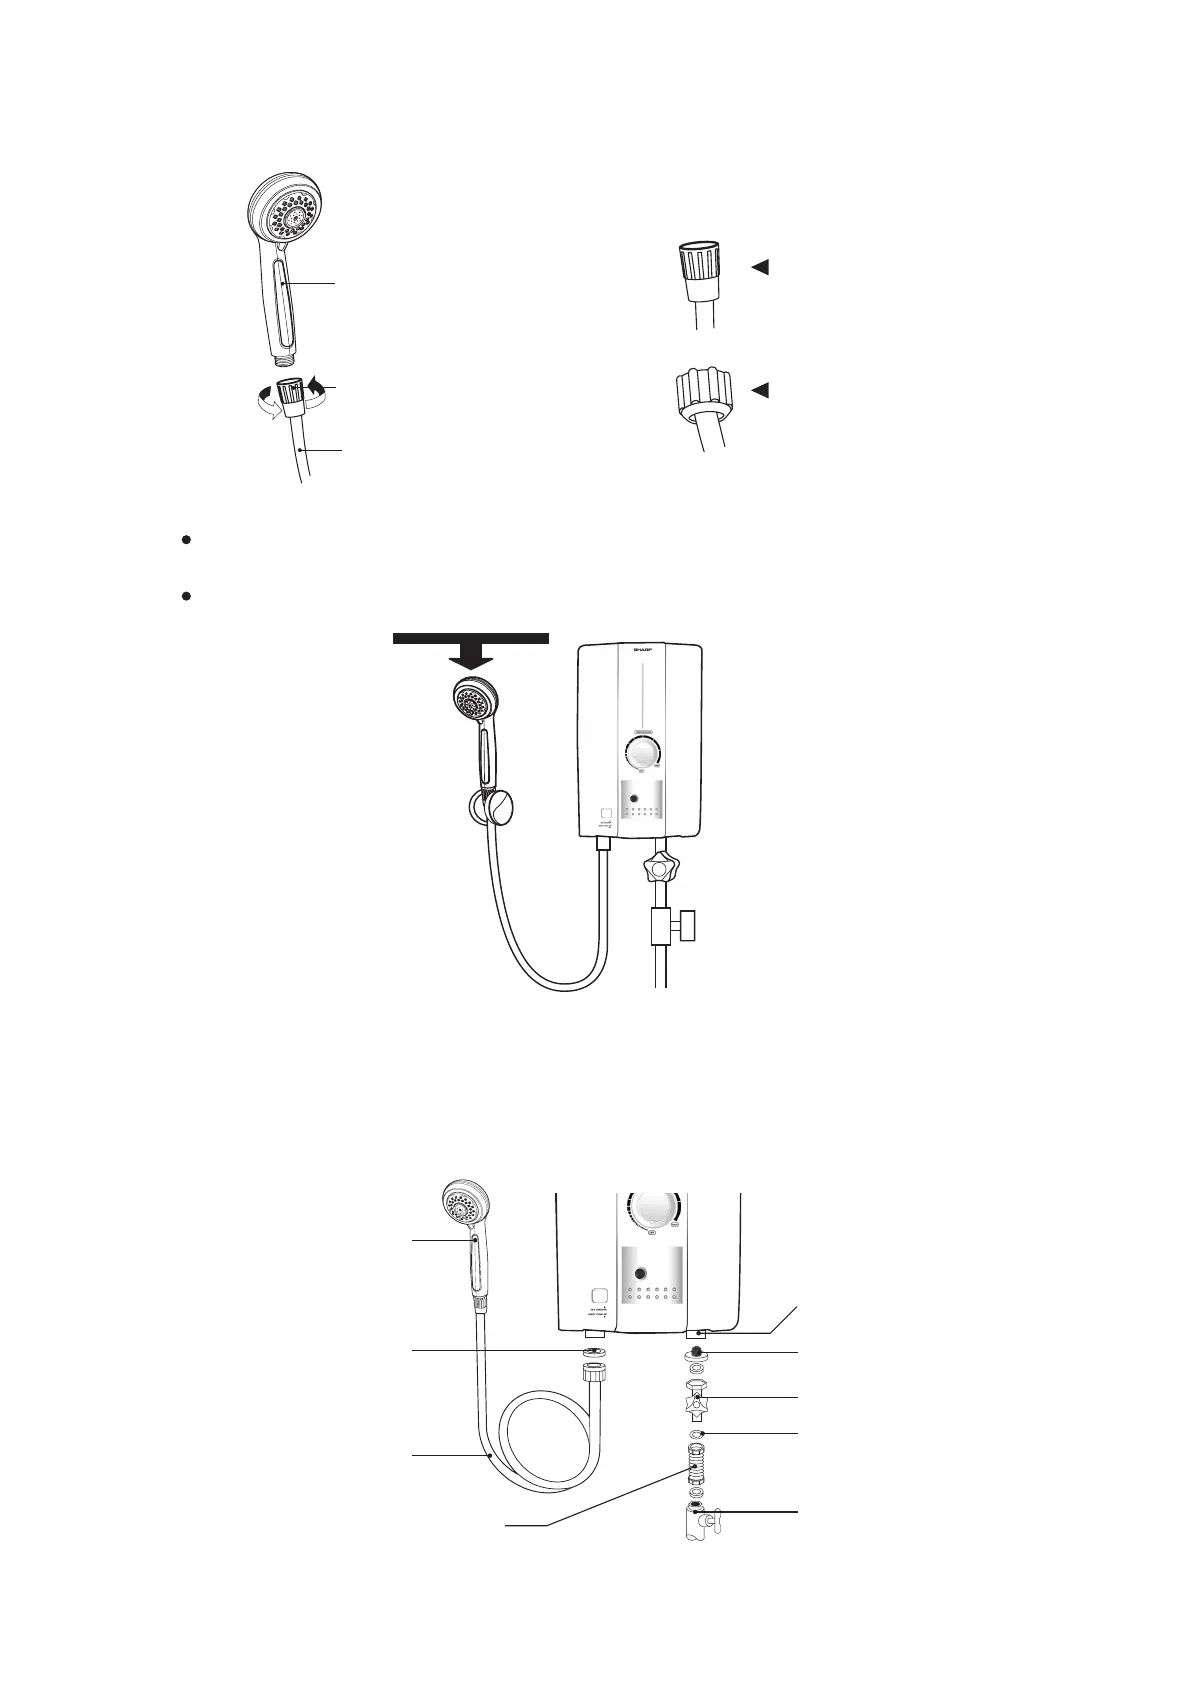
2.5 The shower assembly.
The joint and shower hose counterclockwise with the shower head.
2.6 Installation the shower stand.
Ensure that the shower stand located in the level that the top part of the shower head is not higher
than the top part of the unit when hanging the shower head. (See in the picture)
The angle of shower head holder can adjust into 2 levels.
Fig. 12
Notication in connecting the shower hose.
Shower head
Joint
Shower hose
Connect to the unit.
Connect to the shower head.
3. Piping installation.
3.1 Connection point between the unit and the water volume knob and twist the shower hose by hands until
tight. Do not use any tools during assembly because it may cause the damage to plastic components.
3.2 Tighten the connection into the thread located at the bottom of the water volume knob, Force gauge do
not exceed 40 kgf.cm.
3.3 Connect water inlet pipe and water outlet pipe as shown in the picture.
Fig. 14
Water inlet
Filter
O-ring
Main water valve
Water volume knob
Use pipe at least 15 cm. in length
Shower head
O-ring lter
Shower hose