9
• Do NOT use any type of solvent, commercially available cleaners or
antistatic spray for vinyl as it may damage the disc.
• Do NOT store discs in a place subject to direct sunlight or near a heat
source.
• Do NOT store discs in a place subject to moisture or dust, such as a
bathroom or near a humidier.
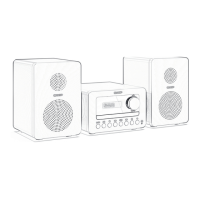
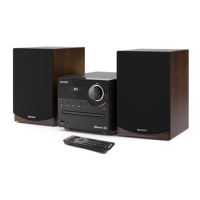
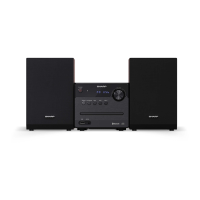
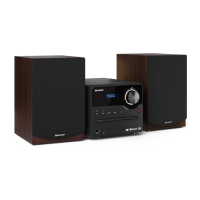
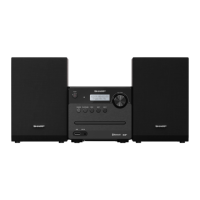
Bluetooth mode
Ensure your micro system is in Bluetooth mode by short pressing
until the radio displays <Bluetooth>. Your micro system will begin to
search for Bluetooth devices. Ensure the Bluetooth-enabled device you
are connecting to is discoverable.
NOTE: If necessary, refer to the instructions for
your device to add or set up Bluetooth.
When found, your micro system will be displayed as ‘SHARP XL-B520D’ on
your device. Select this to begin pairing. Once done, <Connected> will
be displayed on your radio.
Paired devices will connect to the micro system when they are within
range (within 10 metres in line of sight). Your device will remain paired
with the radio unless you decide to disconnect it.
To disconnect from Bluetooth, long press
for 3 seconds to unpair your
current device and search for new devices.
Wirelessly stream music via Bluetooth
In Bluetooth mode, you can wirelessly stream audio through the micro
system. Use the controls on your paired Bluetooth device as well as those
on your micro system. Controls available:
• Play/ Pause: Short press
• Previous track: Short press
• Next track: Short press
Volume can also be adjusted – either using your micro system and/or
your connected device.
NOTE: If the micro system is inactive for 20 minutes, or no audio signal
is being received, the micro system will automatically go into standby.
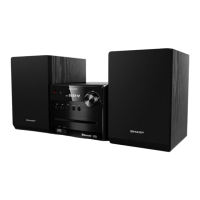
USB mode
Ensure your micro system is in USB mode by short pressing until
the micro system displays <USB>.
Insert the USB stick which has the MP3 les you wish to play into the
USB input.
NOTE: If the USB does not insert easily, try rotating it by 180
degrees and try again. Never force the USB stick into the socket or
try to insert it at an angle as this could damage the socket.
NOTE: USB drives up to 64GB FAT32 are supported.
The following controls are available when using a USB:
Short press to Play/Pause.
Short press to move to previous track. Long press to rewind within
a track.
Short press to move to next track. Long press to forward within a
track.
Press to stop.
NOTE: To navigate the folders on the USB, use
and on the remote control.
Aux in mode
To change to an Aux-input, short press until the micro system
displays <Aux in>.
Use a 3.5mm audio input connection cable (not included) for a quick and
easy connection to an external audio source.
Connect one end of the 3.5mm audio connection cable to the
headphone (or auxiliary out) socket of your secondary device, connect
the other end to the Aux in socket on the rear of your micro System.
Press the Play button on your external device to start playback through
the micro System speakers.
To gain optimal volume levels, adjust the output volume level on both
the secondary device and on the micro System.
NOTE: It is recommended that you unplug the Audio cable from the Aux
in socket after you have nished listening to your external device.
Alarm functionality
Set an alarm
NOTE: Check that the micro system is displaying the
correct time and date before you set an alarm.
DAB+
Full Scan
Manual Tune System
DRC Sleep
Prune
Alarm
System Time
Backlight
FM
Scan setting Language
AMS Factory reset
System Software Version
BT System
Alarm
Alarm 1 Setup
Alarm 2 Setup
Alarm 1 or 2 settings
Time
Hour
Min
Duration 1, 5, 15, 30, or 60 minutes
Source Buzzer, DAB, or FM
Frequency Daily, once, weekdays or weekends
Volume level 25%-100%
Alarm On or O
NOTE: If the time is not set or has failed to update from the radio
signal, <Time is not set> will be displayed when you try to set
the alarm. The micro system will then prompt you to set the
time. An alarm can only be set after the time has been set.
Stop, snooze or switching the alarm o
To stop the alarm, short press ,<Alarm o> will be displayed. The
alarm symbol will remain in the display and will sound again at the same
time the next day unless it was set for <Once>.
To snooze the alarm, press
. <Snooze> will be displayed, followed
by a 10-minute countdown. Once the countdown ends, the alarm will
sound again. You can terminate snooze by pressing
. <Alarm o> will
be displayed.
To switch o the alarm, follow the steps for ‘Set an alarm’ and select
<O>.
 Loading...