11/8/24 08_XL-E171DVH_EN.fm
E-15
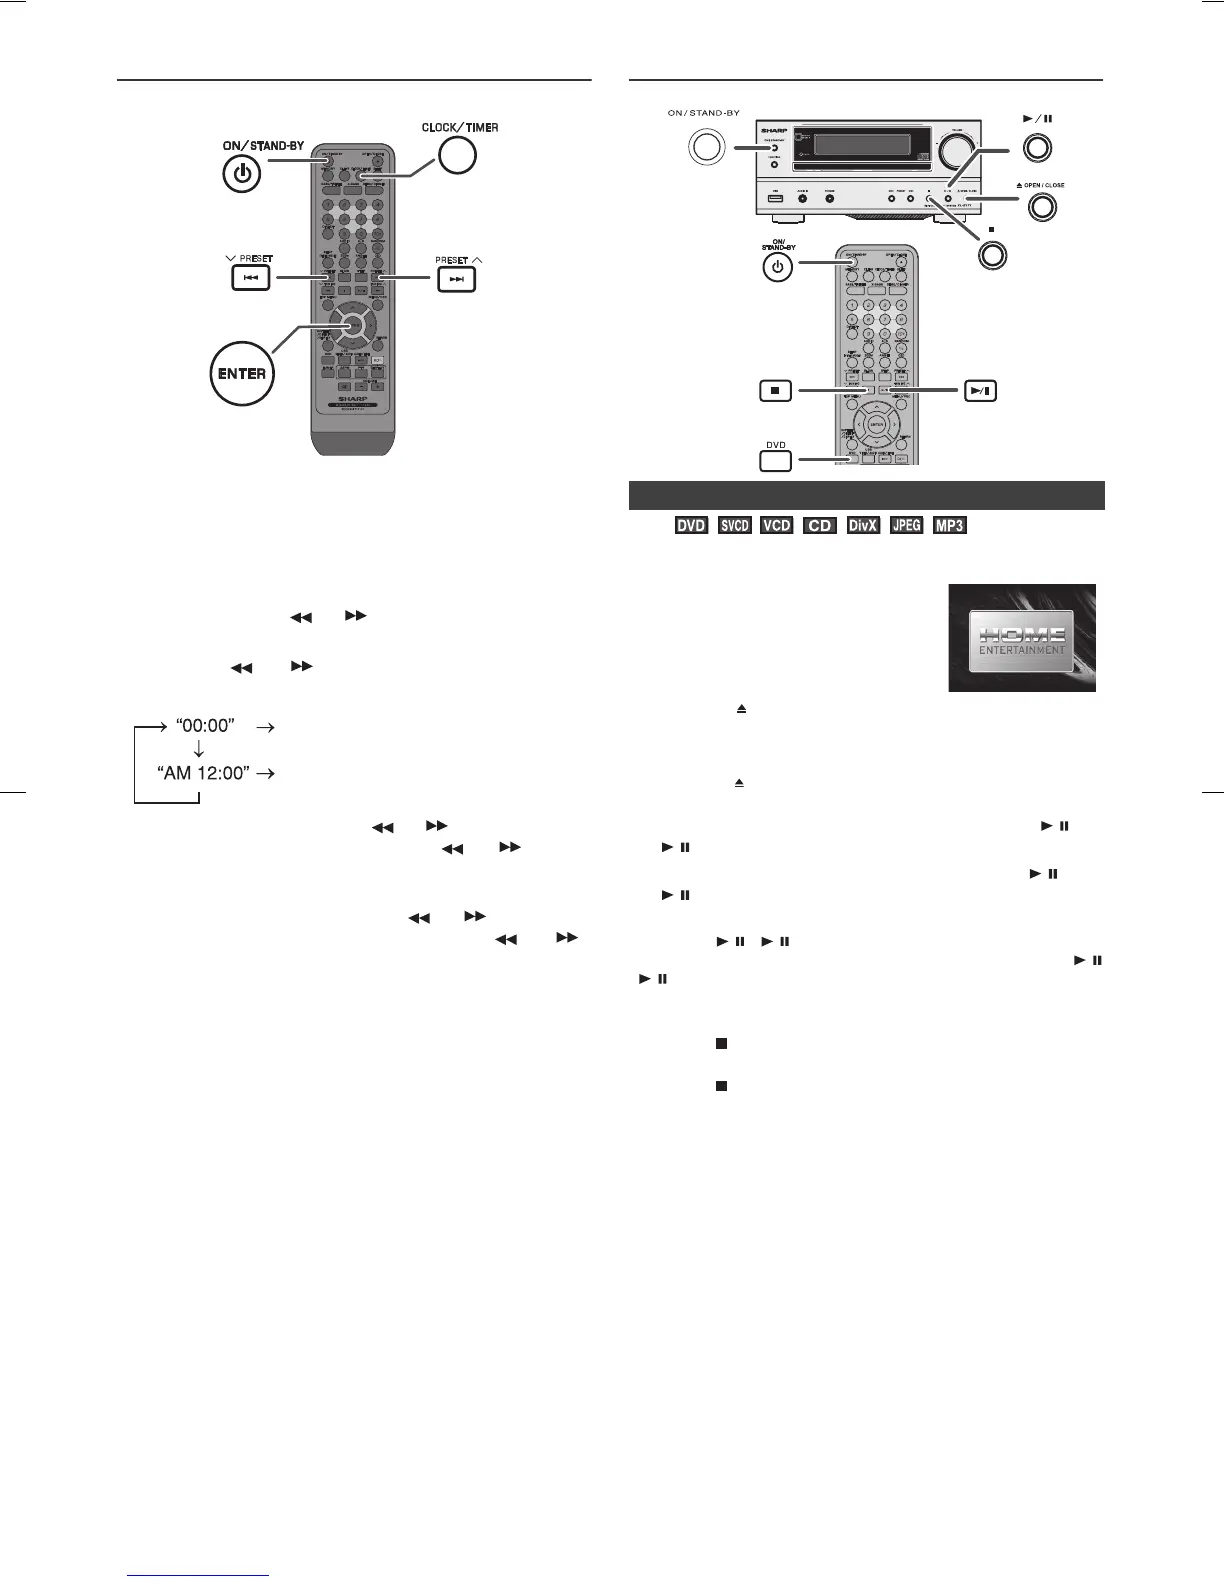
Setting the clock (
Remote
control only)
In this example, the clock is set for the 24-hour (00:00) display.
To confirm the time display:
Press the CLOCK/TIMER button. The time display will
appear for about 5 seconds.
Note:
When power supply is restored after unit is plugged in
again or after a power failure, reset the clock (page 37).
To readjust the clock:
Perform “Setting the clock” from step 1. If the “Clock” does
not appear in step 2, step 4 (for selecting the 24-hour or
12-hour display) will be skipped.
To change the 24-hour or 12-hour display:
DVD playback
To interrupt playback:
Press the / ( / )button.
To resume playback from the same point, press the /
( / ) button.
To stop playback
DVD:
Press the button twice.
Audio CD/MP3/DivX:
Press the button.
JPEG:
Press the MENU/PBC button to stop JPEG viewing and
return to menu view.
When the unit is left unoperated for more than 5 minutes in
a stop mode, a screen saver appears (see page 9 when
the screen saver setting is “ON”)
Press any button on the main unit or remote control. The
startup screen returns.
Caution:
● Close the disc tray when not in use. Otherwise, dust
may accumulate inside and cause malfunction.
● The unit gets slightly warm when used for a long time.
It does not mean the unit is damaged.
● When attempting to play discs with scratches or of a
different region number, or unplayable or restricted (*1)
discs, an error message will appear on the TV display
and the disc will not play.
(*1) Viewing is prohibited on some DVDs according to the
audience age.
1 Press the ON/STAND-BY button to turn the power on.
2 Press the CLOCK/TIMER button.
3 Within 10 seconds, press the ENTER button. To adjust
the day, press the or button and then press the
ENTER button.
4 Press the or button to select 24-hour or 12-
hour display and then press the ENTER button.
The 24-hour display will appear.
(00:00 - 23:59)
The 12-hour display will appear.
(AM 12:00 - PM 11:59)
5 To adjust the hour, press the or button and then
press the ENTER button. Press the or button
once to advance the time by 1 hour. Hold it down to
advance continuously.
6 To adjust the minutes, press the or button and
then press the ENTER button. Press the or
button once to advance the time by 1 minute.
1 Clear all the programmed contents. [Refer to “Factory
reset, clearing all memory” on page 37 for details.]
2 Perform “Setting the clock” from step 1 onwards.
■ Playback
1
Press the ON/STAND-BY button to turn the power on.
2 When the input is not set to the disc
mode, press the DVD button on
remote control to display the startup
screen.
The startup screen appears.
3 Press the OPEN/CLOSE on the main unit or remote
control to open the disc tray.
4 Place the disc on the disc tray, label side up.
5 Press the OPEN/CLOSE button to close the disc tray.
Discs supporting auto start will start to play once you
close the disc tray even if you do not press the /
( / ) button.
6 If playback does not start in step 5, press the /
( / ) button.